if you want you can donate the GTX3071 to my 4000!!! Ha
That would be a really sweet setup. With how quick a normal GT3071 spools I can only image the GTX.
Alex recommended that I look into maybe a smaller wastegate actuator which is a good idea. Another option would be get a new V-band flange, cut and re-weld but I dont know how much real estate that would gain me.
1983 URQ Alpine White/Mocha 20VT / VEMS / EFR
-
Afterthought
- Posts: 1249
- Joined: Thu Jan 16, 2014 5:43 pm
- Location: Bellingham, Wa
-
James Bufkin
- Posts: 1
- Joined: Sun Mar 03, 2013 5:24 pm
Re: Pat's 1983 URQ Alpine white #603 , 20V in progress
Pat,
Just read through your build. Very nice.
One thing to make sure before you put the engine and transmission back into the car. Since you used a new clutch, flywheel, etc. (parts from different ) and you had some resistance on the mate up, Please make sure you have good enough throwout and clutch release.
Are you going to sell the RR Airbox? I notice youre using a custom manifold,standalone and not going RS2? The RR is rarest thing you got there actually to get a stock 20V look.
James
-
Afterthought
- Posts: 1249
- Joined: Thu Jan 16, 2014 5:43 pm
- Location: Bellingham, Wa
Re: Pat's 1983 URQ Alpine white #603 , 20V in progress
I still have some things to sort out on this build, different choices of valve covers, airbox, turbo etc. the manifold that is pictured I might actually save for another project, its carbon steel not stainless and would require some modification to fit with this EFR turbo... I do have an RS2 exhaust manifold and could run that airbox with it but I am leaning towards a custom tubular V-Band exhaust manifold much like the one pictured but made out of stainless.
I have a feeling this wont be the first time the engine is in and out because I still have some things to sort out. I also have an 01E trans with the wide first and a different diff that I could put in the car but I think that will wait.
I have a feeling this wont be the first time the engine is in and out because I still have some things to sort out. I also have an 01E trans with the wide first and a different diff that I could put in the car but I think that will wait.
-
Afterthought
- Posts: 1249
- Joined: Thu Jan 16, 2014 5:43 pm
- Location: Bellingham, Wa
Re: Pat's 1983 URQ Alpine white #603 , 20V in progress
Today's update... Got my hands on a sweet piece.
So that avoids me from spending days trying to reinvent the wheel and engineer my own intake manifold.


On the exhaust manifold I'm not sure what to do yet. I will most likely end up looking for a nice stainless piece that has no fitment issues.
So that avoids me from spending days trying to reinvent the wheel and engineer my own intake manifold.
On the exhaust manifold I'm not sure what to do yet. I will most likely end up looking for a nice stainless piece that has no fitment issues.

Re: Pat's 1983 URQ Alpine white #603 , 20V in progress
WOW sweet intake manifold. What a find.
BTW, nice to meet you and your lady at battle born.
BTW, nice to meet you and your lady at battle born.
current:
-mk4 tdi wagon with some mods
-TDI b3 90q, holset turbo, be strong little connecting rods!
-the turbo tractor
past:
-11 second 90q junker
-20vt swapped 90q winter beater
-efi 20vt 4kq
-way too many other long gone urs's, 200's 4000's, b5's
-mk4 tdi wagon with some mods
-TDI b3 90q, holset turbo, be strong little connecting rods!
-the turbo tractor
past:
-11 second 90q junker
-20vt swapped 90q winter beater
-efi 20vt 4kq
-way too many other long gone urs's, 200's 4000's, b5's
-
the german
- Posts: 720
- Joined: Sat Feb 15, 2014 11:03 pm
- Location: Bellevue, WA
Re: Pat's 1983 URQ Alpine white #603 , 20V in progress
That is a sweet looking manifold, and one I have not see before. Any more information on it?
Kirk
1990 ABZ CQ
1990 lifted CQ
2005 S4 6MT
2011 A4 2.0T Avant (ok, it's my wife's car but it's sexy and I love it)
1990 ABZ CQ
1990 lifted CQ
2005 S4 6MT
2011 A4 2.0T Avant (ok, it's my wife's car but it's sexy and I love it)
-
Afterthought
- Posts: 1249
- Joined: Thu Jan 16, 2014 5:43 pm
- Location: Bellingham, Wa
Re: Pat's 1983 URQ Alpine white #603 , 20V in progress
You too Dana, that was great meeting you guys.dana wrote:WOW sweet intake manifold. What a find.
BTW, nice to meet you and your lady at battle born.
It really sucked not having a car to drive though so Im trying to get my Shit together over here.
The manifold is a really sweet piece and I had a friend import it for me. He has access to 3 or 4 more if anyone wants one.the german wrote:That is a sweet looking manifold, and one I have not see before. Any more information on it?
The only thing I am not a fan of is the huge letters. But as far as function goes it will do exactly what I need. I can run stock radiator fitment with this and its forward facing which is nice. Shouldn't have too much of a problem getting the PS pump in there too.
http://www.bst-turbo.de/home/ansaugbr%C ... s2-s4-200/
Re: Pat's 1983 URQ Alpine white #603 , 20V in progress
it sounds crazy, but i think you could use quality body filler to fill those letters in and paint over.
current:
-mk4 tdi wagon with some mods
-TDI b3 90q, holset turbo, be strong little connecting rods!
-the turbo tractor
past:
-11 second 90q junker
-20vt swapped 90q winter beater
-efi 20vt 4kq
-way too many other long gone urs's, 200's 4000's, b5's
-mk4 tdi wagon with some mods
-TDI b3 90q, holset turbo, be strong little connecting rods!
-the turbo tractor
past:
-11 second 90q junker
-20vt swapped 90q winter beater
-efi 20vt 4kq
-way too many other long gone urs's, 200's 4000's, b5's
-
Afterthought
- Posts: 1249
- Joined: Thu Jan 16, 2014 5:43 pm
- Location: Bellingham, Wa
Re: Pat's 1983 URQ Alpine white #603 , 20V in progress
Hmm. What about the heat, would that affect the filler?dana wrote:it sounds crazy, but i think you could use quality body filler to fill those letters in and paint over.
Re: Pat's 1983 URQ Alpine white #603 , 20V in progress
I dont know? I have used filler on one of my intake pipes where the pipe joint wasnt too pretty and it held up fine right next to the turbo/Afterthought wrote:Hmm. What about the heat, would that affect the filler?dana wrote:it sounds crazy, but i think you could use quality body filler to fill those letters in and paint over.
current:
-mk4 tdi wagon with some mods
-TDI b3 90q, holset turbo, be strong little connecting rods!
-the turbo tractor
past:
-11 second 90q junker
-20vt swapped 90q winter beater
-efi 20vt 4kq
-way too many other long gone urs's, 200's 4000's, b5's
-mk4 tdi wagon with some mods
-TDI b3 90q, holset turbo, be strong little connecting rods!
-the turbo tractor
past:
-11 second 90q junker
-20vt swapped 90q winter beater
-efi 20vt 4kq
-way too many other long gone urs's, 200's 4000's, b5's
-
Afterthought
- Posts: 1249
- Joined: Thu Jan 16, 2014 5:43 pm
- Location: Bellingham, Wa
Re: Pat's 1983 URQ Alpine white #603 , 20V in progress
Heres a pic of a test fit on it. The flange is 20mm so around 5mm thicker than stock so I'll have to get some new bolts for that.

-
ringbearer

- Posts: 1282
- Joined: Wed Feb 27, 2013 12:50 pm
- Location: Nor-Cal
Re: Pat's 1983 URQ Alpine white #603 , 20V in progress
Looking mighty fine 
Re: Pat's 1983 URQ Alpine white #603 , 20V in progress
I like the intake... Project is looking good.
Re: Pat's 1983 URQ Alpine white #603 , 20V in progress
indeed, looks great Pat.
I saw it on german ebay, the hefty price tag pushed me back. Maybe if they would give back the MwSt....
I saw it on german ebay, the hefty price tag pushed me back. Maybe if they would give back the MwSt....
-
Afterthought
- Posts: 1249
- Joined: Thu Jan 16, 2014 5:43 pm
- Location: Bellingham, Wa
Re: Pat's 1983 URQ Alpine white #603 , 20V in progress
I typically would never spend like that on a project but I actually got it from a buddy who is here local , within minutes of me... He found something better and I couldn't pass this up.varia wrote:indeed, looks great Pat.
I saw it on german ebay, the hefty price tag pushed me back. Maybe if they would give back the MwSt....
I was going to make my own intake and I still plan too but I am not an engineer like Hank. Some jobs I could spend 2 days on, and end up with a product that is far from perfect but If I ever want to get this car running I have to farm a few out.

Re: Pat's 1983 URQ Alpine white #603 , 20V in progress
Yeah it looks awesome. Nice pat
Matt
18 Silverado 1500 work pig, roof rack and tonneau cover
11 Jetta sedan TDI DSG, rear muffler delete
GONE :( 87 4ktq - 4 FOX SNAKES

18 Silverado 1500 work pig, roof rack and tonneau cover
11 Jetta sedan TDI DSG, rear muffler delete
GONE :( 87 4ktq - 4 FOX SNAKES
-
the german
- Posts: 720
- Joined: Sat Feb 15, 2014 11:03 pm
- Location: Bellevue, WA
Re: Pat's 1983 URQ Alpine white #603 , 20V in progress
That looks bad ass.
I would not recommend body filler on the intake manifold; the aluminum has a very different coefficient of thermal expansion from polyester or vinylester putty (body filler). Added that that, putties shrink over time as they continue to cure, which is hastened by heat. That translates to: it may look good at first, but it will crack and fall out then look like poo. I would just live with it. You can't see the letter on the intake while you're driving it anyway.
I would not recommend body filler on the intake manifold; the aluminum has a very different coefficient of thermal expansion from polyester or vinylester putty (body filler). Added that that, putties shrink over time as they continue to cure, which is hastened by heat. That translates to: it may look good at first, but it will crack and fall out then look like poo. I would just live with it. You can't see the letter on the intake while you're driving it anyway.
Kirk
1990 ABZ CQ
1990 lifted CQ
2005 S4 6MT
2011 A4 2.0T Avant (ok, it's my wife's car but it's sexy and I love it)
1990 ABZ CQ
1990 lifted CQ
2005 S4 6MT
2011 A4 2.0T Avant (ok, it's my wife's car but it's sexy and I love it)
-
Afterthought
- Posts: 1249
- Joined: Thu Jan 16, 2014 5:43 pm
- Location: Bellingham, Wa
Re: Pat's 1983 URQ Alpine white #603 , 20V in progress
Yeah that's true. I really like the intake the letters don't bother me too much. If it did I would just put my own logo and tack a plate over it. I don't have a logo yet though ha
Sent from my iPhone using Tapatalk
Sent from my iPhone using Tapatalk

Re: Pat's 1983 URQ Alpine white #603 , 20V in progress
If you really, really wanted to you could fill in the letters by welding (be sure to pre/post heat to 200*F for at least 20 mins before & after the weld), then grind it smooth and paint/Cerakote everything a uniform colour.
Otherwise everything is progressing nicely, appreciate the updates.
Otherwise everything is progressing nicely, appreciate the updates.
Find me on Instagram @pry4sno
|| 2010 Golf Sportwagen TDI /// #farmenwagen
|| 2002 Dodge Ram 2500 24vt 4x4 #bertancummins
|| 1992 80 quattro 20v /// Eventual AAN'd Winter Sled
|| 1990 Coupe quattro /// Because Racecar
|| 2010 Golf Sportwagen TDI /// #farmenwagen
|| 2002 Dodge Ram 2500 24vt 4x4 #bertancummins
|| 1992 80 quattro 20v /// Eventual AAN'd Winter Sled
|| 1990 Coupe quattro /// Because Racecar
-
Afterthought
- Posts: 1249
- Joined: Thu Jan 16, 2014 5:43 pm
- Location: Bellingham, Wa
Re: Pat's 1983 URQ Alpine white #603 , 20V in progress
Wiring:
One of the next steps on this project is to start getting the wiring started.
For this car I have purchased the VEMS I-6 "Base" Twin Shield Harness and am attempting to do a portion of the wiring myself, both because I'm cheap and because I'm an idiot.
EFI Express supplied me with a pretty sweet set-up, he got me the harness and also all of the pins and connections on the end so I can make these terminations myself and end up with no butt connectors anywhere in the harness. It will make for a real clean setup because it has everything I need and nothing I don't (except one extra injector).
For starters I am laying the harness out and figure which wire is which and label the end so I can make the terminations I need. I'm now trying to acquire data and knowledge about that harness, If anyone has any links to any cool how-to's about understanding the harness and the VEMS computer please feel free to post them here!
http://www.vems.hu/wiki/index.php?page= ... /UserGuide
V3.6 Pinouts : http://www.vemssupport.com/forum/index. ... 266.0.html
-
Afterthought
- Posts: 1249
- Joined: Thu Jan 16, 2014 5:43 pm
- Location: Bellingham, Wa
Re: Pat's 1983 URQ Alpine white #603 , 20V in progress
Got the URQ back on the lift. I am awaiting some parts , but figured I would start a few things that need to happen anyways. Time to shift my momentum towards this now that my 4k runs.
The rear tie rods need to be redone , but they are completely froze up. I tried PB blaster and a torch as well, letting them soak overnight now .


Next I figured I would looking at the rear section of the exhaust ... not sure I should run a muffler or not but I'll probably use a single Borla 3" straight through.
Also haven't decided on single or dual
Tips .


I screwed around for quite a long time trying to make a Y out of stainless for dual 3" tips , but I ever got where I wanted to with it . Can't figure out how to tie the single 3"
In with it.


Sent from my iPhone using Tapatalk
The rear tie rods need to be redone , but they are completely froze up. I tried PB blaster and a torch as well, letting them soak overnight now .
Next I figured I would looking at the rear section of the exhaust ... not sure I should run a muffler or not but I'll probably use a single Borla 3" straight through.
Also haven't decided on single or dual
Tips .
I screwed around for quite a long time trying to make a Y out of stainless for dual 3" tips , but I ever got where I wanted to with it . Can't figure out how to tie the single 3"
In with it.
Sent from my iPhone using Tapatalk
-
Afterthought
- Posts: 1249
- Joined: Thu Jan 16, 2014 5:43 pm
- Location: Bellingham, Wa
Re: Pat's 1983 URQ Alpine white #603 , 20V in progress
got a little more done on the exhaust . Made some hangers and got the muffler in place.


The over the axle piece, I hate that part.


Using a special tool in a few key areas to make sure there is clearance

Thats it for now, I'm cold. I gotta go to vegas.

The over the axle piece, I hate that part.
Using a special tool in a few key areas to make sure there is clearance
Thats it for now, I'm cold. I gotta go to vegas.
-
Afterthought
- Posts: 1249
- Joined: Thu Jan 16, 2014 5:43 pm
- Location: Bellingham, Wa
Re: Pat's 1983 URQ Alpine white #603 , 20V in progress
Tried using these tie rods, MOOG ES2263R BMW ends, supposed to fit in the rear for UR Quattro.
At this point they are adjusted all the way in and the car is still toed in slightly. Will see if I can find a way to make up any of that- if I can get them to work they would be a good 9.00 solution.

At this point they are adjusted all the way in and the car is still toed in slightly. Will see if I can find a way to make up any of that- if I can get them to work they would be a good 9.00 solution.
-
Afterthought
- Posts: 1249
- Joined: Thu Jan 16, 2014 5:43 pm
- Location: Bellingham, Wa
Re: Pat's 1983 URQ Alpine white #603 , 20V in progress
Very little updates but thinned the herd down and moving this to the top priority.
I really wanted to drive this car to Vegas this year so need to speed things up a little bit to get it done.
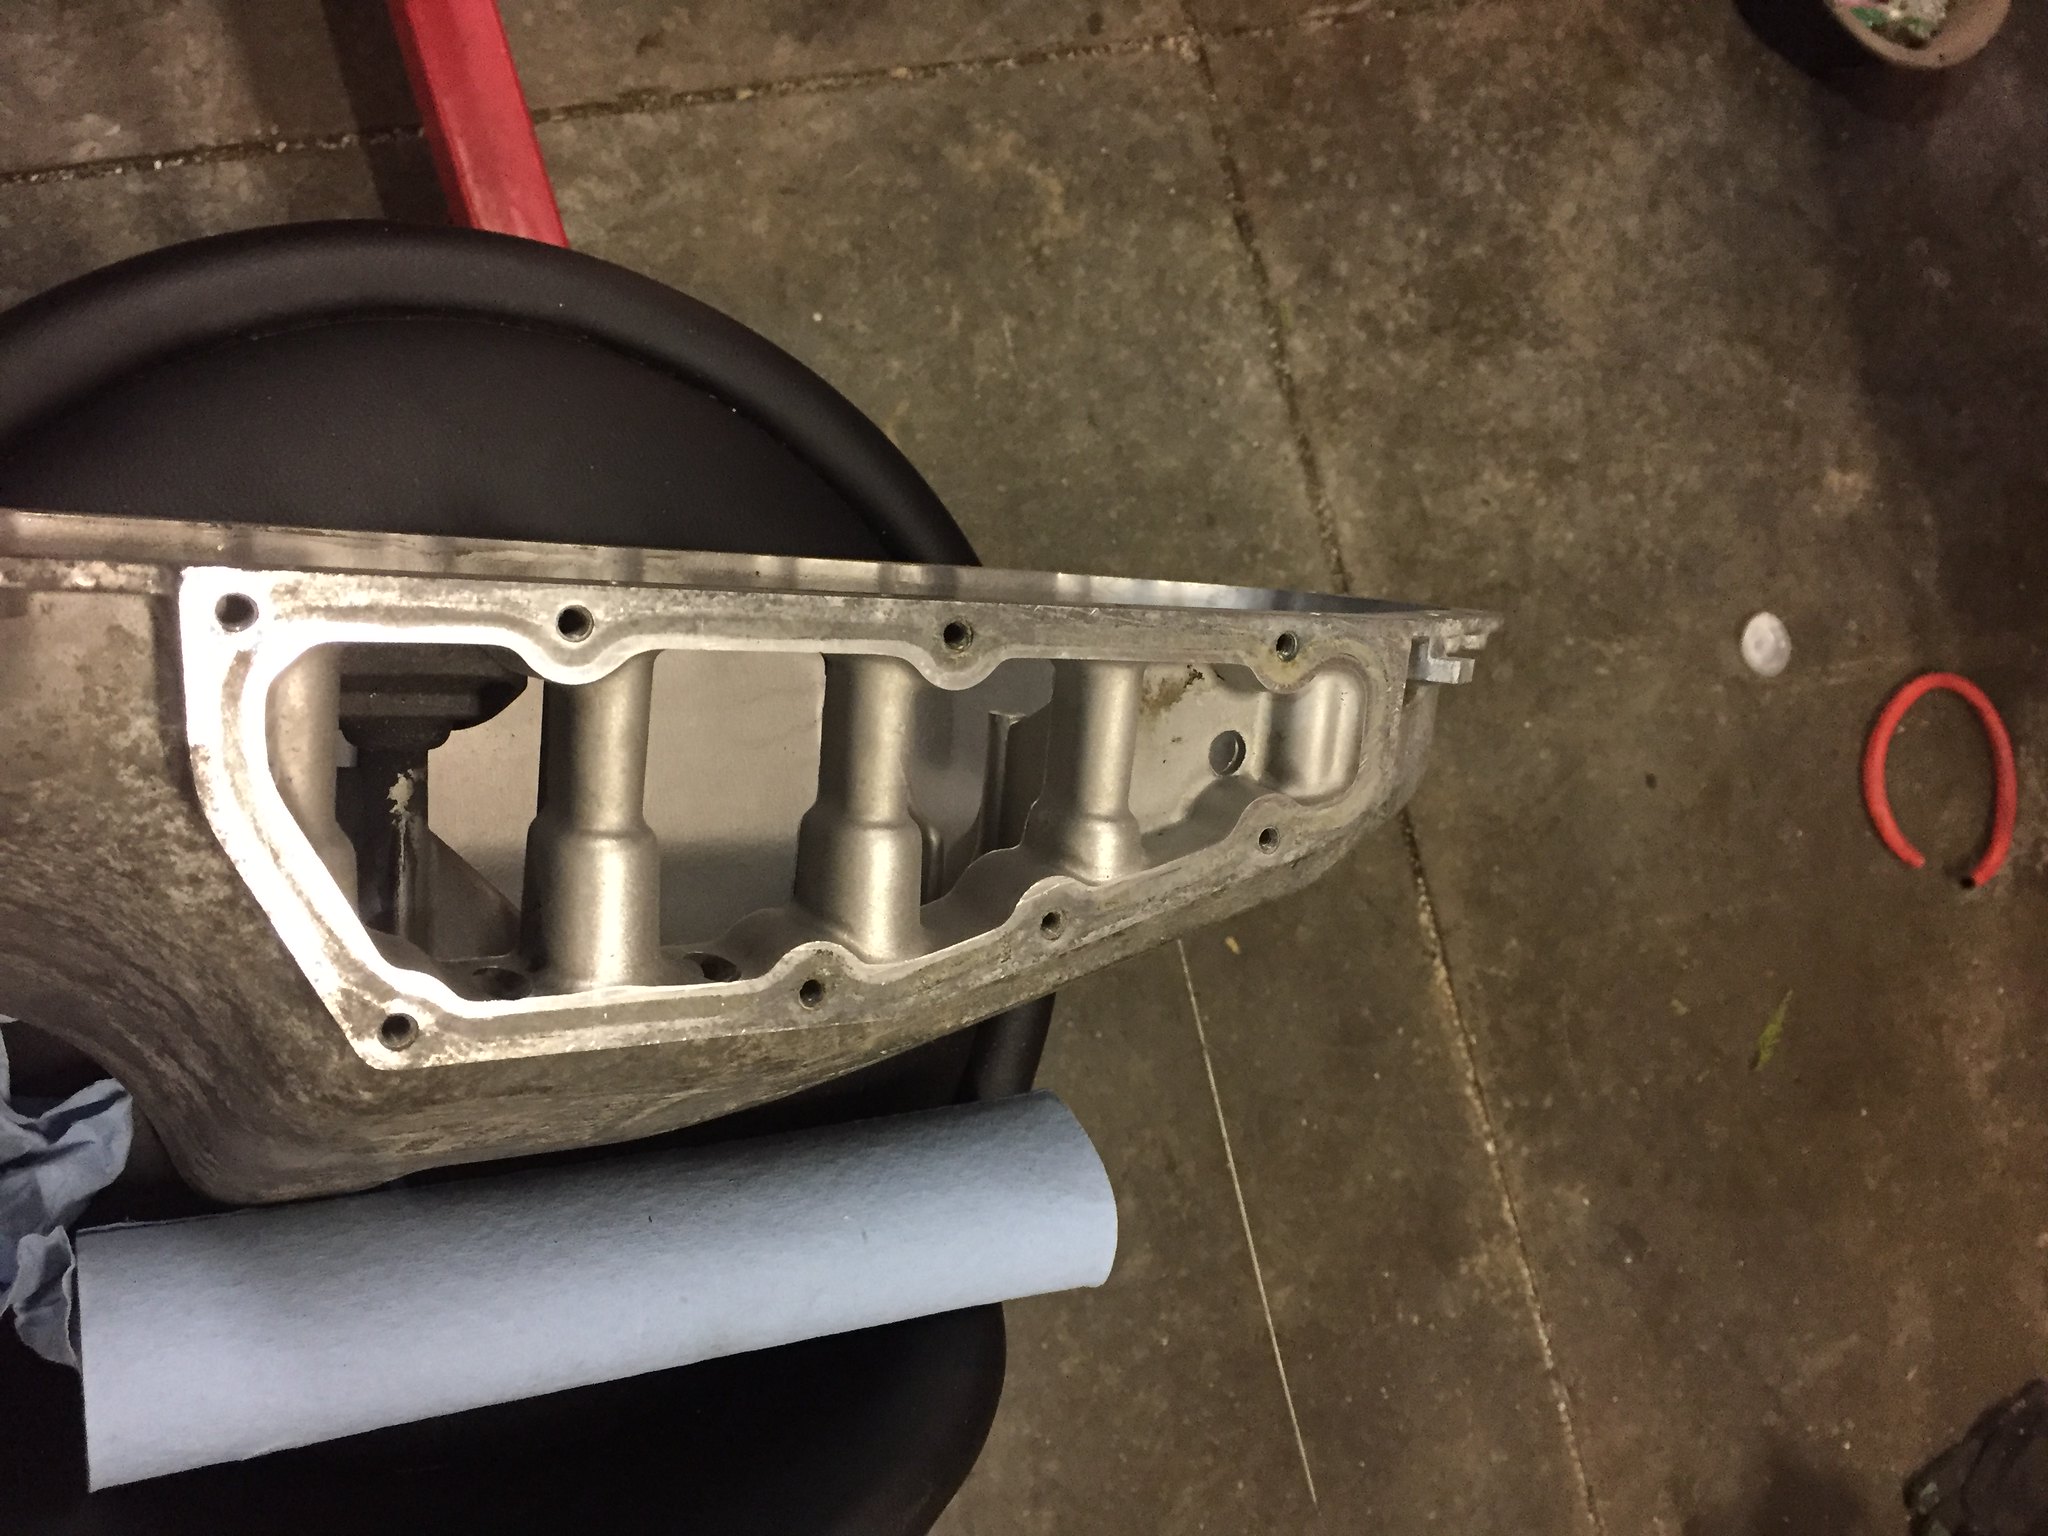
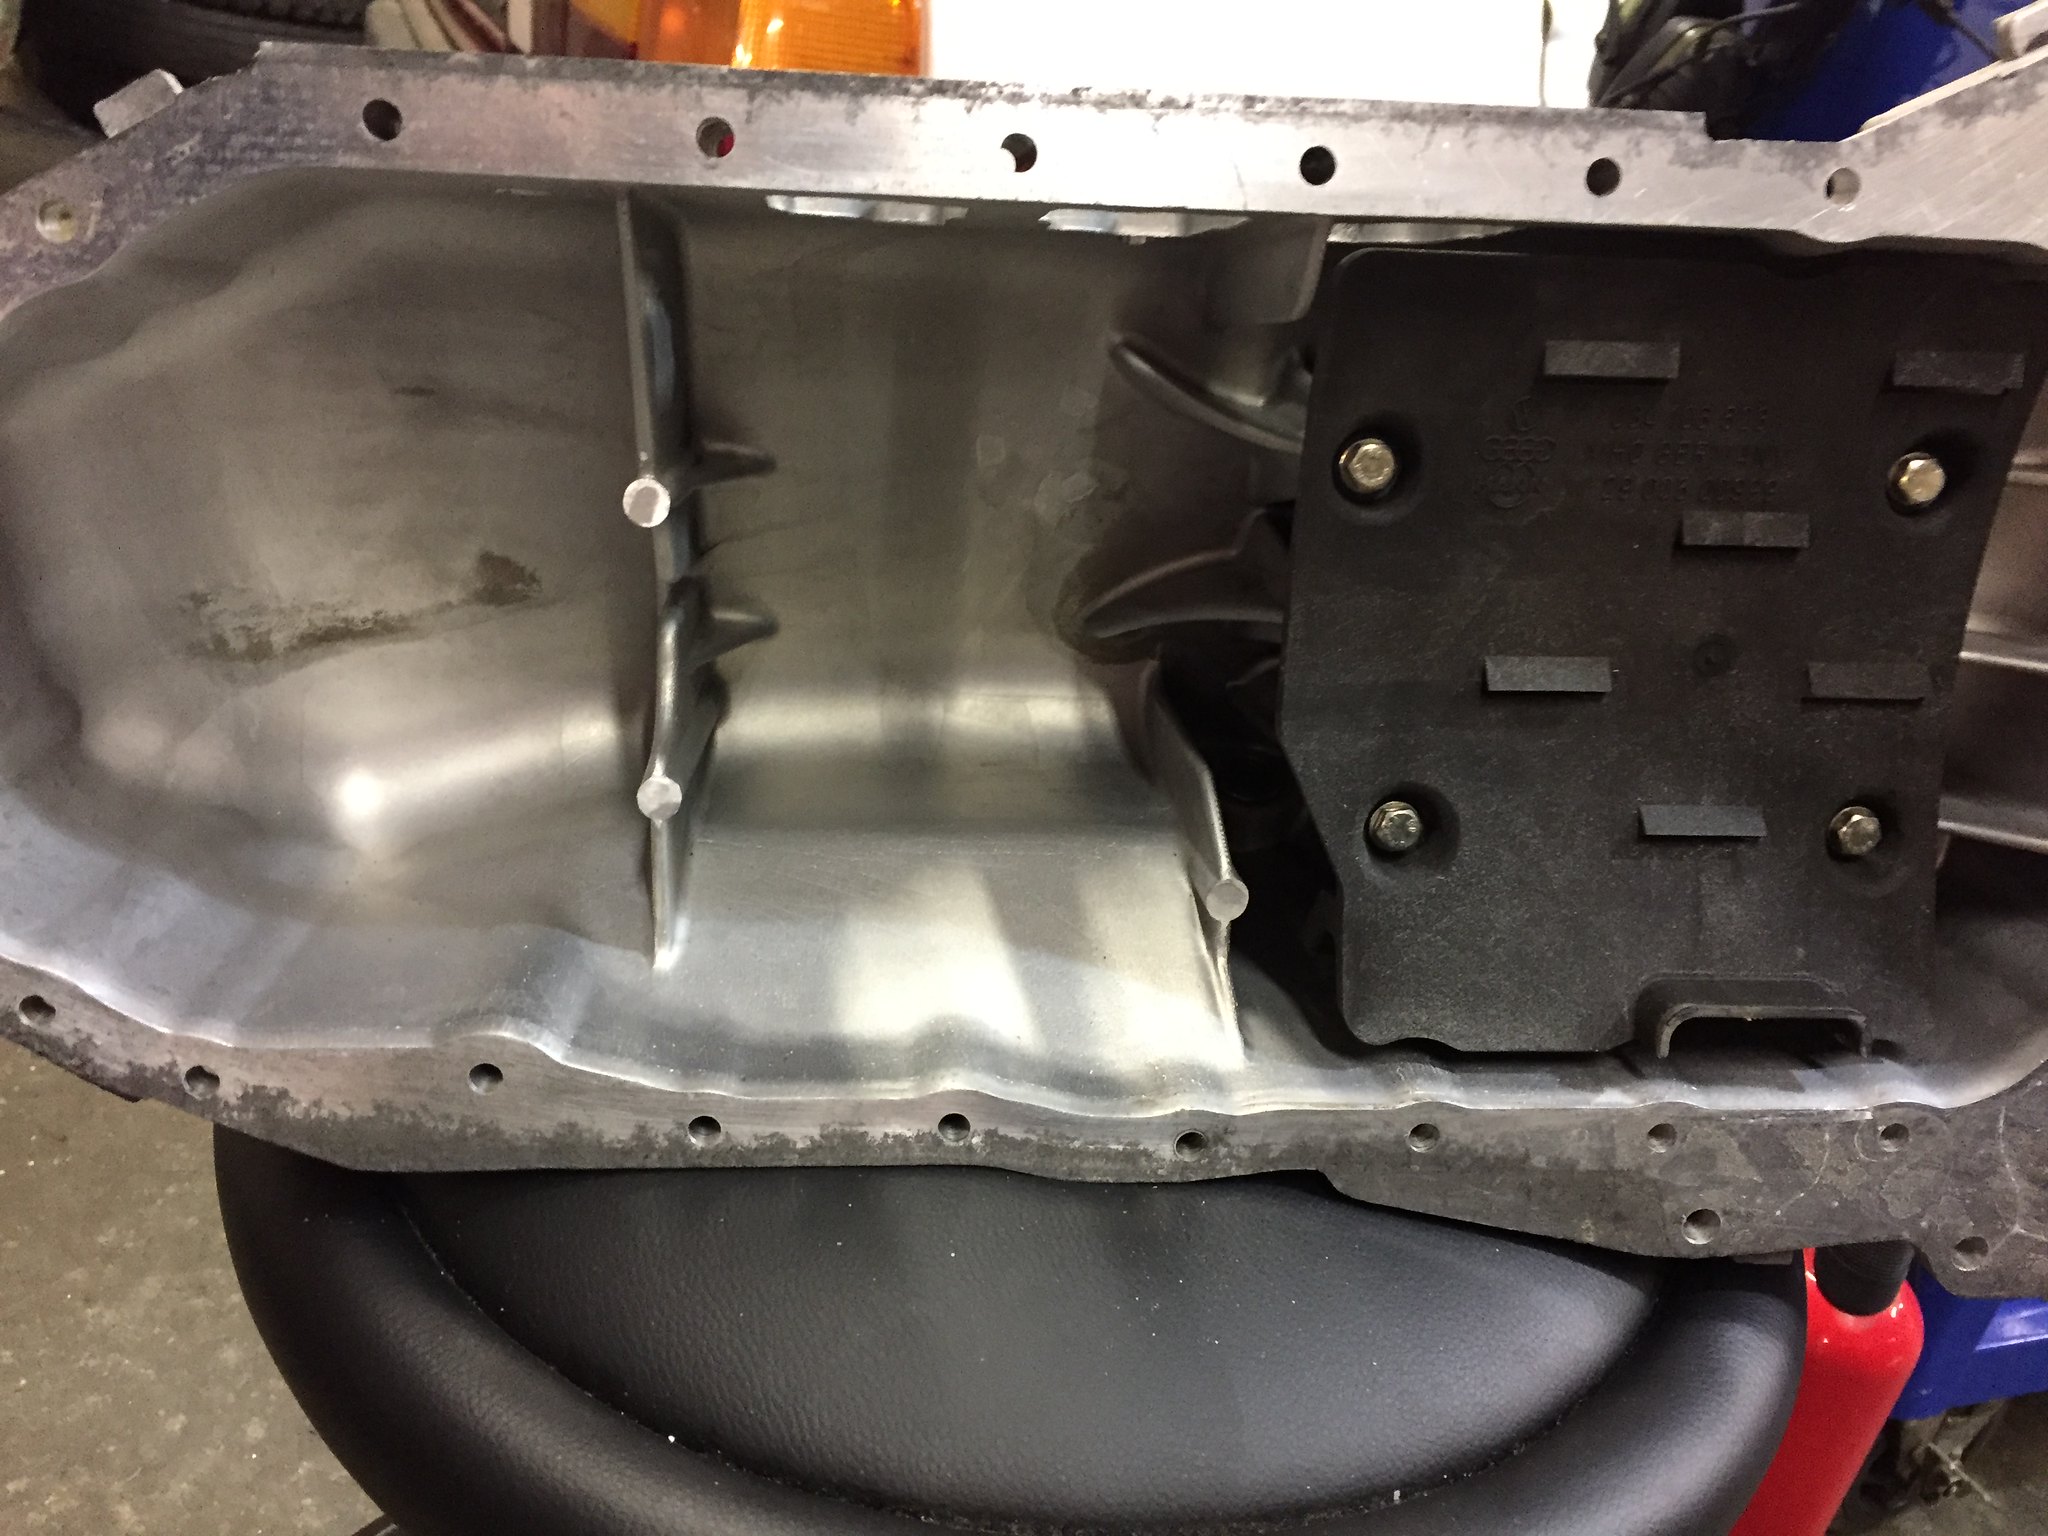
*Got a proper small chassis oil pan and blasted out the inside- getting ready to swap over
*Fit up my throttle cable to go with the new forward facing manifold
*Cleaned the paint overspray off the drivers door.
Throttle cable

Drivers door before:
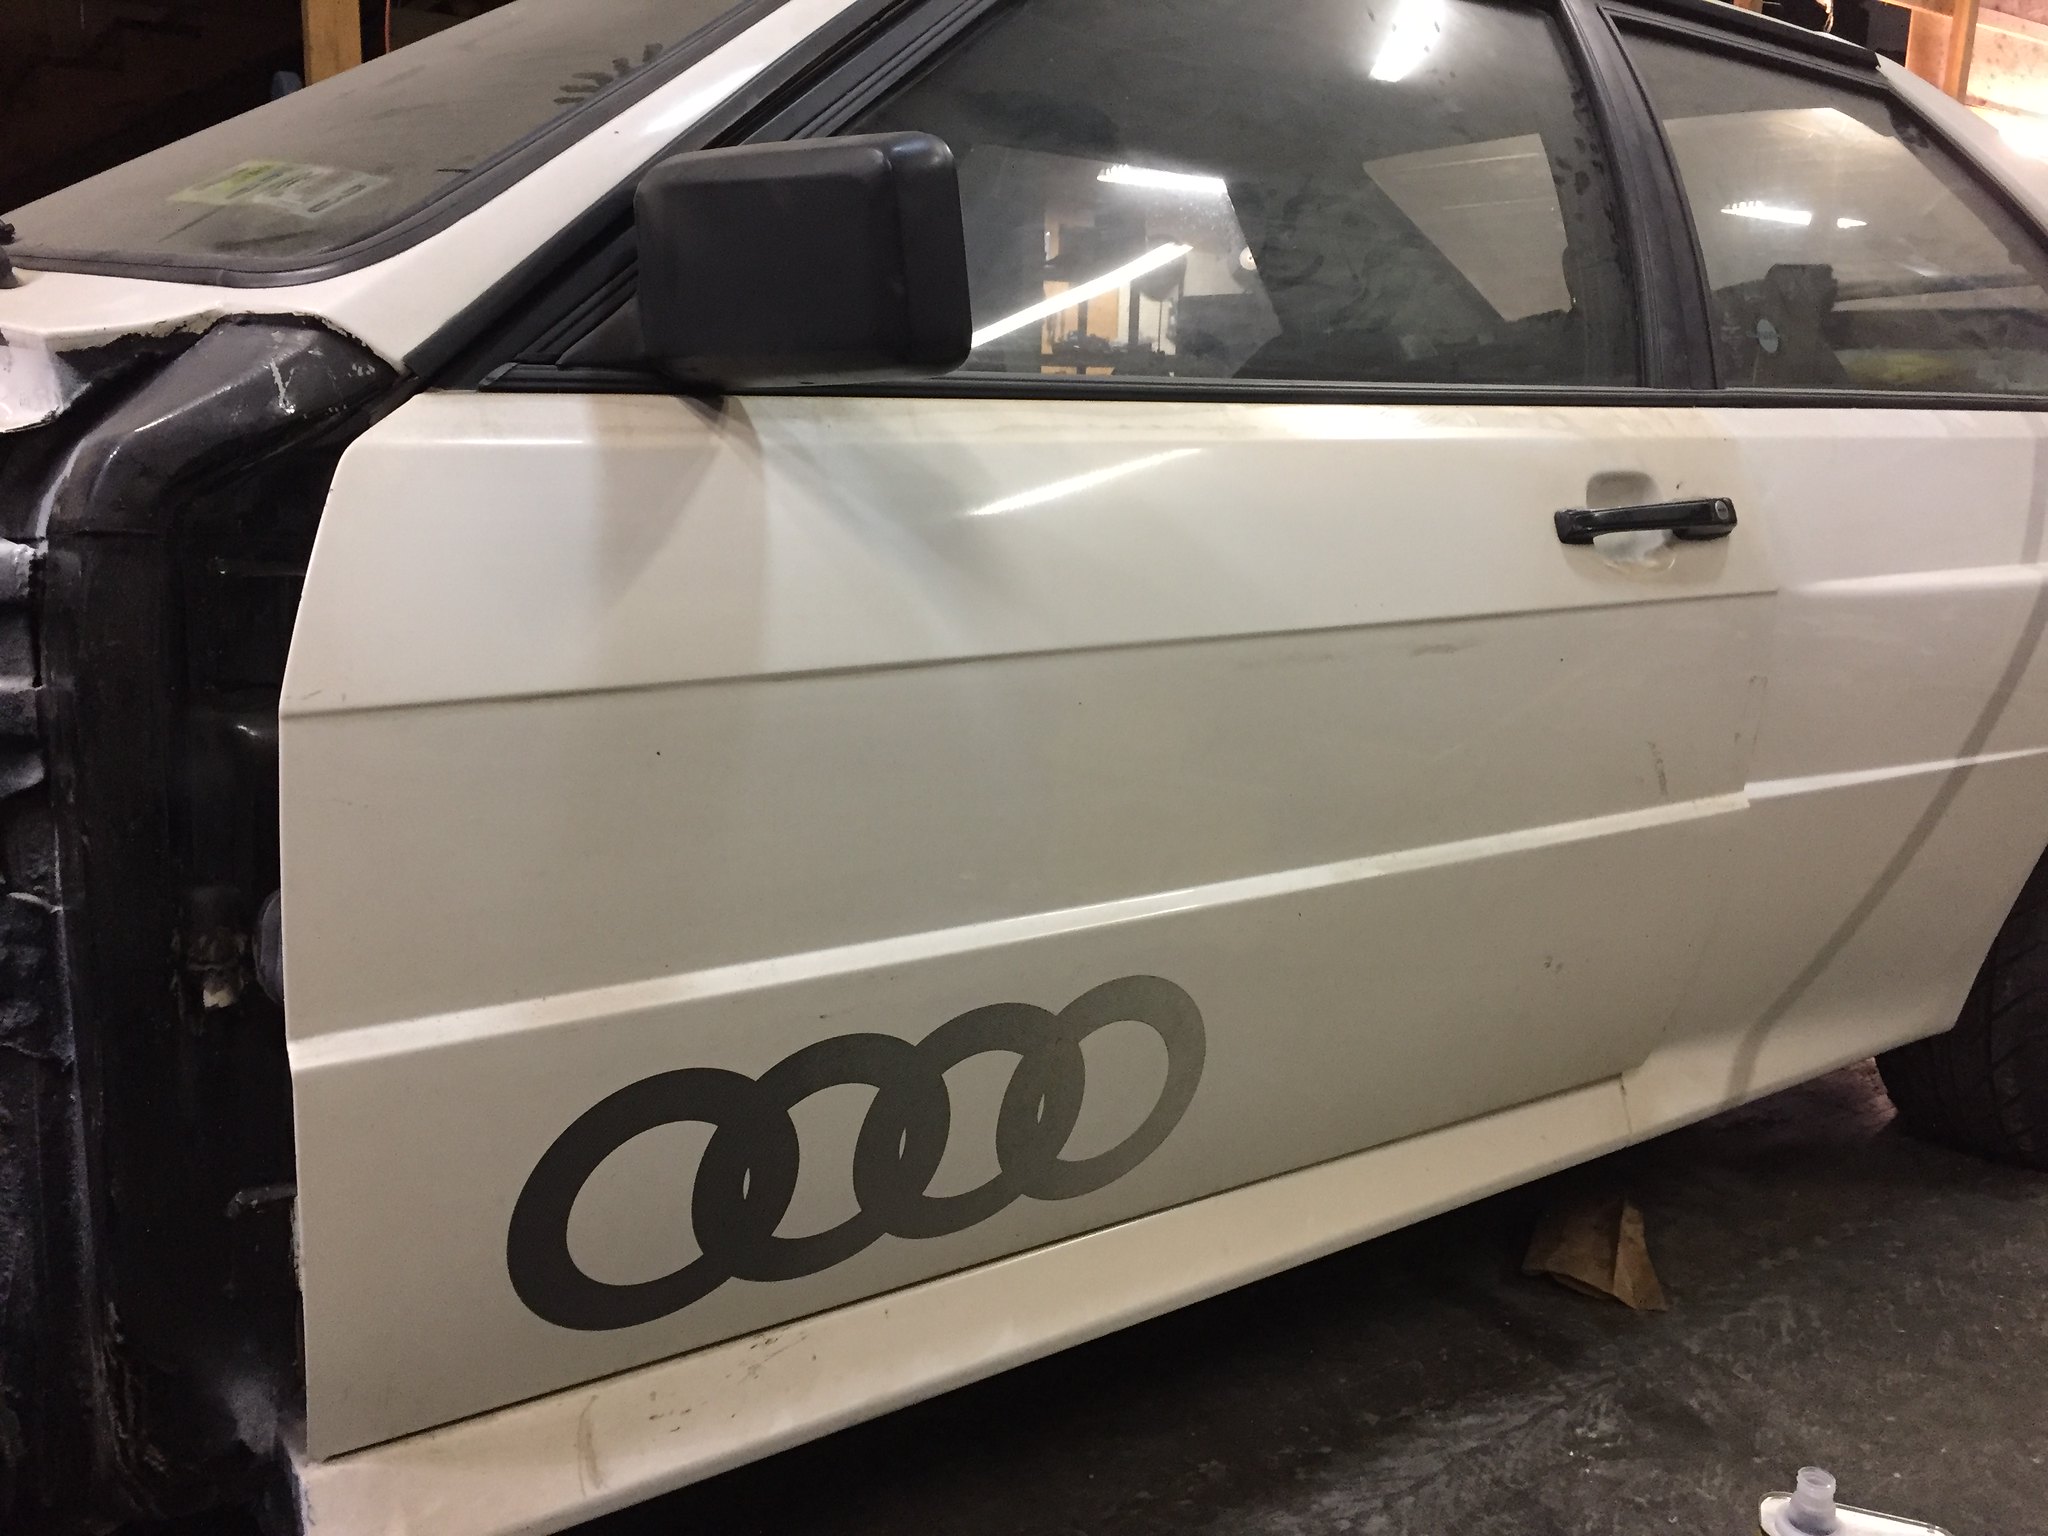
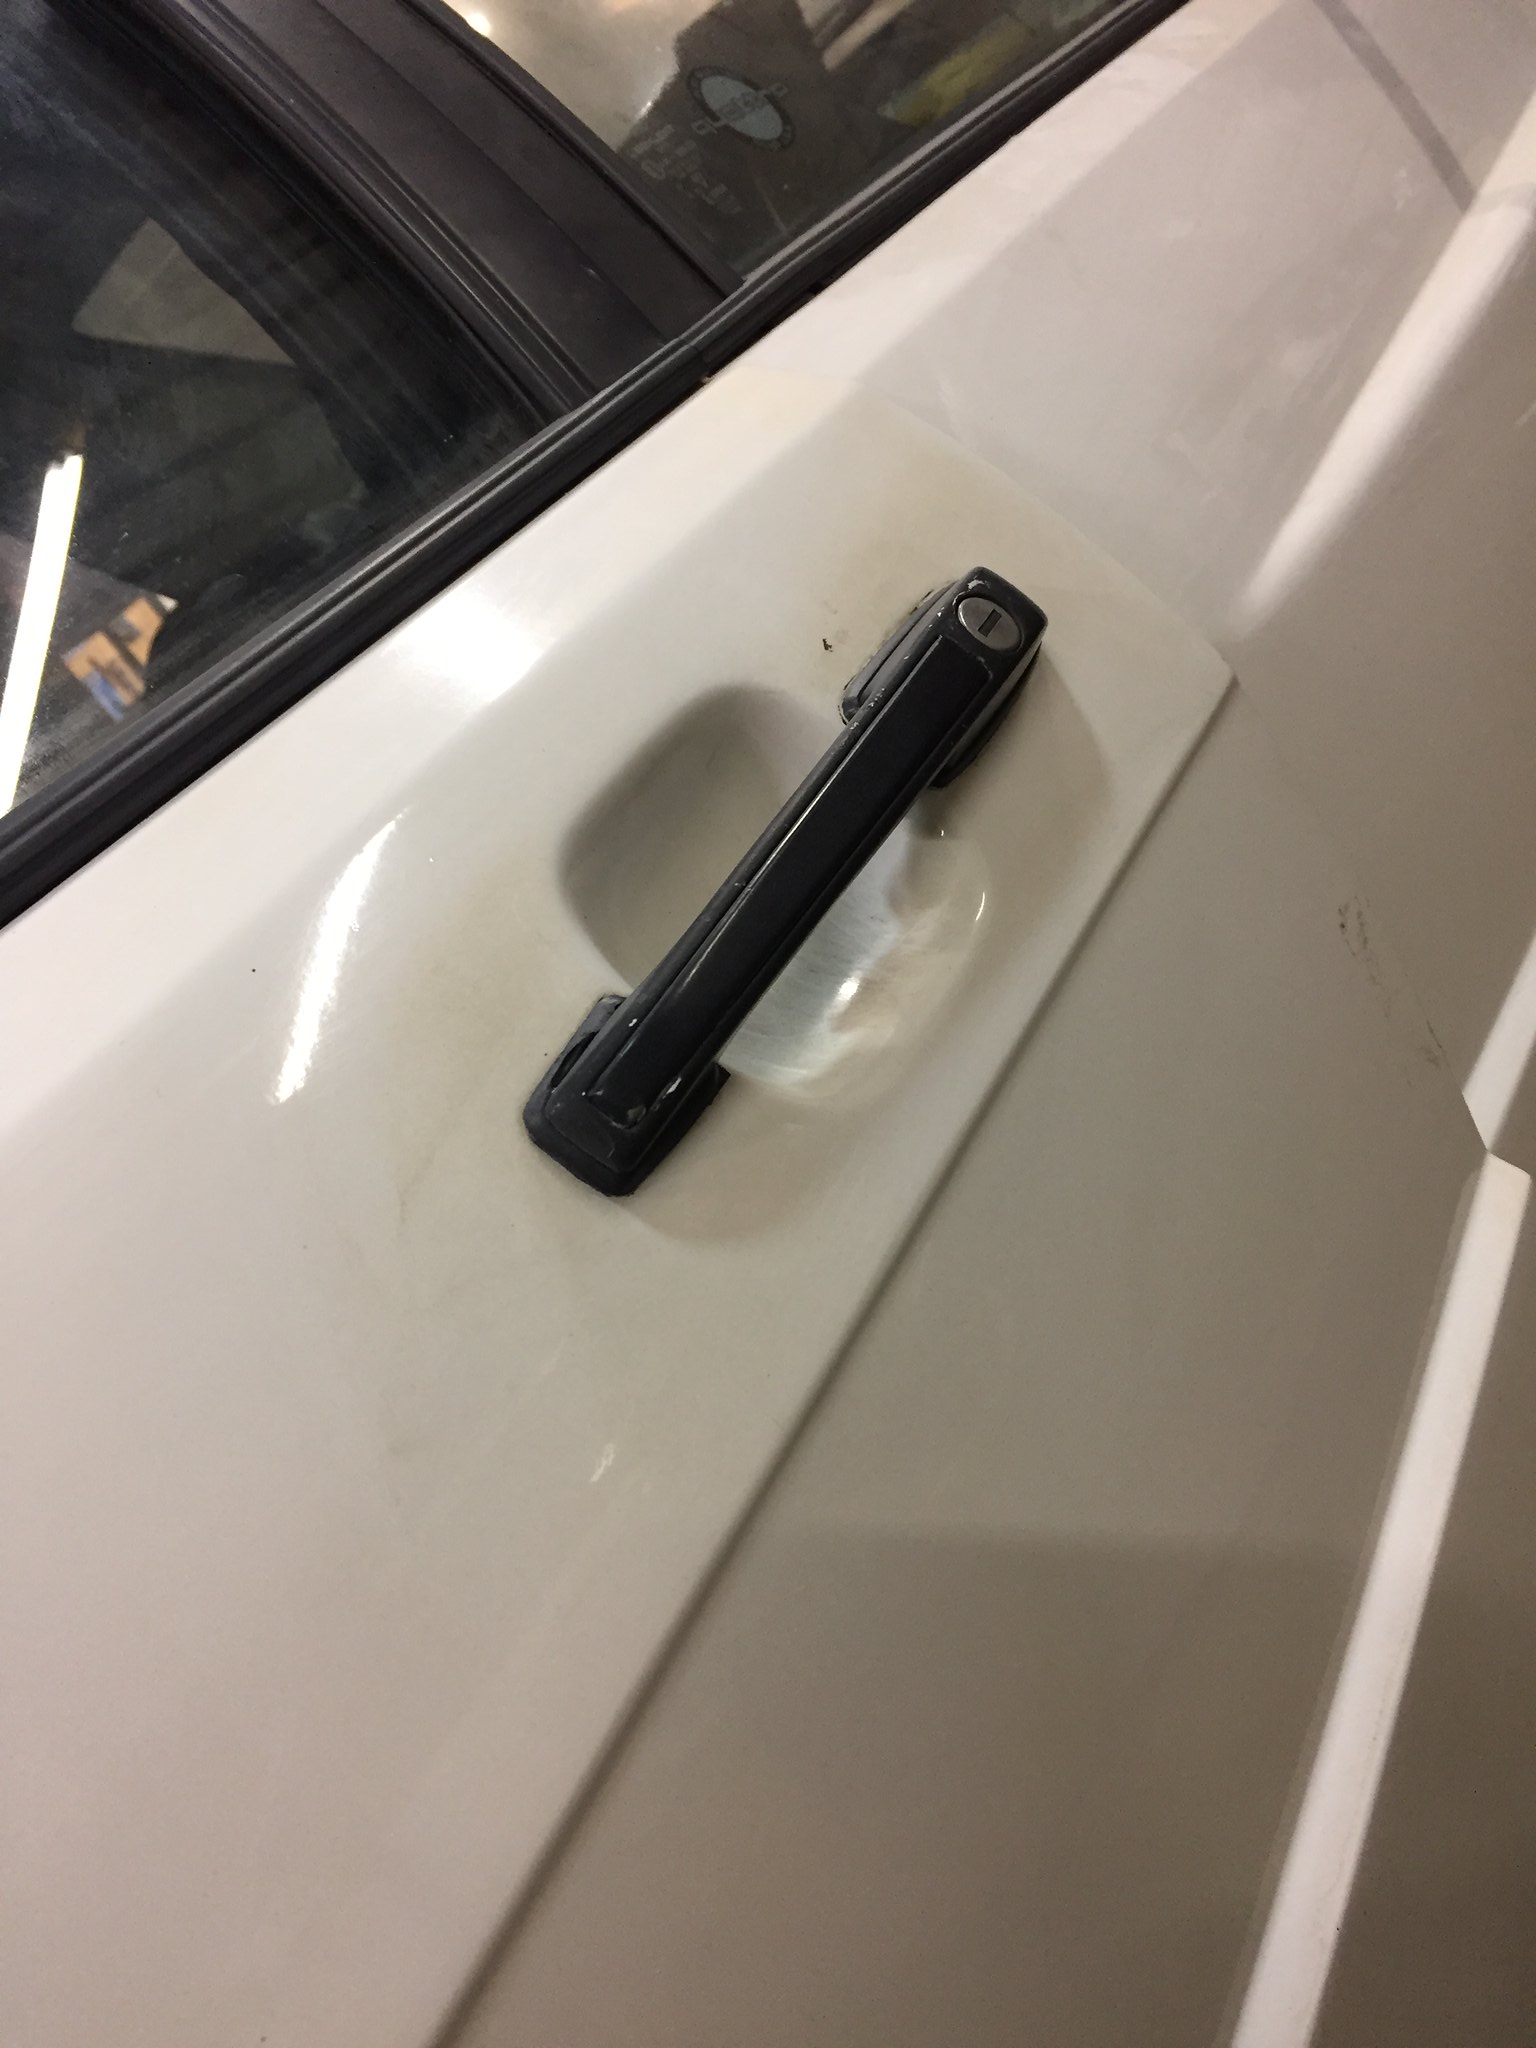
After:
I really wanted to drive this car to Vegas this year so need to speed things up a little bit to get it done.
*Got a proper small chassis oil pan and blasted out the inside- getting ready to swap over
*Fit up my throttle cable to go with the new forward facing manifold
*Cleaned the paint overspray off the drivers door.
Throttle cable
Drivers door before:
After:
-
Afterthought
- Posts: 1249
- Joined: Thu Jan 16, 2014 5:43 pm
- Location: Bellingham, Wa
Re: Pat's 1983 URQ Alpine white #603 , 20V in progress
Tackled a few things today had to pull the engine unfortunately to fix an issue.
Started buttoning up the brakes and stuff, re-installed the dust shields, started installing braided stainless brake lines, the rears I am missing one small piece. Looks like maybe I need a male-male bubble fitting. And also need to get some sort of tool to compress the pistons in the rear to fit new pads in.


Brakes almost done:

Missing something here, have two female ends.

Rear tie rods are in but not adjusted yet. these are the $9.99 BMW tie rod ends.

Also started making a bracket for the PS pump, but with the configuration of the forward facing intake manifold, It will not have the adjustment it needs.
so I need to either scrap the plan of V-belts and put on an AAN damper to run a serpentine setup, or come up with something else. I do have an MR2 electric PS pump laying around, may be a wise time to use it.


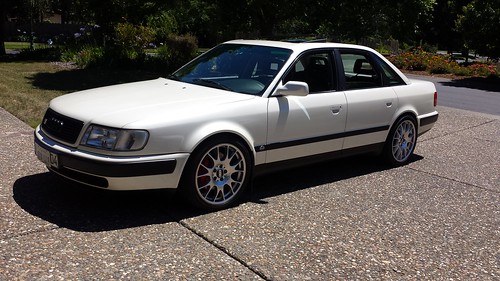
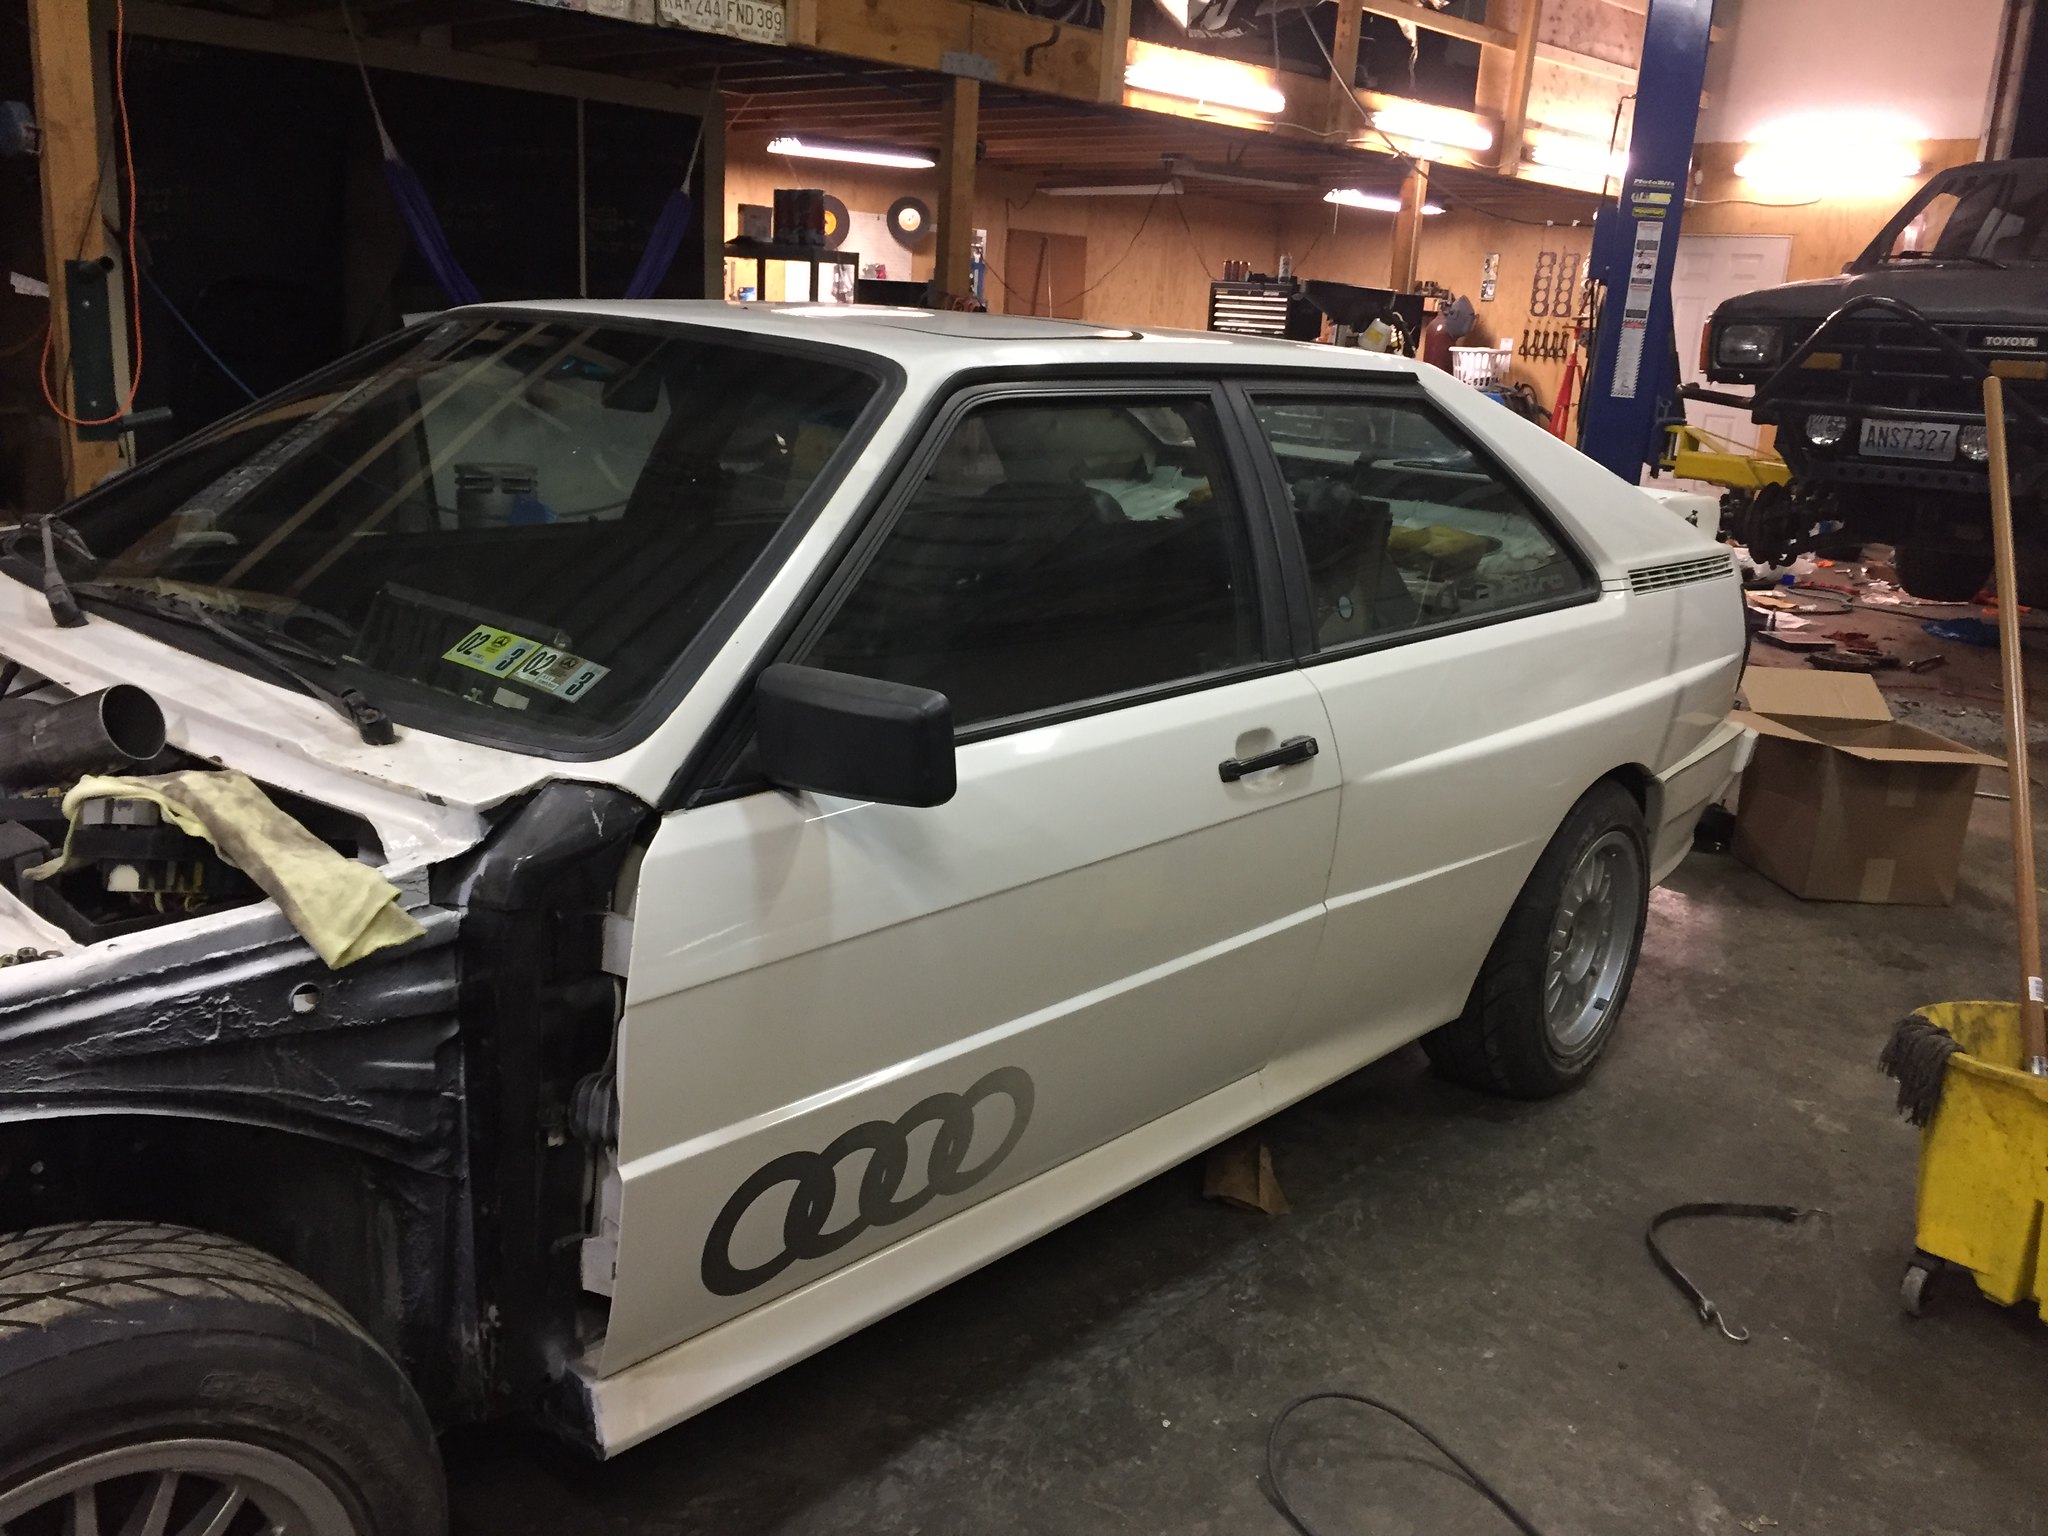
These wheels actually might not be a bad look for this car with some spacers. But I kind of like the old school look. This is just to roll it around on for now.

Have all the parts I need to configure my 01E linkage now. URS4 linkage, Small chassis lever arm and linkage, and a new ball and cup.


Heres where its left off for now..

Next step is to finish the brakes so I can fill and bleed the whole system, test the operation of the clutch and make sure that's all good before I move forward
Started buttoning up the brakes and stuff, re-installed the dust shields, started installing braided stainless brake lines, the rears I am missing one small piece. Looks like maybe I need a male-male bubble fitting. And also need to get some sort of tool to compress the pistons in the rear to fit new pads in.
Brakes almost done:
Missing something here, have two female ends.
Rear tie rods are in but not adjusted yet. these are the $9.99 BMW tie rod ends.
Also started making a bracket for the PS pump, but with the configuration of the forward facing intake manifold, It will not have the adjustment it needs.
so I need to either scrap the plan of V-belts and put on an AAN damper to run a serpentine setup, or come up with something else. I do have an MR2 electric PS pump laying around, may be a wise time to use it.
These wheels actually might not be a bad look for this car with some spacers. But I kind of like the old school look. This is just to roll it around on for now.
Have all the parts I need to configure my 01E linkage now. URS4 linkage, Small chassis lever arm and linkage, and a new ball and cup.
Heres where its left off for now..
Next step is to finish the brakes so I can fill and bleed the whole system, test the operation of the clutch and make sure that's all good before I move forward