Nick's Black 90 - 3B Swap: Running!
Re: Nick's Black 90 - 3B Swap: Clutch Options?
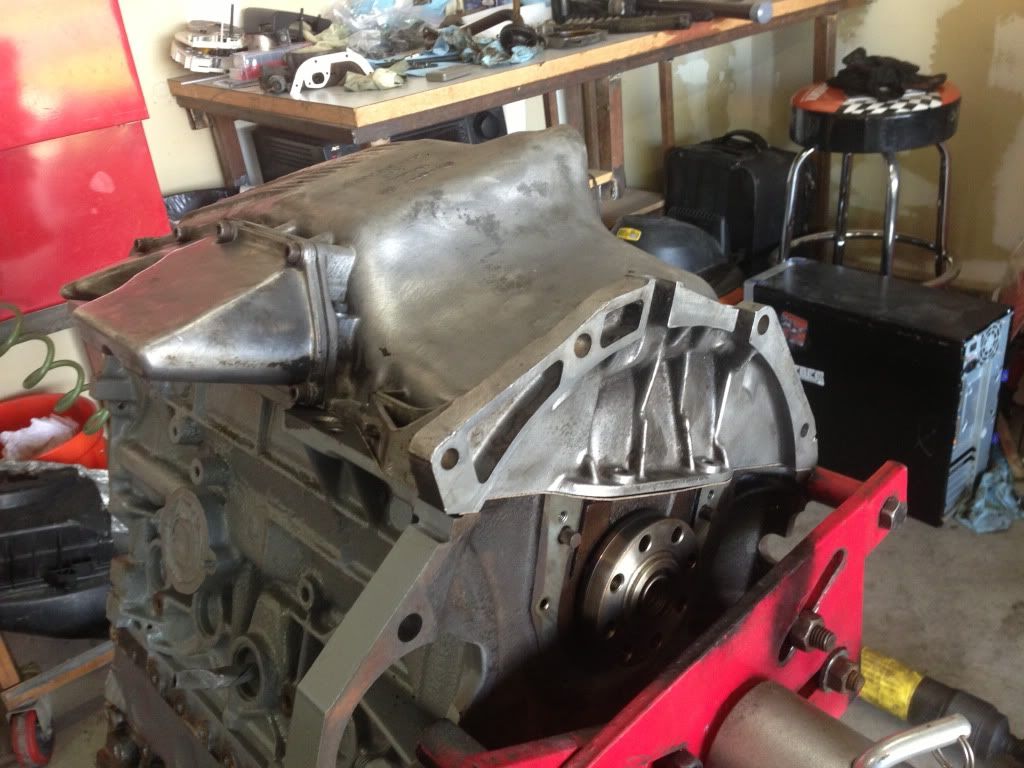
Not much of an update tonight. Got the oil pan cleaned up and almost put into place. Realized that there's a few gaskets missing from my collection and need to do an order then wait for parts to get here. Plus side is I'll have time to get more parts cleaned up/painted and ready to go back on.

Re: Nick's Black 90 - 3B Swap: Clutch Options?
Remember, I have your water manifold gasket in my car still!
Darin
1989 80 20vt
1989 80 20vt
Re: Nick's Black 90 - 3B Swap: Clutch Options?
Oh yeah! I need to rummage through your oil line collection as well.
Couple pics of what I accomplished last night.
Couple pics of what I accomplished last night.
Re: Nick's Black 90 - 3B Swap: Steady as she goes
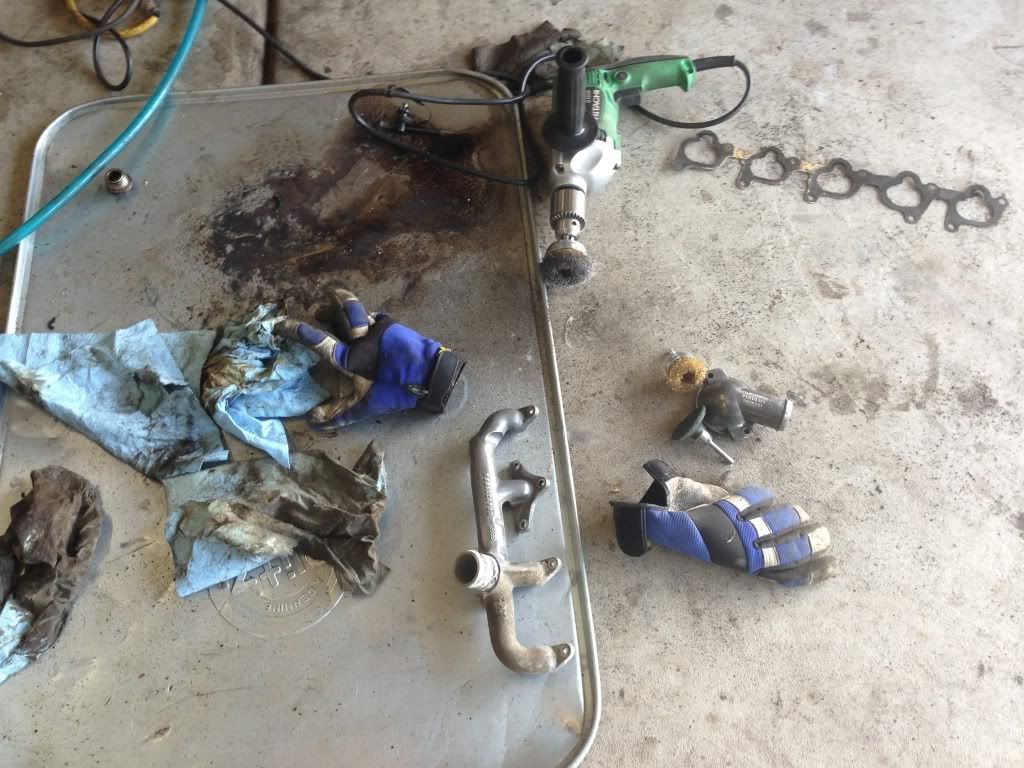
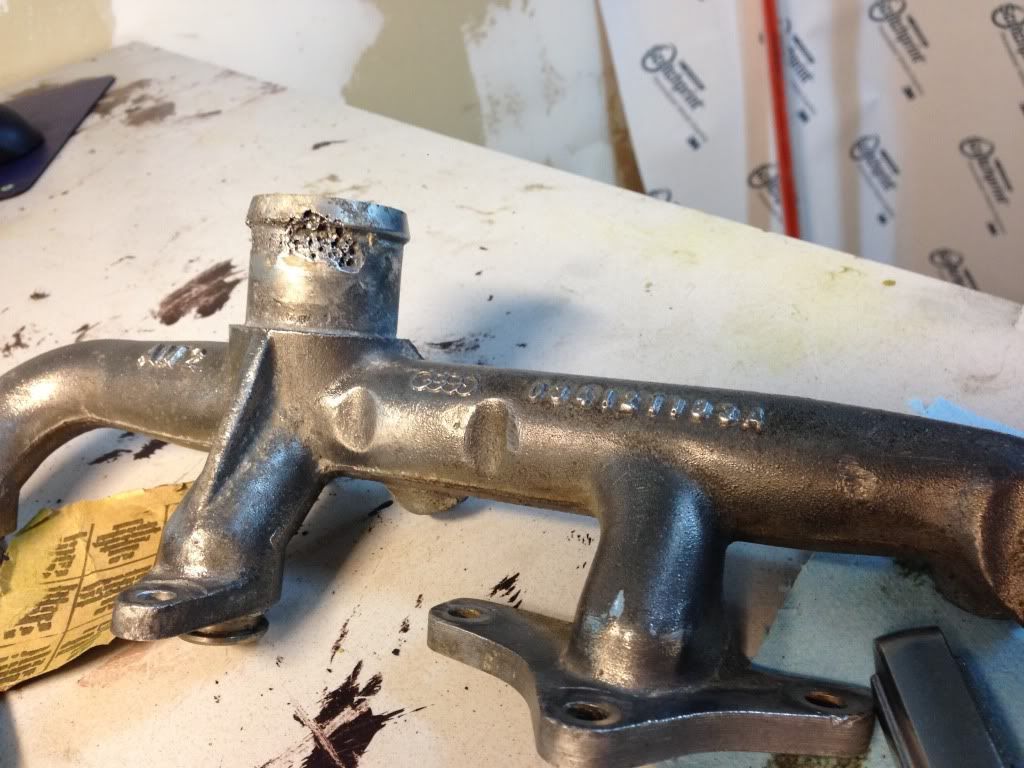
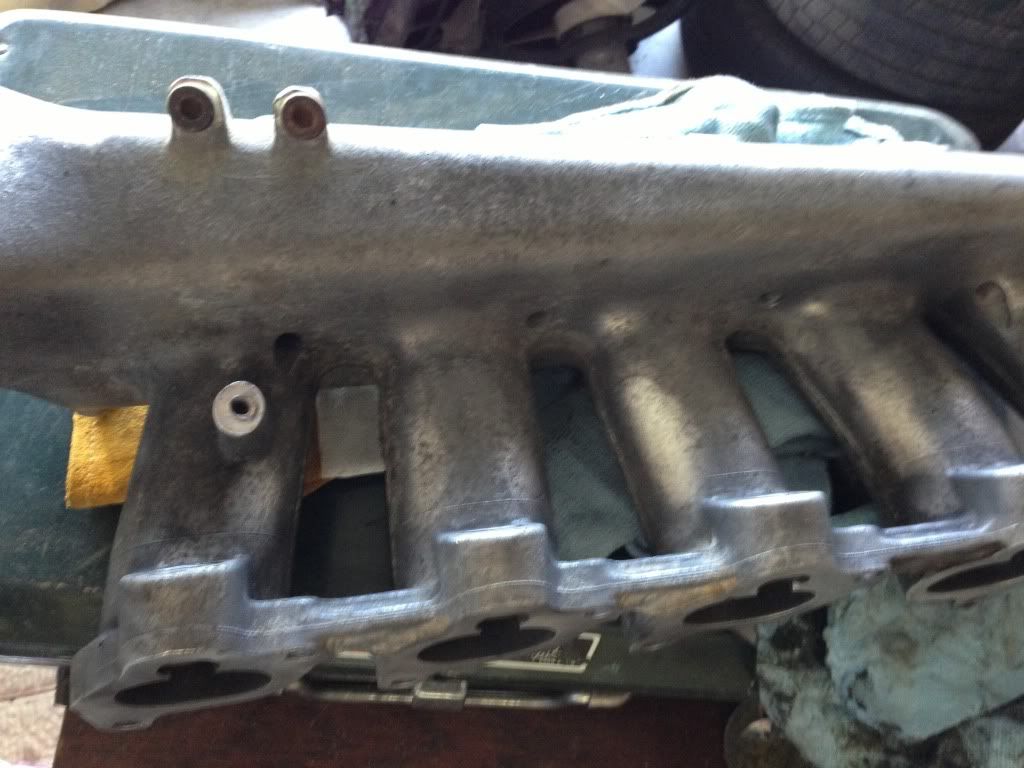
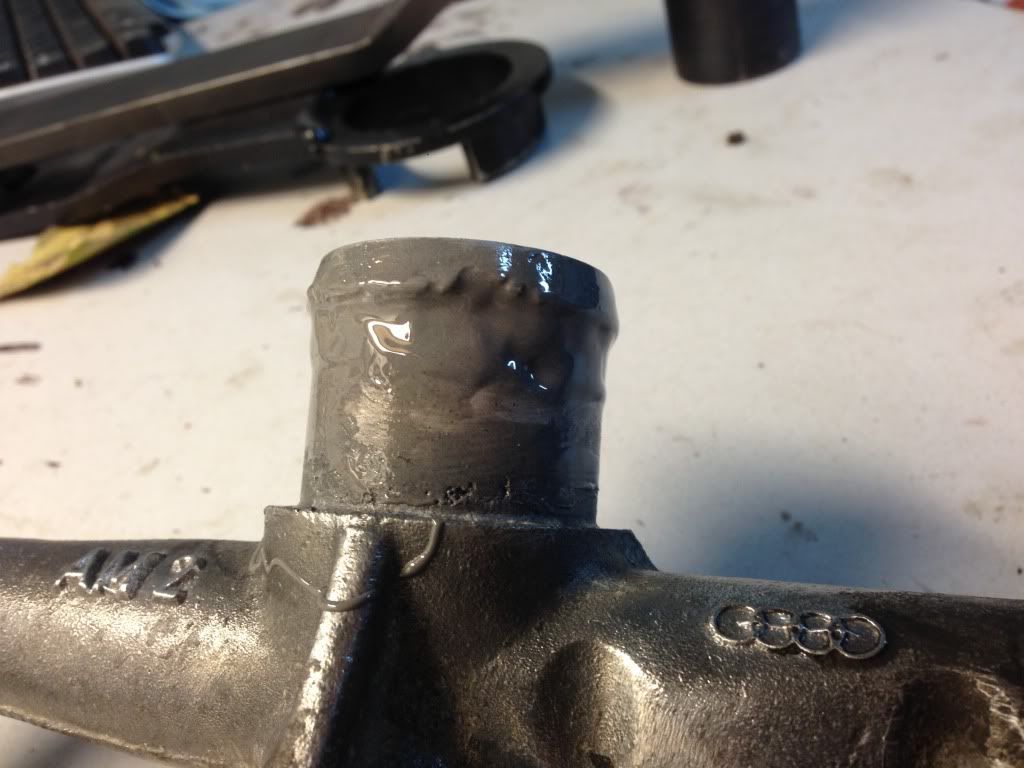
Had some time last night to start actually putting things back together. Started with the new cam chain. I didn't know if it really needed to be replaced but Hank said I should so I did. Seemed like I was working the whole 4.5 hours last night but still doesn't feel like it's getting anywhere. While cleaning up the water mani I noticed that there is some pretty severe pitting on the main output(input?). Does this indicate anything about the rest of the motor? Also had one of the fuel rail mount points break off on the intake so I drilled the bolt out and sure enough, it didn't drill straight. My thought was to use the hole there and tap some new threads in then hone out the fuel rail. My other option is to have the hole filled and re-drill. Thoughts?
Pics:
Pics:
Re: Nick's Black 90 - 3B Swap: Steady as she goes
See if you can find a stud of some sort and JB weld it in with a washer and nut to secure the fuel rail.
Darin
1989 80 20vt
1989 80 20vt
Re: Nick's Black 90 - 3B Swap: Steady as she goes
That would work. What if I could have someone fill the hole in with weld and then re-drill/tap?
Finding the welder person would be the hard part here since someone up and left us...
Sniffle.
Finding the welder person would be the hard part here since someone up and left us...
Sniffle.

Re: Nick's Black 90 - 3B Swap: Steady as she goes
I wouldn't sweat the pitting man, my AAN water mani was the same way. I imagine it's due to either crappy aluminum or people using the wrong coolant. Either way, I am sure it will be fine.  OH and it might be worth just swinging by a welding shop to have it filled. I can't imagine it costing more than 10 bucks to have them fill it. Hell, while you're there you might have them fill the pitting too, then just grind it smooth if you're worried about it.
-Ben-

-1985 Audi 4kq: Xona 7164 AAN 488whp- -2009 Audi A4 -
-1985 Audi 4kq: Xona 7164 AAN 488whp- -2009 Audi A4 -

Re: Nick's Black 90 - 3B Swap: Steady as she goes
nick, I am just about a few weeks away to getting my welding equipment up and running. I cant say I will be able to do it very soon though. you can get it to me and I can fix it with a larger stud if that works for you? I have the know how to fix yer wagon. if all else fails, I have other friends who tig so dont worry bout it too much. let me know if I can help? you got my number.
Re: Nick's Black 90 - 3B Swap: Steady as she goes
Thanks Dave for the offer! I may have a lead on a friend in Lehi that can fill it next week and then I can just drill/re-tap. Should know early next week and will let you know if that falls through.
Re: Nick's Black 90 - 3B Swap: Steady as she goes
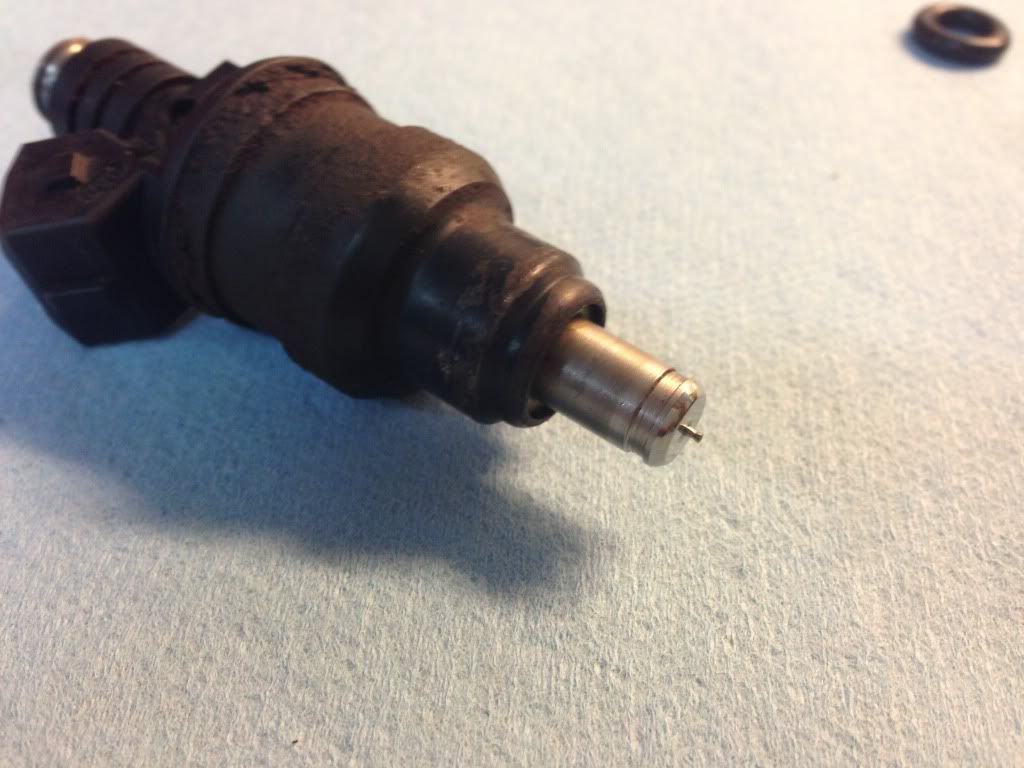
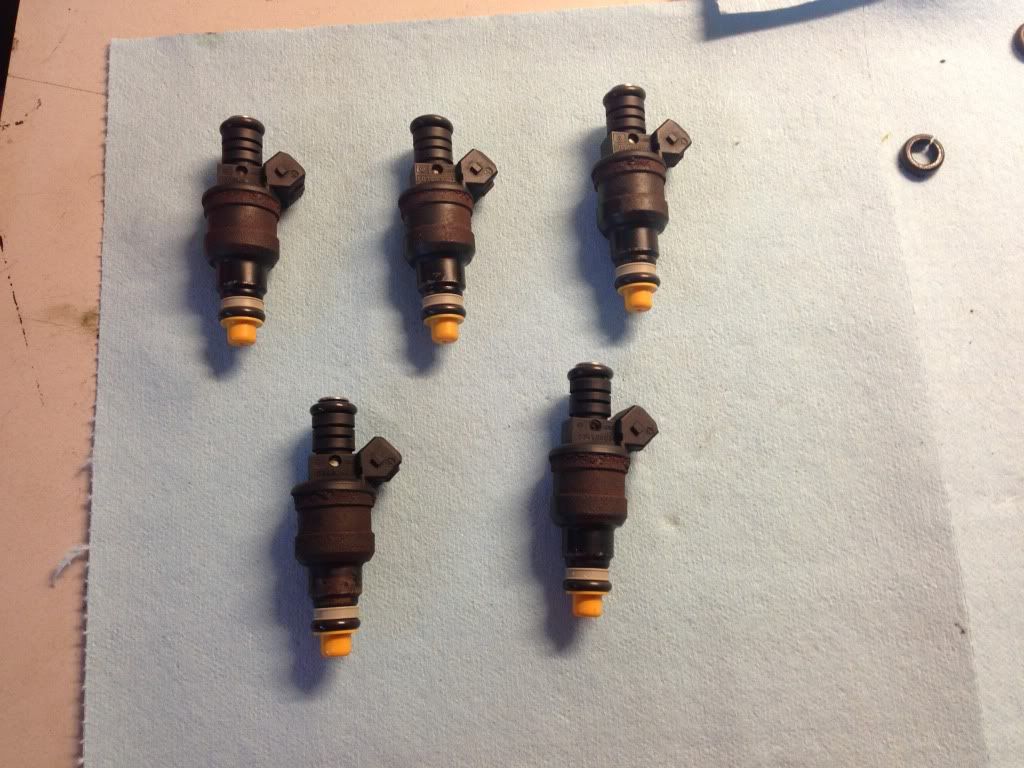
Made some decent progress tonight. Got the oil pan on, the timing belt on, oil filter housing installed and rebuilt the injectors. Only one trip to Home Depot for some needed bolts Also got the rest of the broken bolt out of the intake mani and shoud be able to get it filled in the next couple days. Had to order the input shaft seal for the tranny but should be here by the end of the week.
Question on the 7a flywheel: Do I leave both pins on?
Question on the wiring harness: Can I put the motor back in place before pulling the wiring harness and replacing with the 3b?
Onto the pics:
Question on the 7a flywheel: Do I leave both pins on?
Question on the wiring harness: Can I put the motor back in place before pulling the wiring harness and replacing with the 3b?
Onto the pics:

Re: Nick's Black 90 - 3B Swap: Couple Questions
Nice to see the progress, won't be long now!
Find me on Instagram @pry4sno
|| 2010 Golf Sportwagen TDI /// #farmenwagen
|| 2002 Dodge Ram 2500 24vt 4x4 #bertancummins
|| 1992 80 quattro 20v /// Eventual AAN'd Winter Sled
|| 1990 Coupe quattro /// Because Racecar
|| 2010 Golf Sportwagen TDI /// #farmenwagen
|| 2002 Dodge Ram 2500 24vt 4x4 #bertancummins
|| 1992 80 quattro 20v /// Eventual AAN'd Winter Sled
|| 1990 Coupe quattro /// Because Racecar
Re: Nick's Black 90 - 3B Swap: Couple Questions
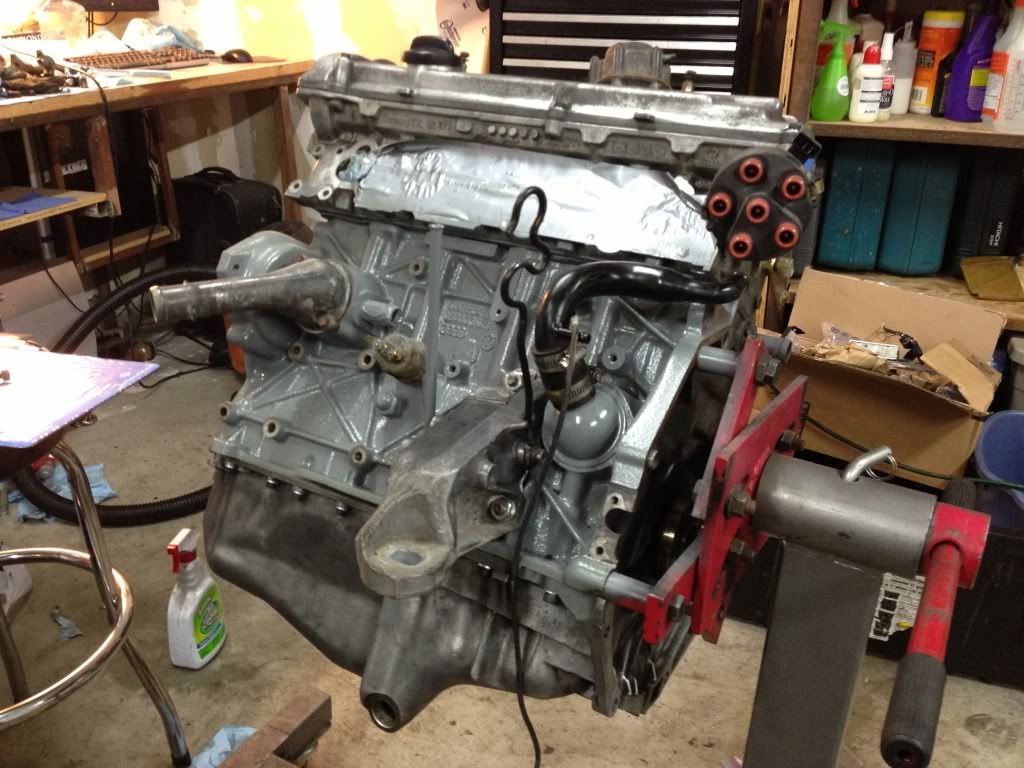
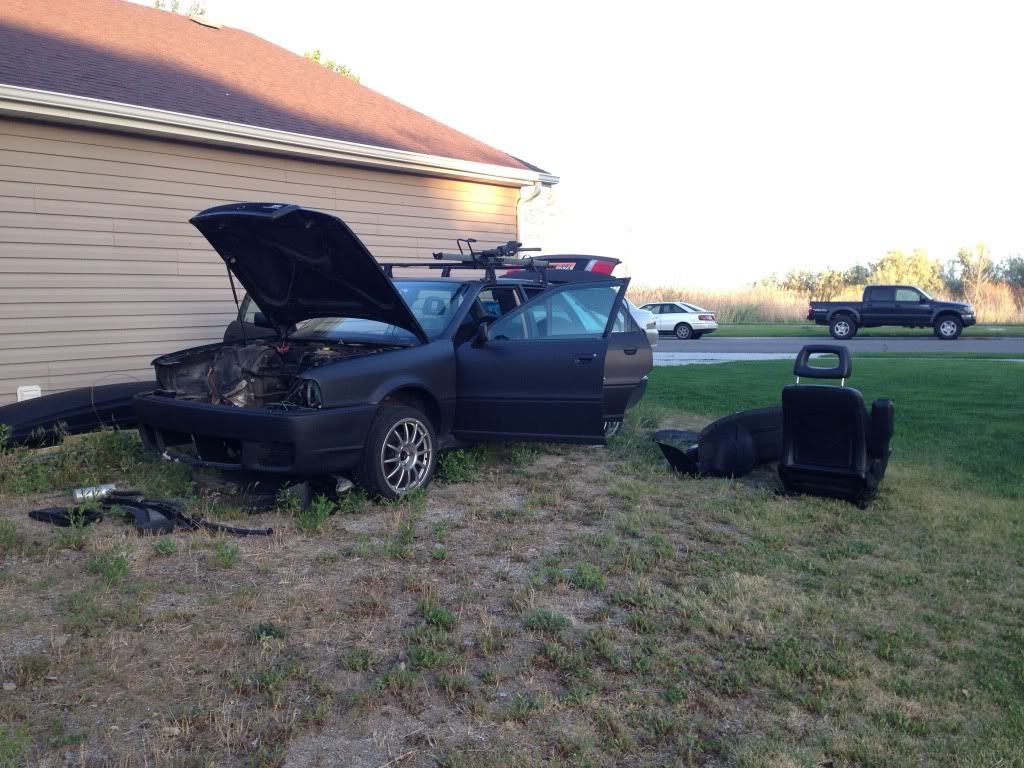
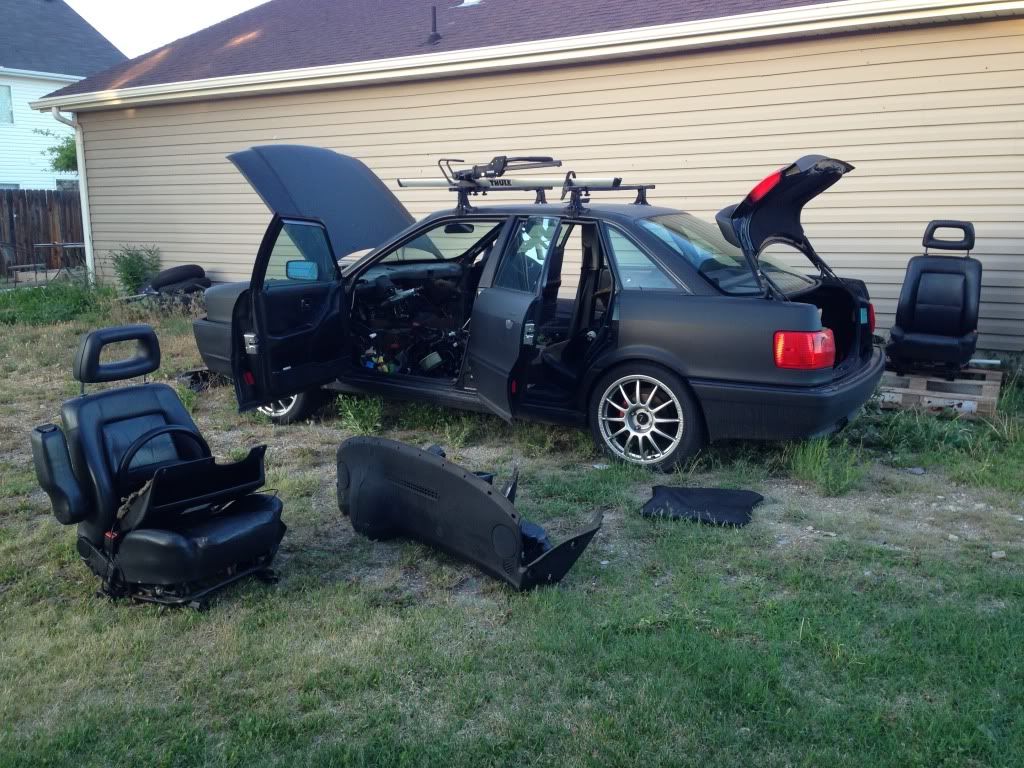
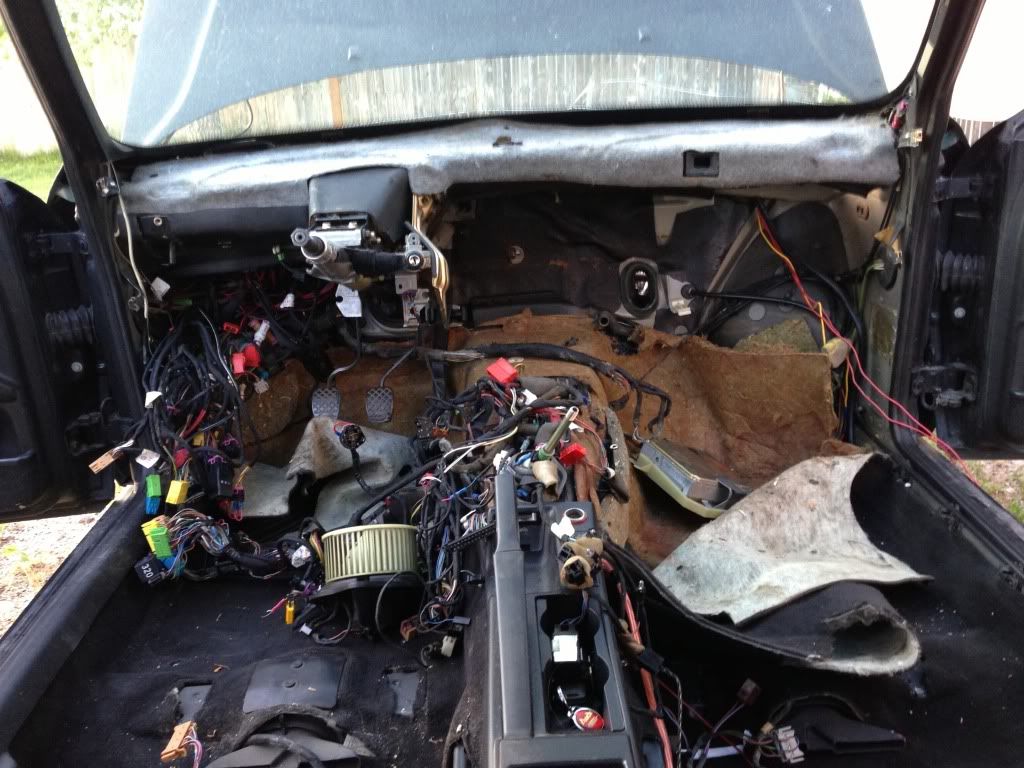
Made some decent progress yesterday. Started out with the dash removal until dark and then got a few other things sorted out with the motor. Getting the dash out wasn't too hard and it took a few to get the AC/Heatercore figured out. All in all it was a lot easier than I had anticipated. Yes, I did cut the carpet down the middle to pull it back easier and then cut the top part of the padding off. Should sit back in its place nicely when the time comes.
My buddy welded up the intake manifold for me and I was able to get the injectors installed as well. Cleaned up a few parts, put them on and that's about it.
Johnnyman came by after work and cleaned up shop. Can't thank him enough for taking the time to do that! We've both been cleaning up shops since we were kids and this was the first time for me being on the receiving end.
More Questions:
- Do I need to pull down the fuse box to do this harness swap?
- Will someone come over and do this harness swap?
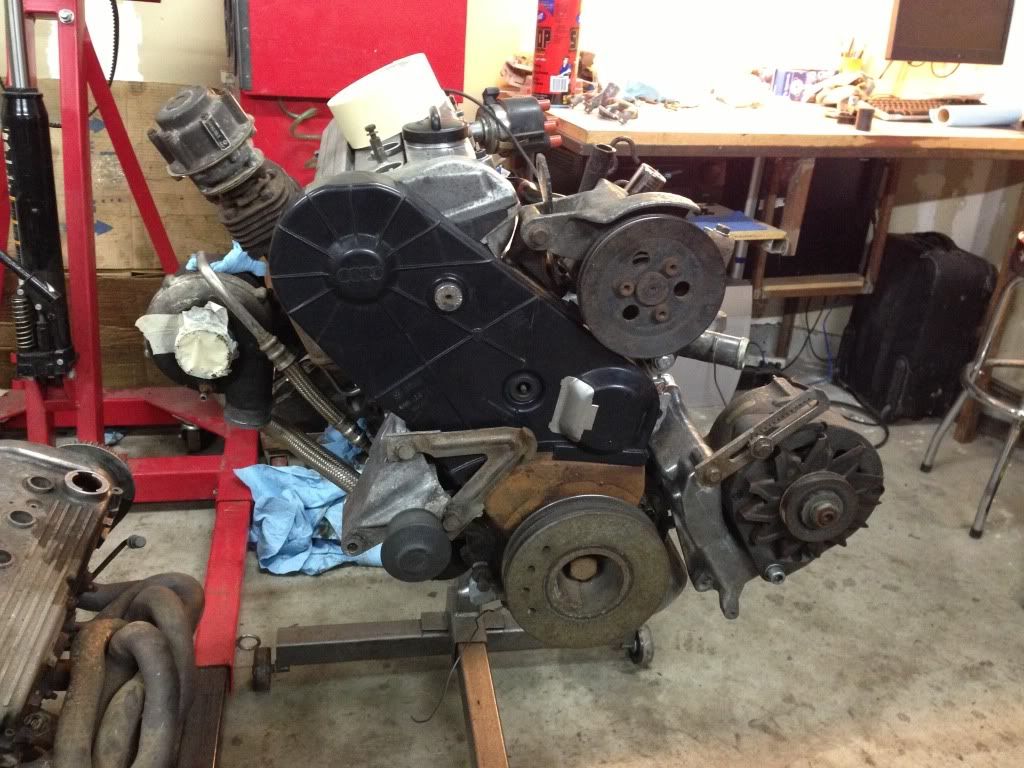
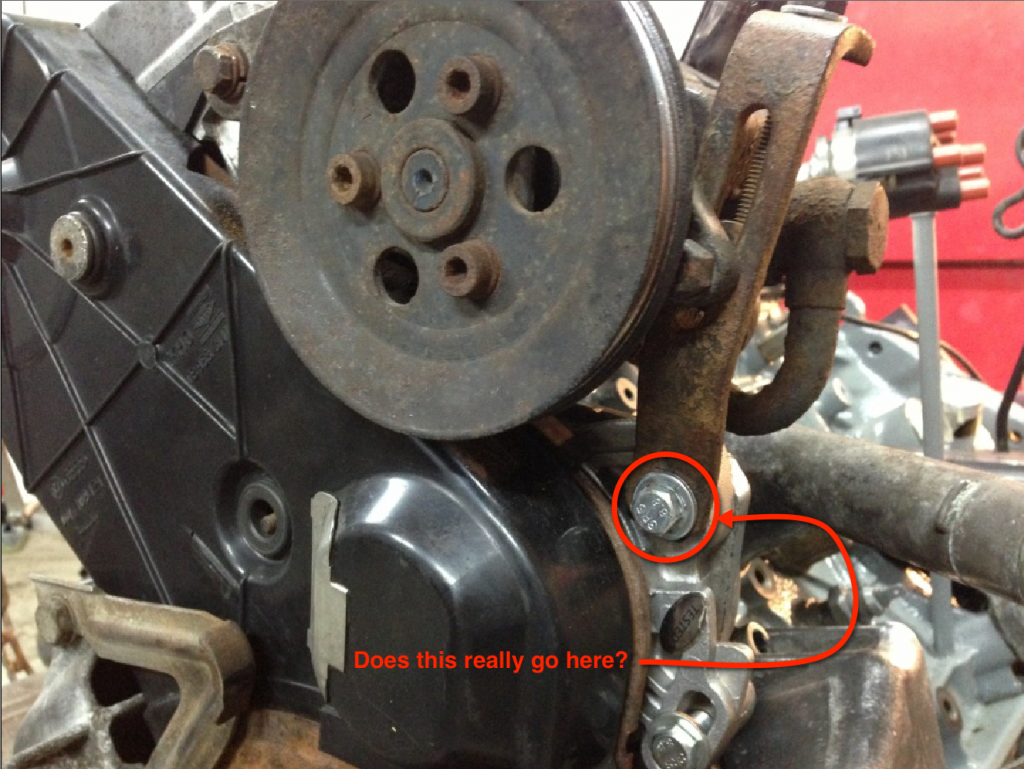
- Does the power steering pump mount really go on the waterpump? See pic below. (I know I know, should've remembered from when I took it off the other motor )
)
Onto the pics:
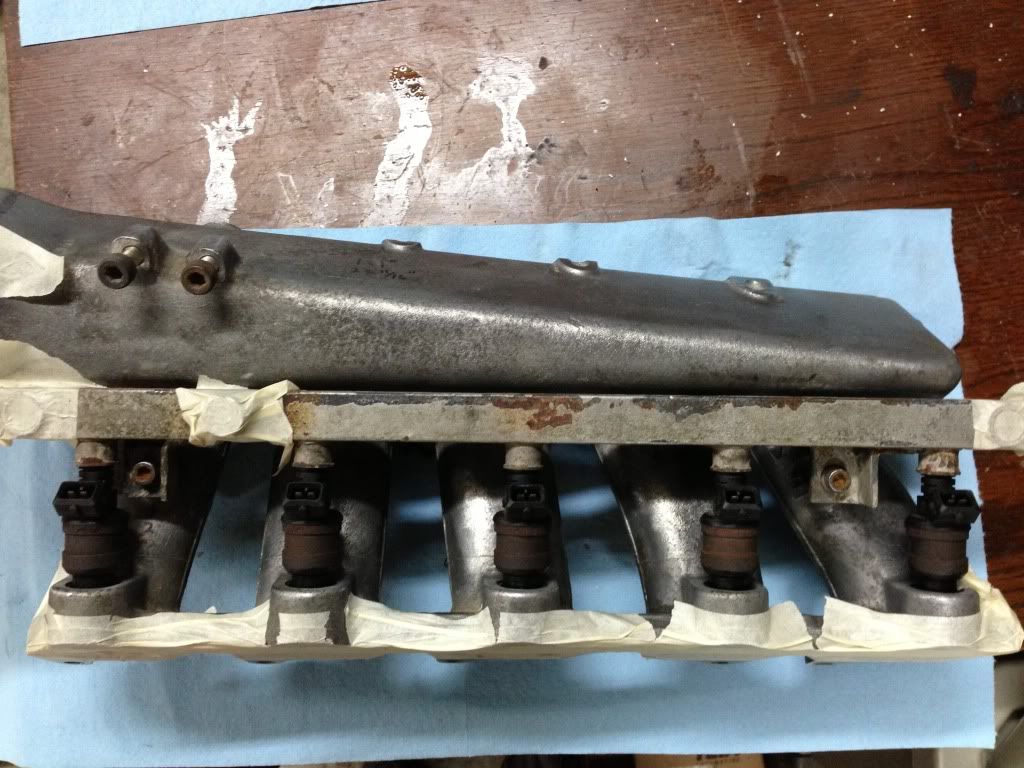
My buddy welded up the intake manifold for me and I was able to get the injectors installed as well. Cleaned up a few parts, put them on and that's about it.
Johnnyman came by after work and cleaned up shop. Can't thank him enough for taking the time to do that! We've both been cleaning up shops since we were kids and this was the first time for me being on the receiving end.
More Questions:
- Do I need to pull down the fuse box to do this harness swap?
- Will someone come over and do this harness swap?
- Does the power steering pump mount really go on the waterpump? See pic below. (I know I know, should've remembered from when I took it off the other motor
Onto the pics:
Re: Nick's Black 90 - 3B Swap: Hit the wall, need motivation
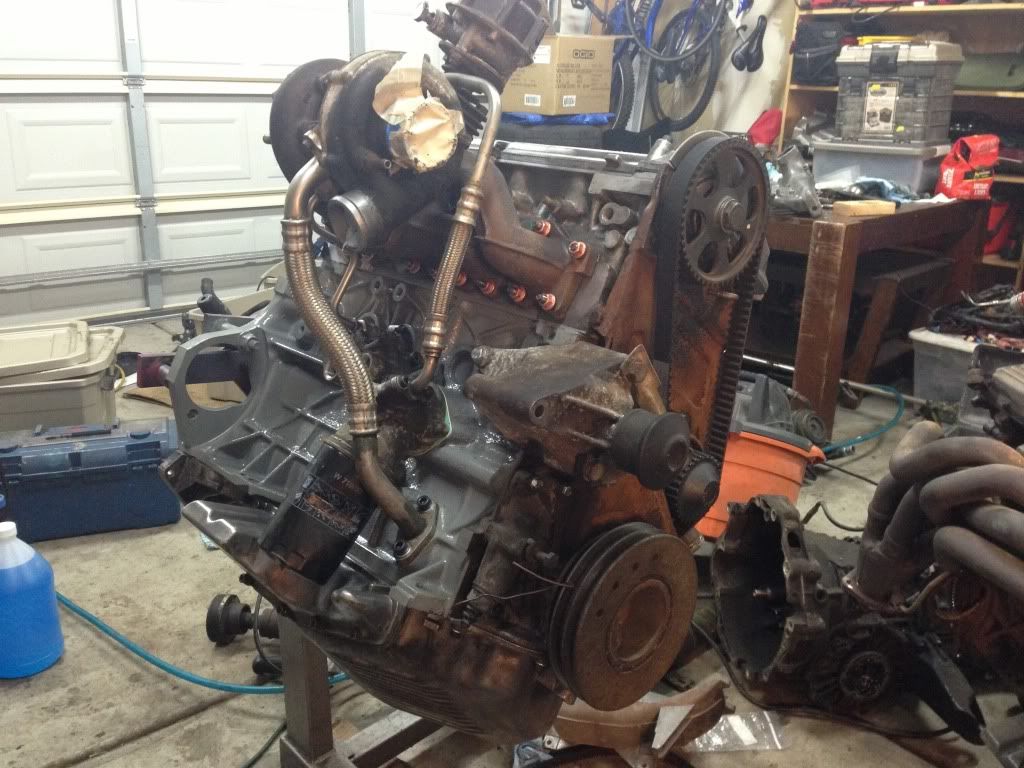
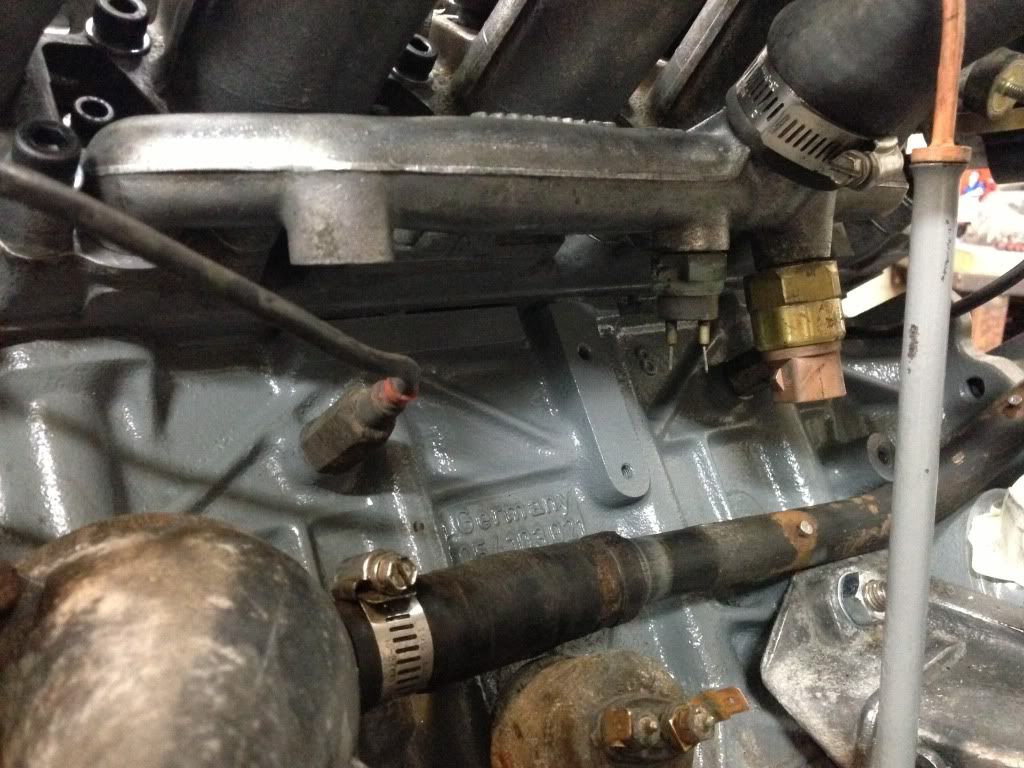
Hit the motivational wall today. I was pulling some coolant lines off of the hard line the comes off the h2o pump and one of the nipples had a hole in it from corrosion or some such thing. It's just one more stinky thing that needs to be fixed before really getting anywhere. Of course I'll attempt to put some spot weld on it and it should be fine, but this has been the theme of the whole build. Oh well, I'll get over it and move on but man is this frustrating! All this motor stuff and the wiring hasn't really even begun... ... ... which is probably my biggest fear have nightmares about during the daytime type fear. Any and all help with wiring will be very, very, VERY APPRECIATED!!!
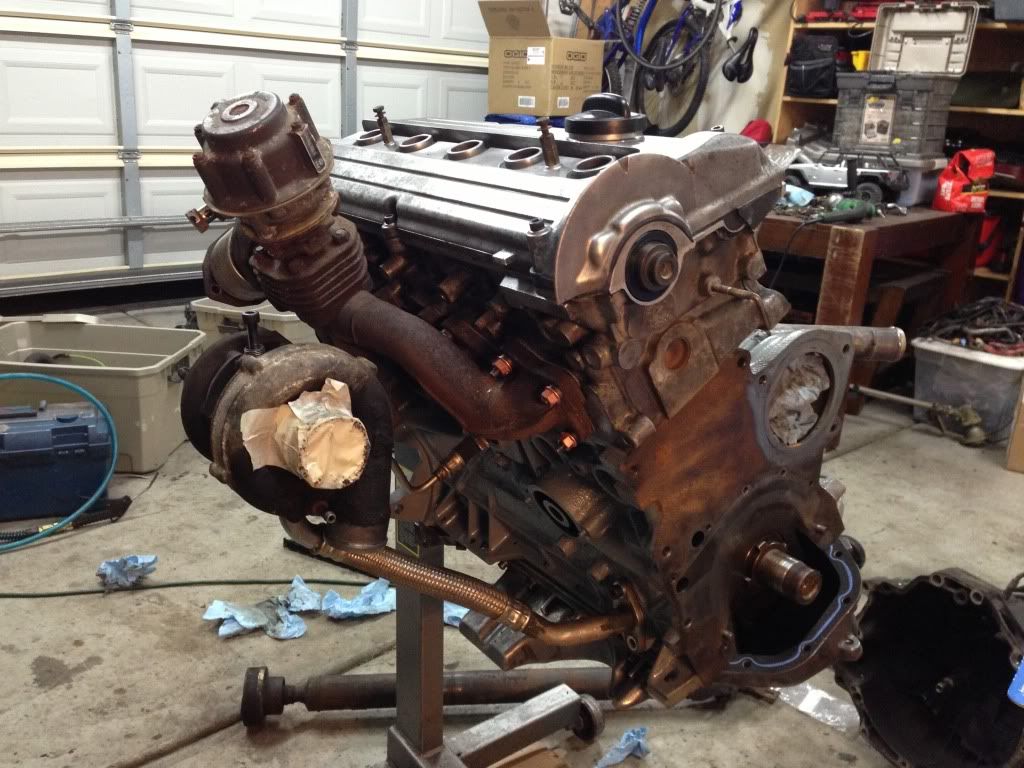
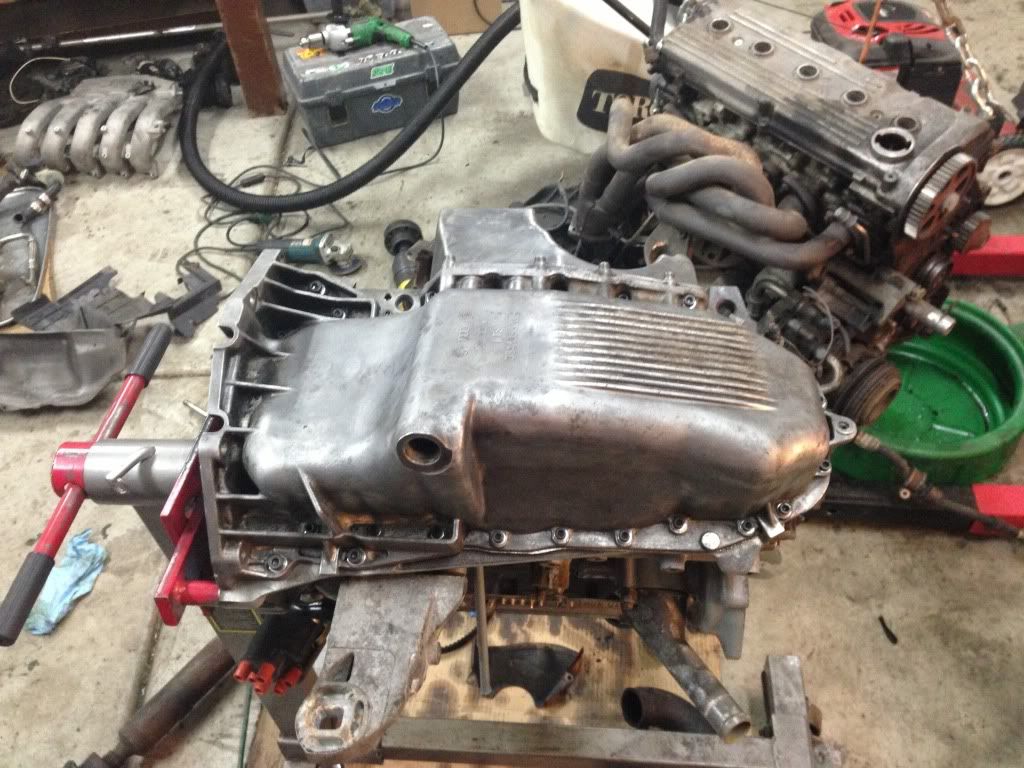
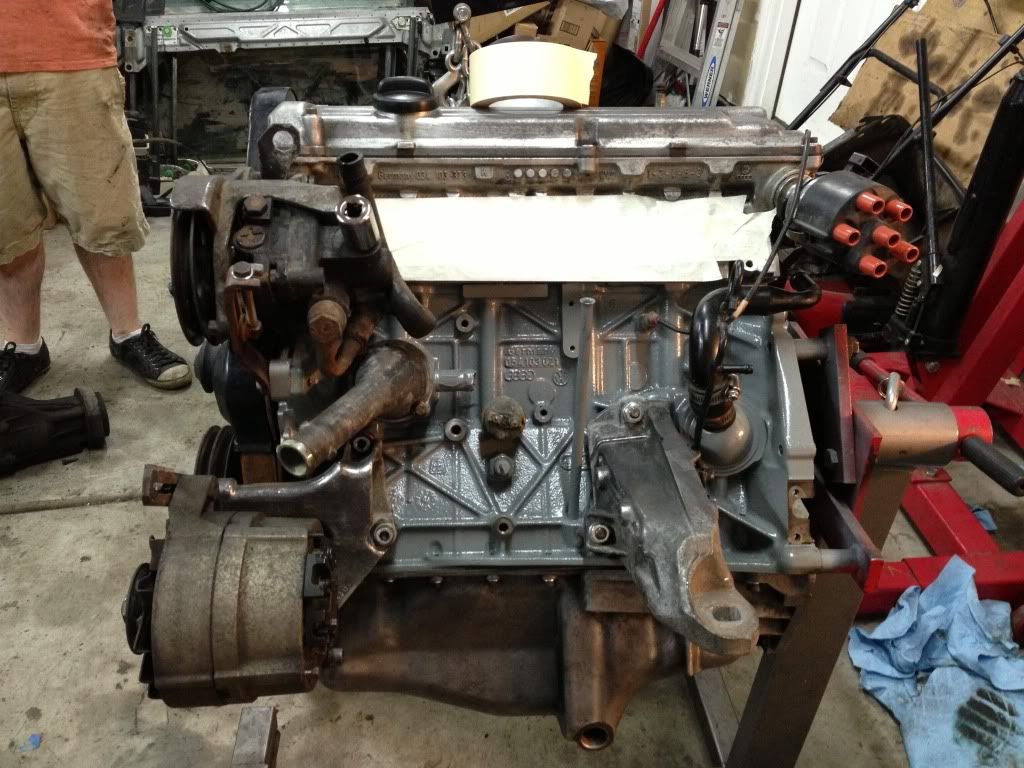
On the bright side, I got the intake mani on and now it is really starting to look like a proper 5cyl I hope to have all the necessary parts to bolt the tranny on this week and come next it'll be off the stand and ready to drop in.
Question on the water manifold, Do I have it correct with the two sensors? There's a banjo bolt type thing that I need to get new washers for that should go on the end and then it goes around to the turbo correct?
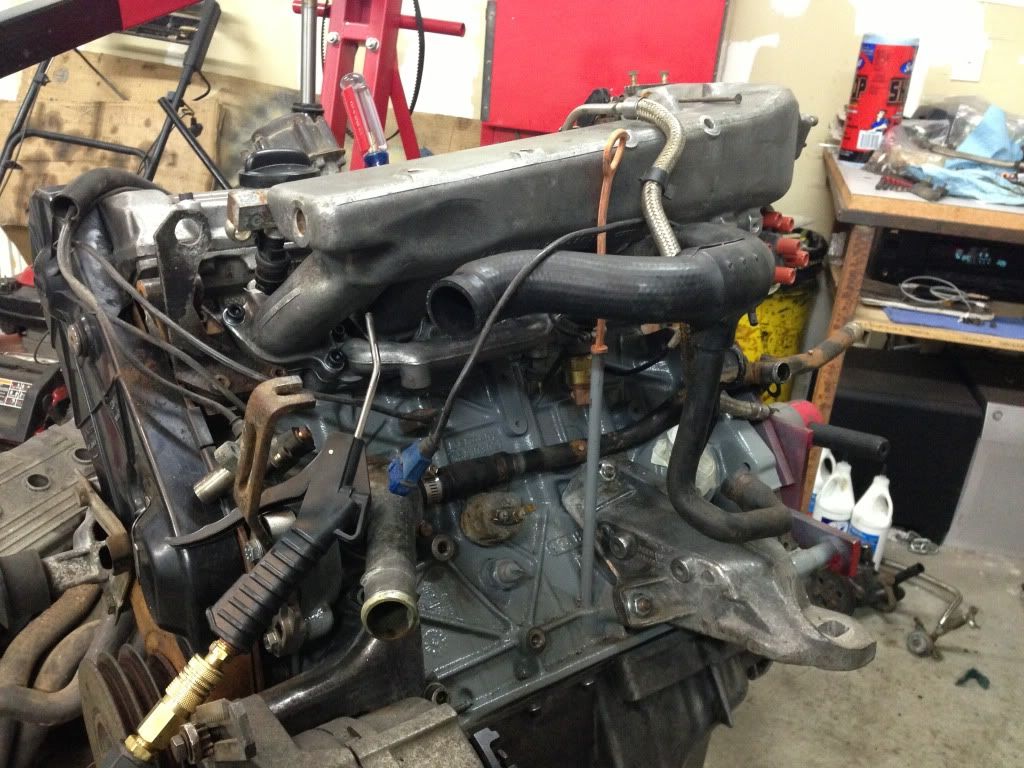
On the bright side, I got the intake mani on and now it is really starting to look like a proper 5cyl
Question on the water manifold, Do I have it correct with the two sensors? There's a banjo bolt type thing that I need to get new washers for that should go on the end and then it goes around to the turbo correct?
Re: Nick's Black 90 - 3B Swap: Hit the wall, need motivation
The water sensors are correct and the banjo comes off the front of the water manifold over to the turbo. Come grab that gasket and stare at my car for a while. That will motivate you!
Darin
1989 80 20vt
1989 80 20vt
Re: Nick's Black 90 - 3B Swap: Hit the wall, need motivation
A stare will only arouse my appetite without bedding it down. Now a ride, that would motivate!

Re: Nick's Black 90 - 3B Swap: Hit the wall, need motivation
Can't wait to see this at this years BBQ.
As long as it's driving....

As long as it's driving....
-Phil
87 5ktq - 20vt
91 v8 5spd - Why?
05 S4 - Gone and very much so forgotten
14 TDI Touareg
-Terrible at responding to PM's
87 5ktq - 20vt
91 v8 5spd - Why?
05 S4 - Gone and very much so forgotten
14 TDI Touareg
-Terrible at responding to PM's
Re: Nick's Black 90 - 3B Swap: Hit the wall, need motivation
-Ben-
-1985 Audi 4kq: Xona 7164 AAN 488whp- -2009 Audi A4 -
-1985 Audi 4kq: Xona 7164 AAN 488whp- -2009 Audi A4 -
Re: Nick's Black 90 - 3B Swap: Hit the wall, need motivation
motivation huh?
how about a car you cant stop thinking about? a car you want to go drive....when you just get home. a car that will kill any stock wrx without even blinking...even with stock turbo and ecu. a car that when you drive it, all the boy racers try to stare you down and race you while you laugh to yourself and avoid a ticket for being stupid because you dont have to prove your car is better. It obvious.
the best motivation of all....you built this with your bare hands and its your baby.
Nick, I never mentioned this to very many people before. Back when I built my 4kqt and had just sold it, my buddy who bought it is good friends with Richard Losee. well he was doing a little work for him up at his house and he handed the keys over to him. Richard has a lot of way cool cars in his garage. by far more unique than my old 4kqt. he came back with a grin from ear to ear and said "That was a blast!"
How can you top getting a compliment like that from a guy that flipped his enzo at over 200 while racing it?
Get It Done!
Re: Nick's Black 90 - 3B Swap: Hit the wall, need motivation
That whole post gets a  from me, Dave.
Nick, it'll all be worth it once you turn that key. My project ended up taking probably 15 times longer than I planned and went well over budget. I still haven't driven it due to a bad injector, but to hear it run - even on 4 cylinders...made all the blood and sweat and frustration disappear from my mind completely. Keep at it!
Nick, it'll all be worth it once you turn that key. My project ended up taking probably 15 times longer than I planned and went well over budget. I still haven't driven it due to a bad injector, but to hear it run - even on 4 cylinders...made all the blood and sweat and frustration disappear from my mind completely. Keep at it!
90 Coupe Quattro - 3b + 01e
87 4000 - future trail rig
00 a6 2.7t 6speed - winter beater
87 4000 - future trail rig
00 a6 2.7t 6speed - winter beater

Re: Nick's Black 90 - 3B Swap: Hit the wall, need motivation
Been there myself wayyy too many times! Remember this isn't an average undertaking (outside this forum) and keep on trucking. The first boosted drive will make it all and more worth it
PS jealous of your 10 extra valves
PS jealous of your 10 extra valves
-Shawn C.
2001 S4 6spd Avant blk/blk - stock daily
2002 01E B6 A4 Built FYF, Built 1.8T, HX35 ~330whp
1989 MC-1 200 Avant- MS1 -Gone but will never forget her lessons
1987 5ktq Sedan - Best $500 beater ever
2001 S4 6spd Avant blk/blk - stock daily
2002 01E B6 A4 Built FYF, Built 1.8T, HX35 ~330whp
1989 MC-1 200 Avant- MS1 -Gone but will never forget her lessons
1987 5ktq Sedan - Best $500 beater ever
Re: Nick's Black 90 - 3B Swap: Hit the wall, need motivation
Thanks everyone for the motivation! Dave really did sum it up nicely
So far I've been just fine with the hiccups but for some reason yesterday was a low point. Good news is I'm on the rebound and ready for more!
This thing is so close to being able to put the motor back in I can taste it, if things go right it could be next week.
So far I've been just fine with the hiccups but for some reason yesterday was a low point. Good news is I'm on the rebound and ready for more!
This thing is so close to being able to put the motor back in I can taste it, if things go right it could be next week.
Re: Nick's Black 90 - 3B Swap: Wiring Help Please :)
Before I go through the effort of putting this all in a google doc for future reference. Do you all think this will be useful as a template of which wires from the 7a get grafted into the 3b?
After clicking the link, there will be a magnifier on the lower right corner of the image. Click this and then click the magnifier again to view in full resolution.
http://s1120.photobucket.com/user/meine ... s.jpg.html
I'm going to try and take another pic tomorrow morning to get a better one.
One step closer!

Re: Nick's Black 90 - 3B Swap: Wiring Help Please :)
The wiring isn't bad at all. What is your setup? Engine, ecu, and harness?
Matt
18 Silverado 1500 work pig, roof rack and tonneau cover
11 Jetta sedan TDI DSG, rear muffler delete
GONE :( 87 4ktq - 4 FOX SNAKES

18 Silverado 1500 work pig, roof rack and tonneau cover
11 Jetta sedan TDI DSG, rear muffler delete
GONE :( 87 4ktq - 4 FOX SNAKES
Re: Nick's Black 90 - 3B Swap: Wiring Help Please :)
3b engine, ecu and harness.
Re: Nick's Black 90 - 3B Swap: Wiring Help Please :)
Things you want from the 200 harness on a stock setup:
(5x) Injector plugs - easy to id
Hall sender - r, gy/r, br
Coolant temp sensor (ecu) - gy/br, g/bk - white 2 pin
Intake air Temp sensor - br/bl, bl - hardwired
Ignition Coil - g/w, bk, br - all larger gauge big 3pin
ignition timing sensor - v, r, shielded
engine speed sensor - bl, gy, shielded
MAF - g/v, g/w, r/bk, bk/r, br
TPS - r, g/bk, gy, v, br 6 pin, number 5 not used
N75 - r, y/r
ISV - r, w/y
O2 sensor - y, br for heater, single gr(i think) for lambda
Knock 1 and Knock 2 - brown and blue 3 pin
Altitude sensor inside
In order to simplify the engine bay wiring, I used the following from the 200 harness and connected it into my CQ wiring in the cabin. You could just use your 7a harness for these things to simplify the actual wiring process:
Oil temp sensor - bk/br to ring terminal
Oil pressure switch .3bar - bl/bk on pressure sender
Oil pressure switch 1.8bar - w/gy single pin sensor below pressure sender
Oil pressure sensor - bk/w big pressure sender unit (I can check which pin is which later)
Mfts connector - only bl/g goes to the ecu pin 36 (as well as the a/c programmer)
Speed sender - bk/bl, br/r, br
Backup light switch - bk/bl (pin1), bl/r(pin2) on round 4 pin connector, other 2 suspected to go to neutral safety switch
After run pump - br/bk, (2x) r/bk
After-run thermoswitch - r/bk, r/g - individual spade connectors
Hopefully I'm not forgetting anything
90 Coupe Quattro - 3b + 01e
87 4000 - future trail rig
00 a6 2.7t 6speed - winter beater
87 4000 - future trail rig
00 a6 2.7t 6speed - winter beater