Rubi PTE6062 Build - 615WHP 510WTQ
Posted: Wed Feb 27, 2013 1:42 pm
POST FROM October 17th, 2010
Some remember me from this... the savage ex-girlfriend


or this one, the victim of shady work at a local shop

Since then I've strayed but have been lurking the forums ever since I got rid of her...
But today I stand before my fellow forum members to proudly say that I'm back... (and still a sucker for silver)


1993
180k mtm 1+,
Stromung Gen4,
Samcos,
Eibach on Bilsteins,
2bennet camber plates,
new coils,
new cps,
clutch done at 150k,
Ipod Interface,
17x8 DTM's on brand new Continental ExtremeContacts,
new blower fan last fall,
No LEAKS or Oil Burning (until now)..
I'm the 3rd Owner, clean title no accidents or signs of over spray etc... over 12k in receipts
plus a set of 16" ASA winter alloys with decent rubber...
No rips or tears on the inside other than rear headrests (split at the seams) and what appears to be the beginning of the dreaded sagging headliner... Owner deleted the CellPhone
exterior?... well it's rusty to my eyes but it was hard to find a 93 that wasn't... tell me what YOU think...
~OB~
PS... Only $1200 bucks
Then tragedy hit on my BDay Weekend 4/15/2011
REAR ENDED WHILE AT A RED LIGHT...
Then Comes Rubi To The Rescue 5Days Later & Rocks MyWorld
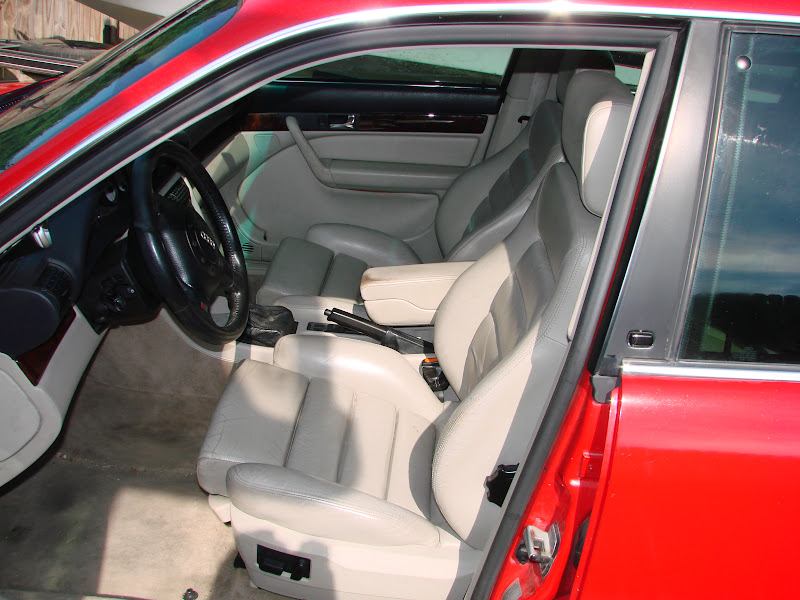
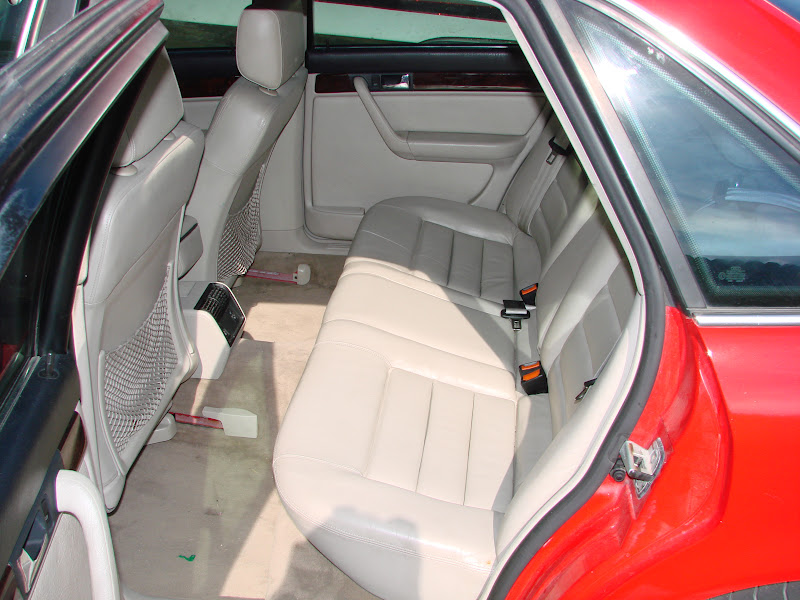
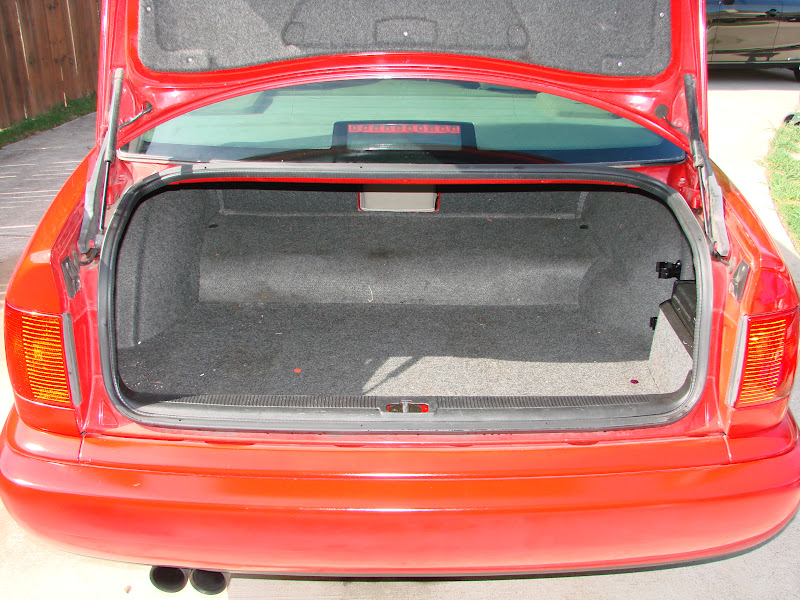
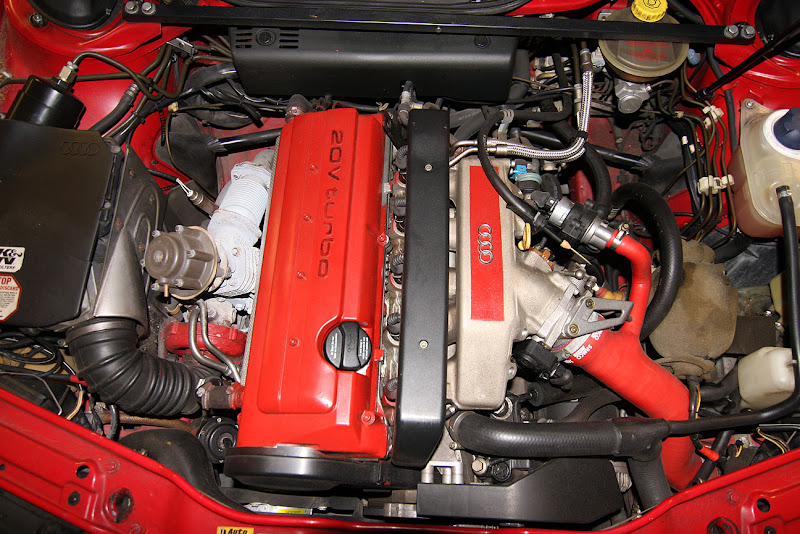
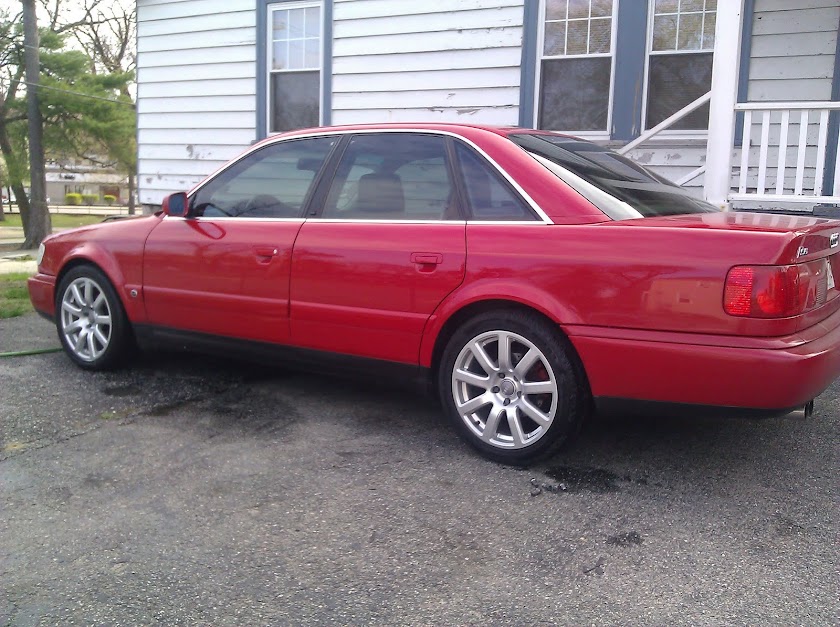
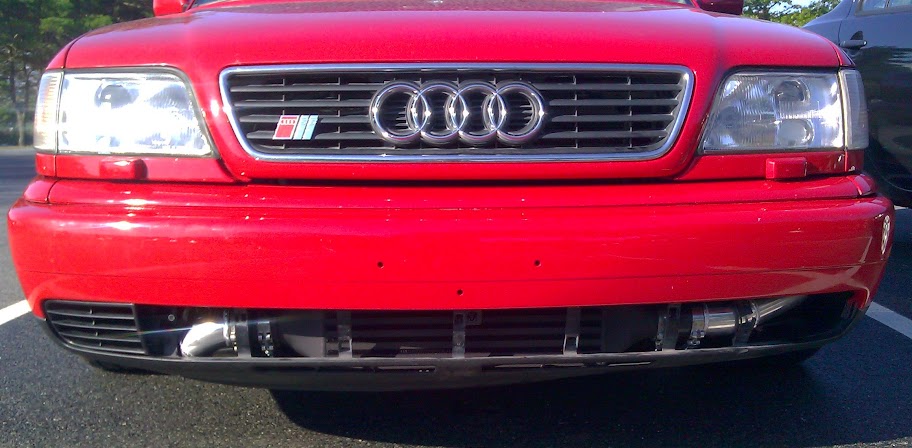
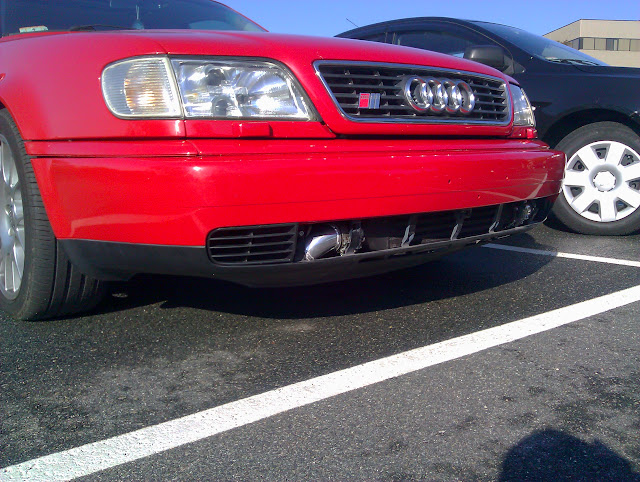
95 S6 Tornado RED / Ecru
133k
Texas Owned NO RUST
Stromung Unknown Gen Installed in 2006
OEM RS2 Maninfold
@88K Rebuilt O1E 6-Speed Conversion filled with REDLINE synthetic 75w90 fluid. All synchros and bearings were changed as well
SACHs Clutch kit euro RS2 spec(whatever that means)
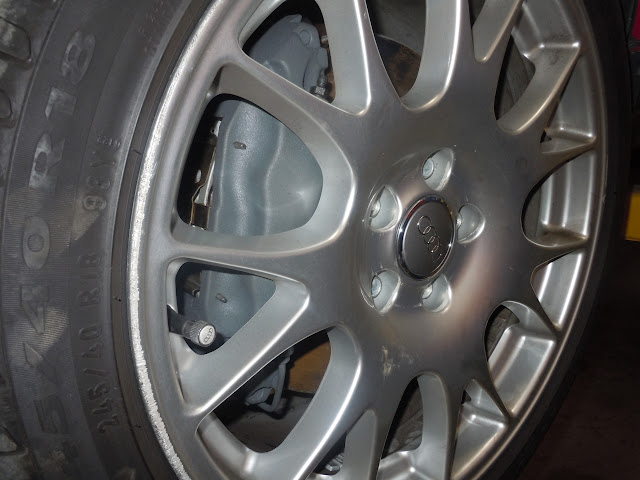
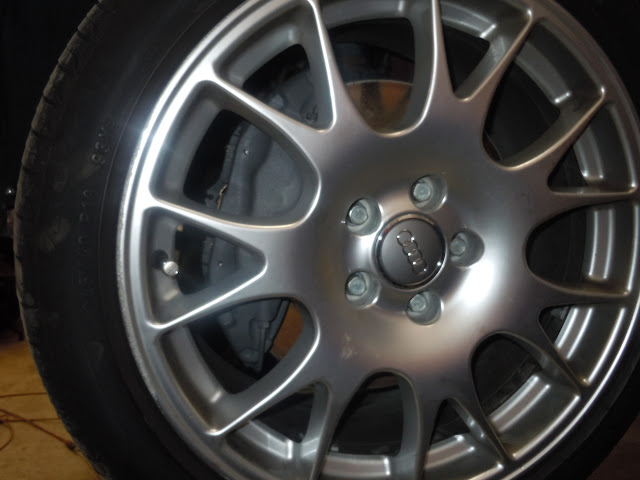
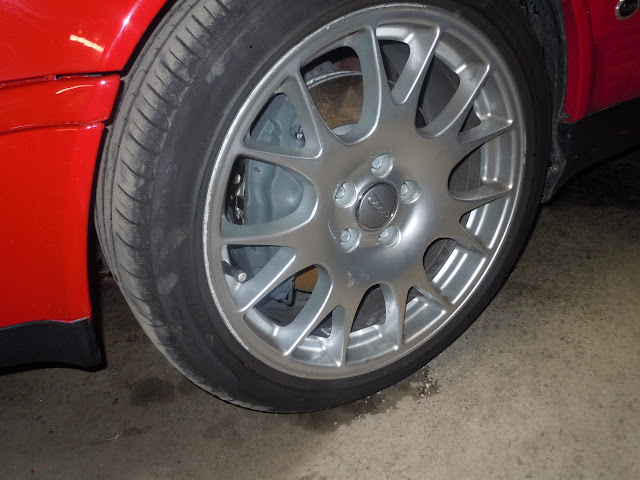
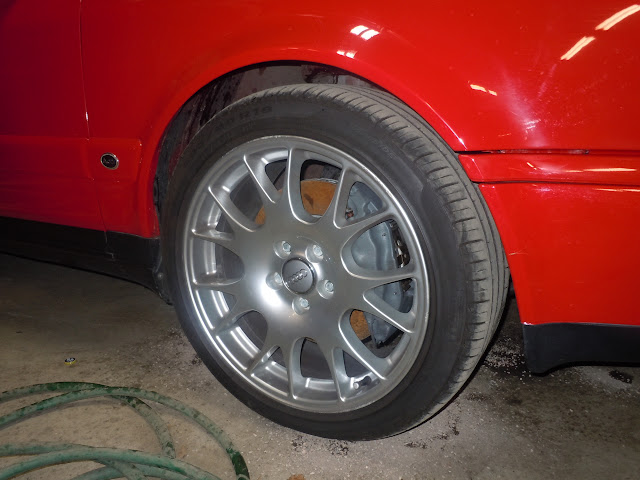
BBS CH 18x8 AUDI OEM 43ET(CH021) Complete set of 5
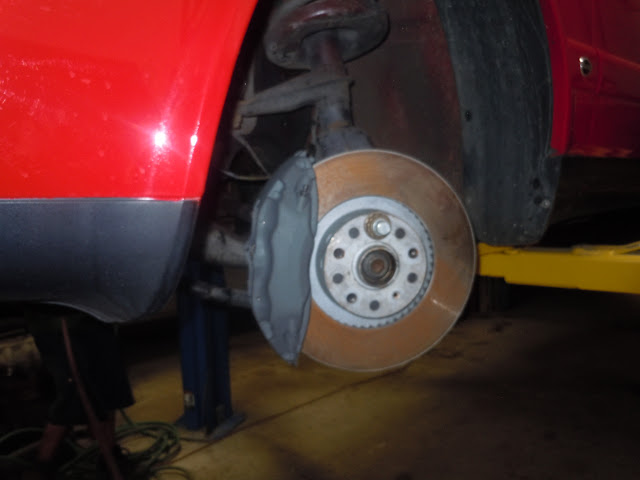
EBC pads with cross drilled rotors
H&R Spring
Bilstien Sports
Modified Upper Slotted Spring Mounts
Samcos
K&N Filter
Unknown Stage 1 Chip
Autometer Pillar Mounted Boost Gauge
35% Tint
Euro Lenses
55w 4300k HID's
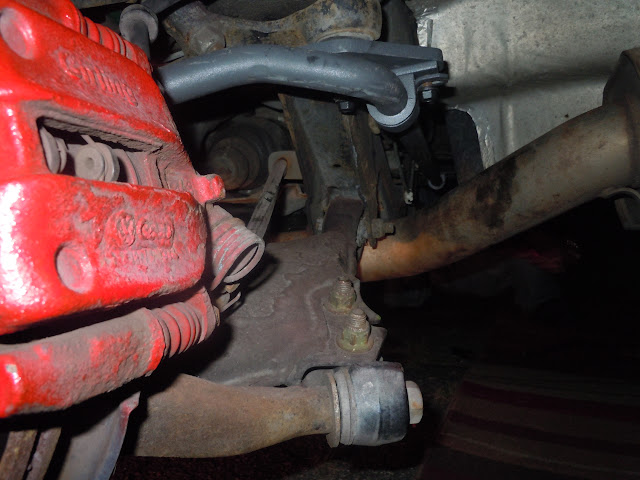
@100k T-Belt, Water Pump, camshaft seals, crankshaft seal, T-stat housing, valve cover gasket, front subframe bushings & lower control arms & tie rod ends.
Needs:
A Really good cleaning Ecru shows EVERYTHING!
245/40/18's all around
Driver Side Heater Seat Element
Early Stage of Liner Sag
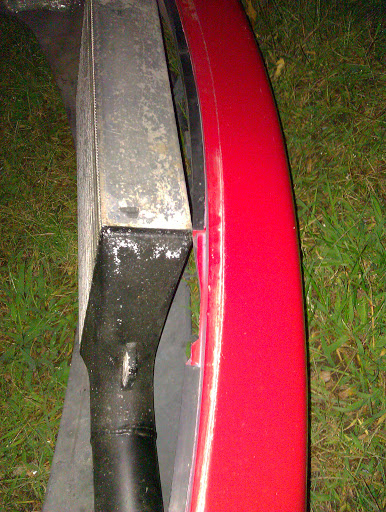
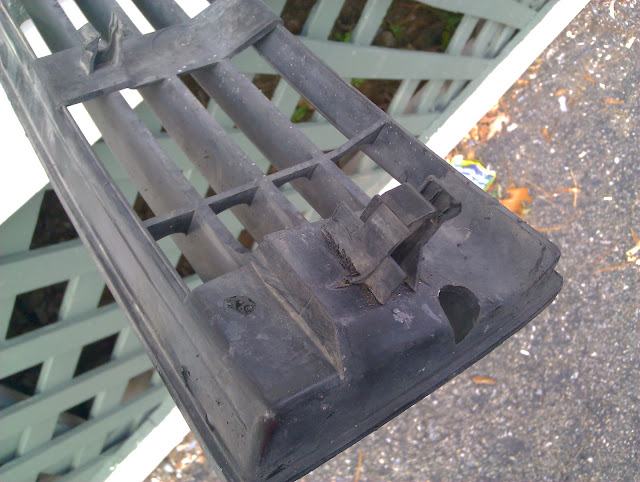
Bumper Clip

I Needed tires so I swapped out the set from Silvia's, so currently she sits like this..
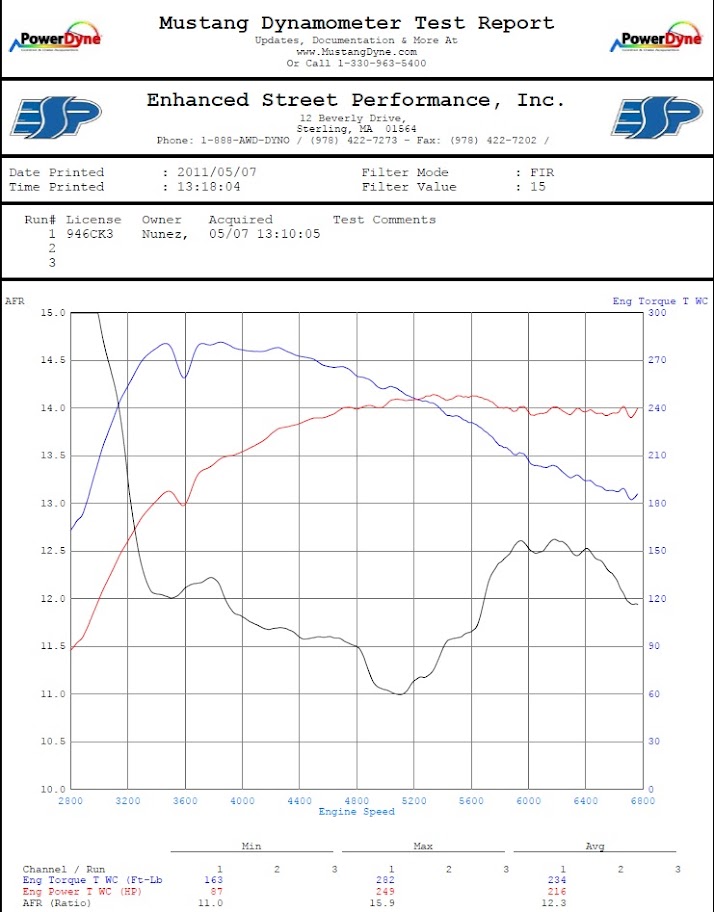
Immediately took her to the Dyno 250whp/283lb ft... seems pretty healthy
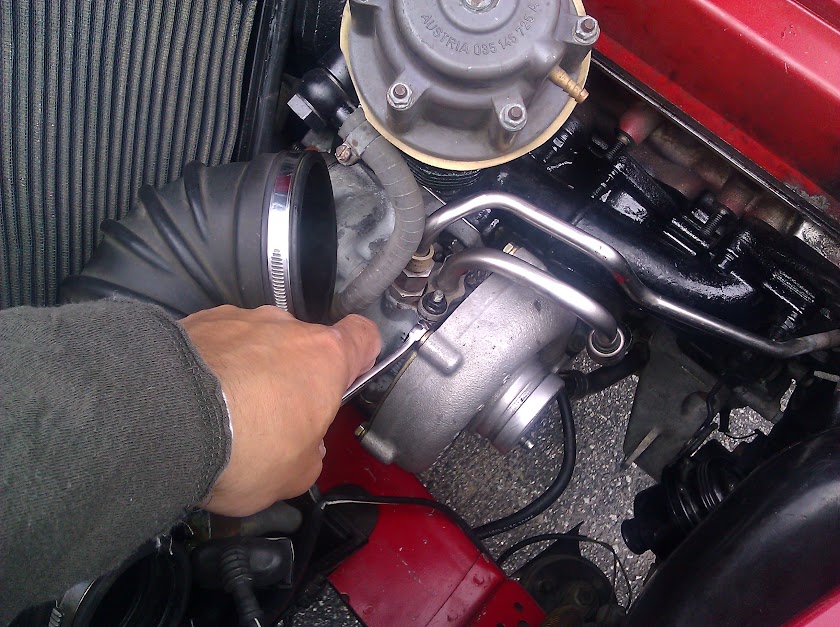
In the endless pursuit of power I swapped in an RS2 Turbo, OEM RS2 Injectors, and VEMS
Enjoyed it for a week or soo
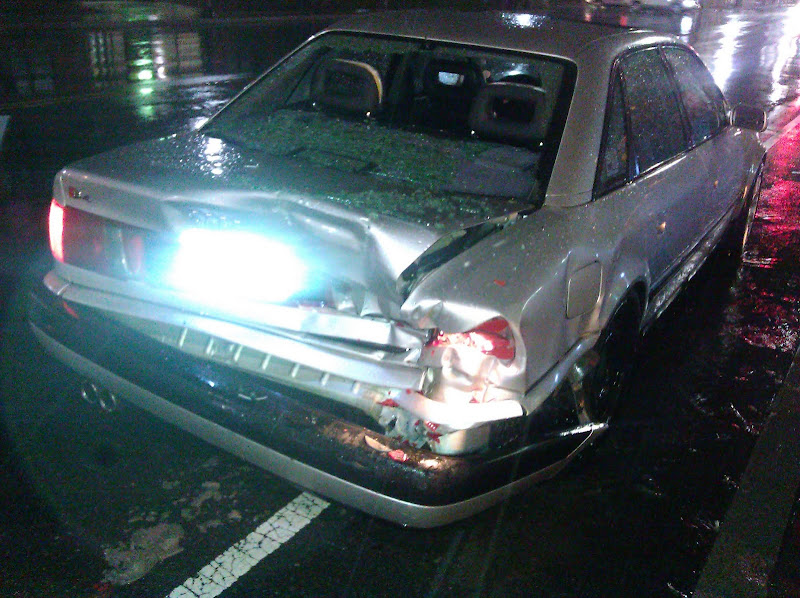
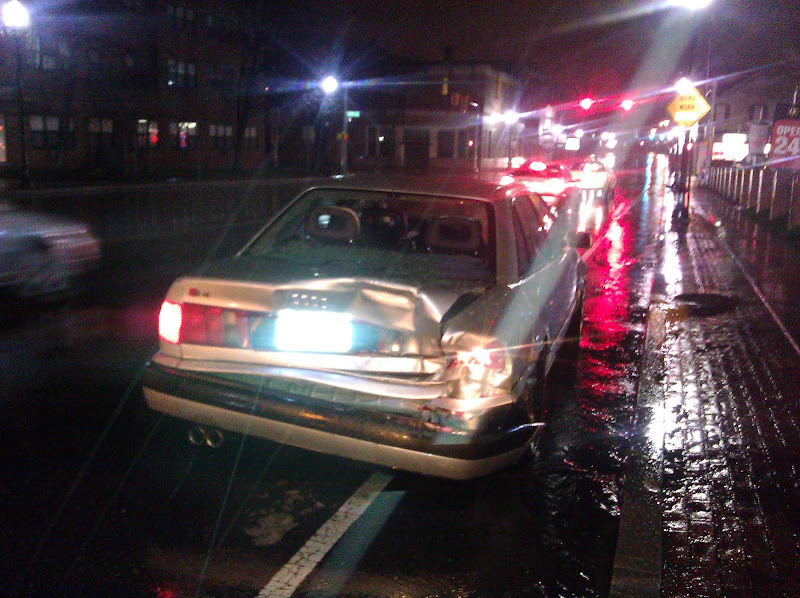
Then Came this Weekend
Hit while standing still AGAIN!

The Drunk Driver get Arrested
http://forums.quattroworld.com/s4s6/msgs/108797.phtml
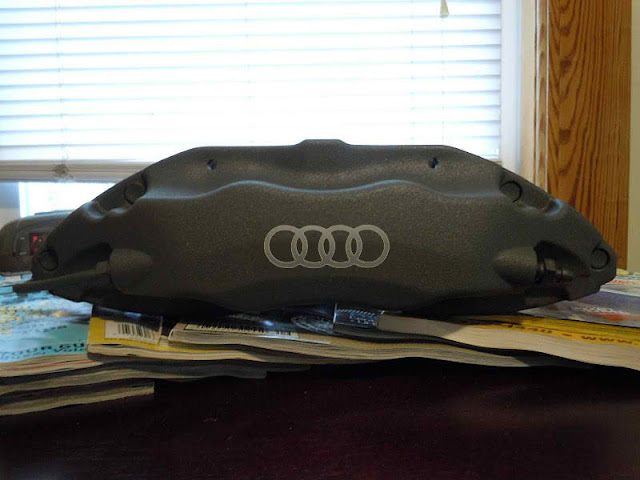
P'Shop'd Rings Emblem
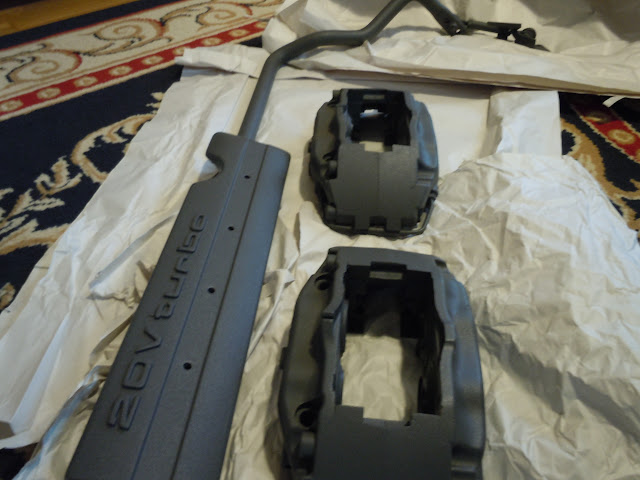
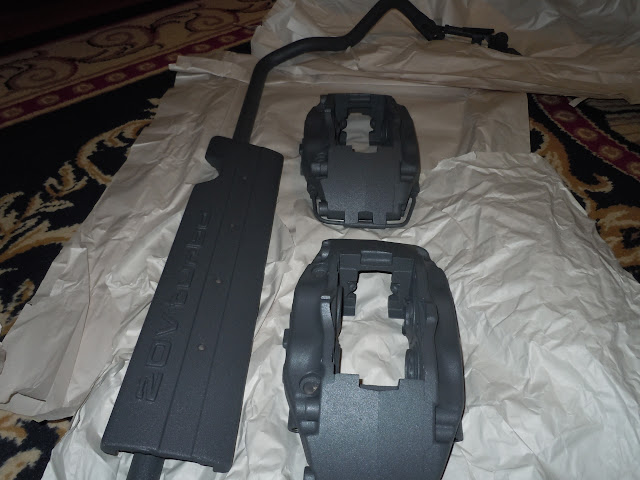
Some more goodies lined up...
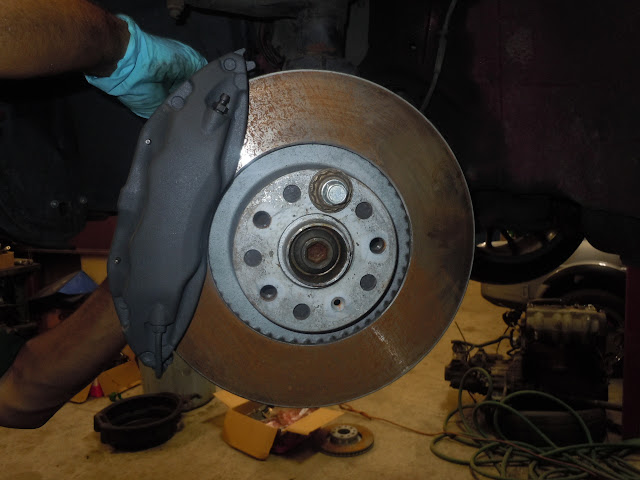
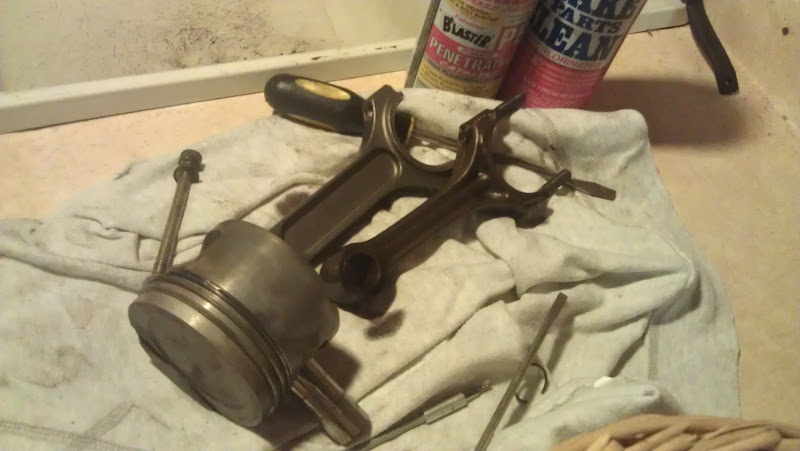
Time to get crack'n on my BBK setup that's been collecting dust on the "bench"... Only air was used in this process for removal of pistons. Nothing else was needed to pry the dustboots off or removal of seal...
Enjoy!
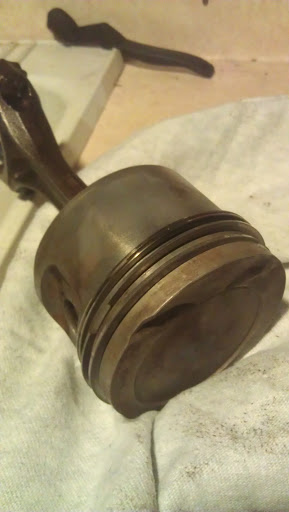
Before
Pop One out using air...
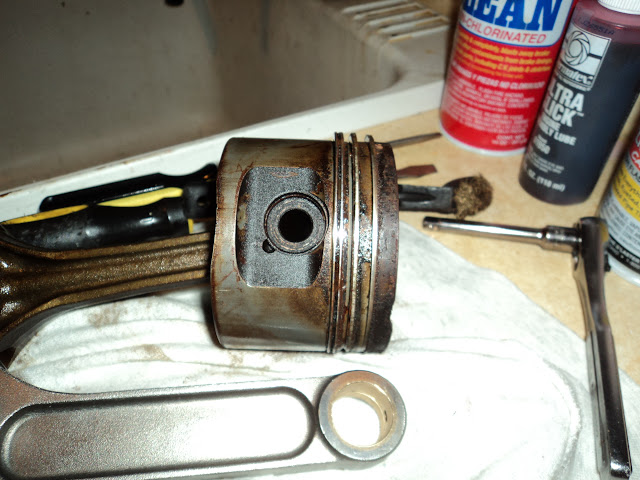
Piston with old dustboot
3 pieces
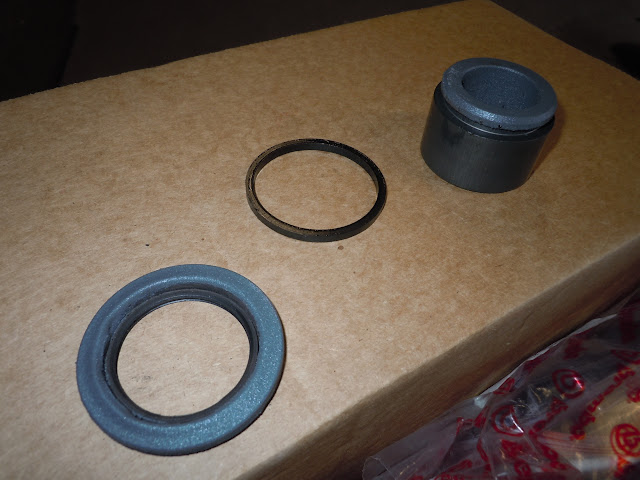
to be replaced with these
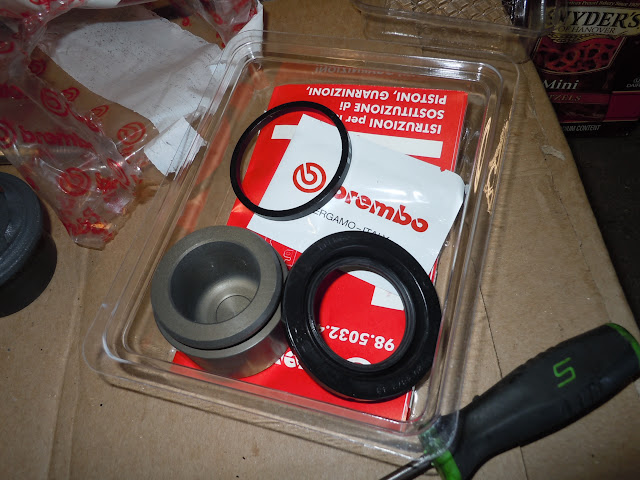
Lube & replace... 1 down 7 more to go

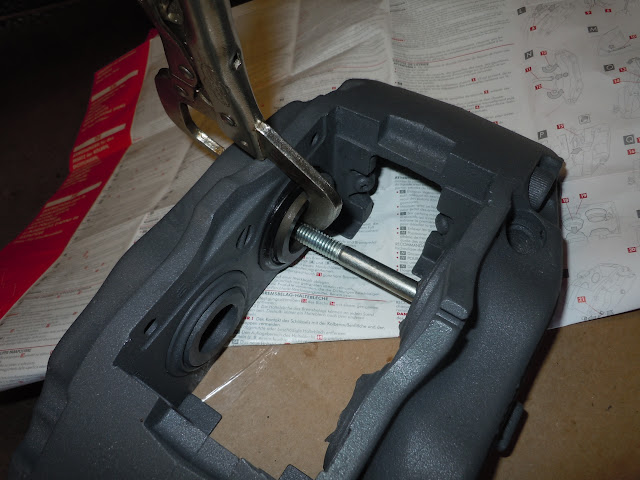
Vise grip & Bolt
Old seals actually looked good but I replaced them anyhow
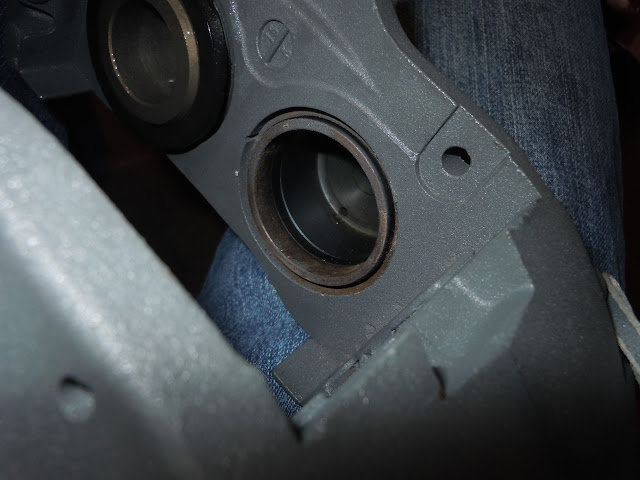
1 Done
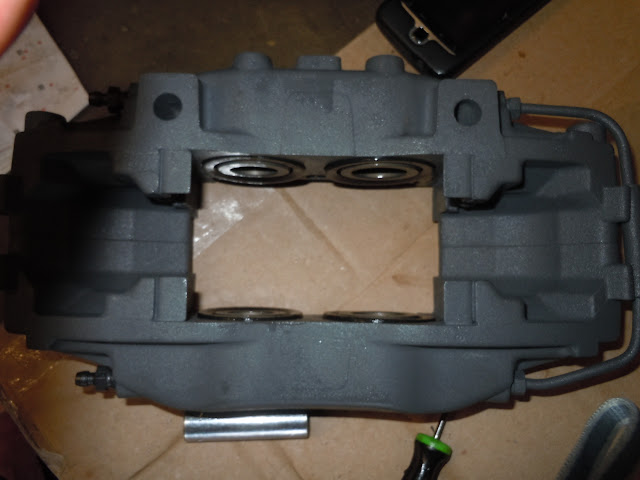
Both done
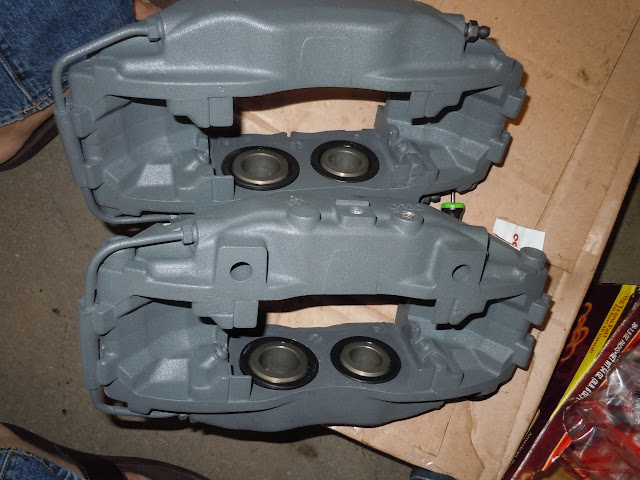
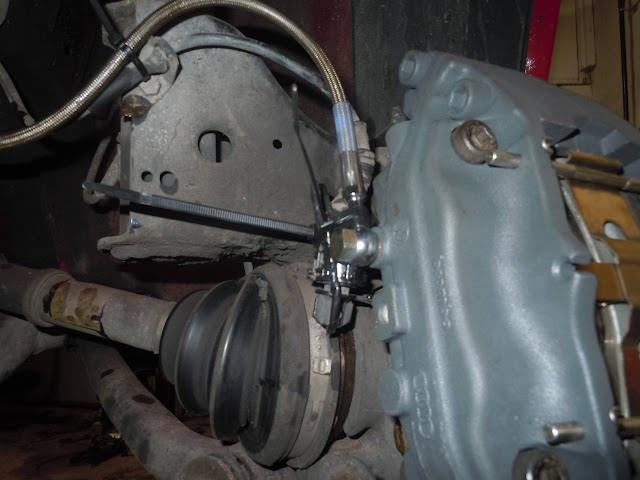


Right before final tightening...
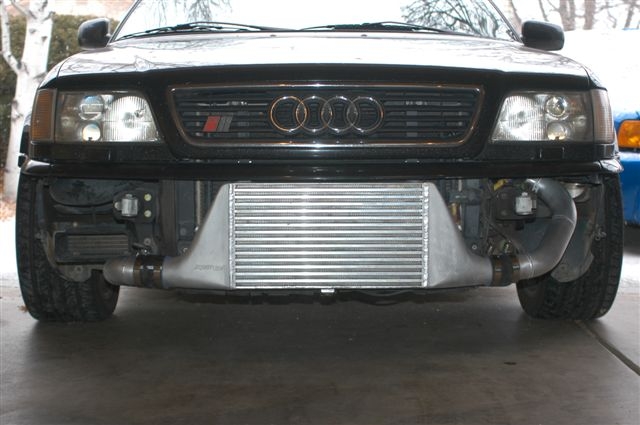
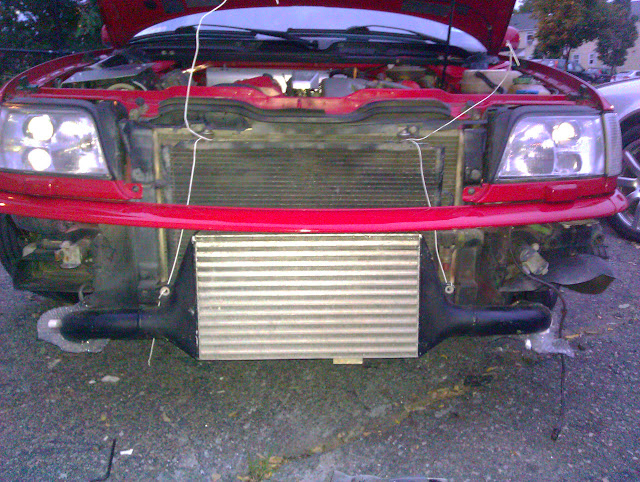
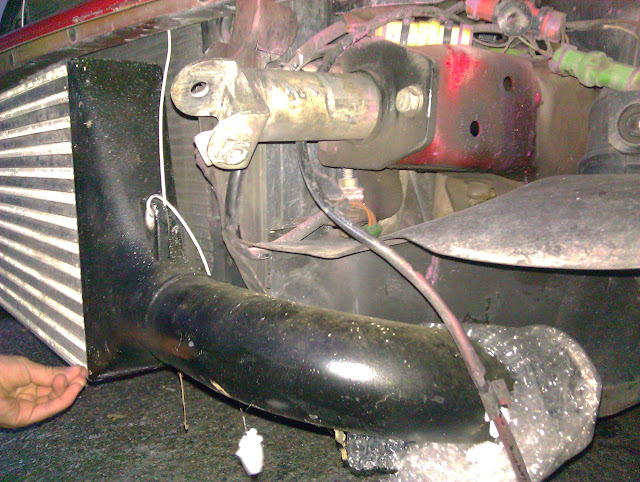
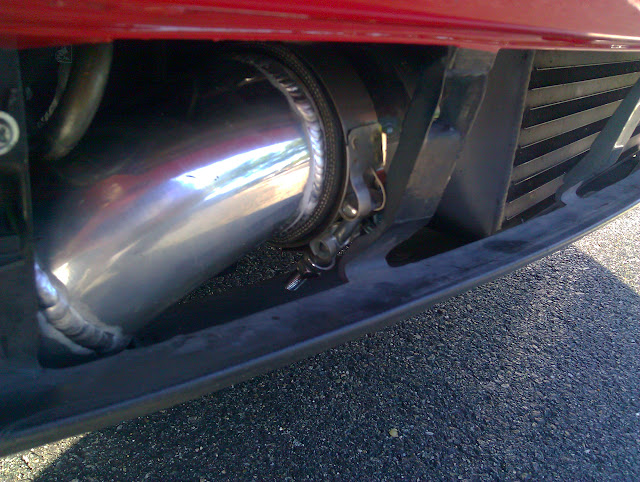
I'm trying to minimize hacking of the bumper so I'm think of this 3" core might help in that department along with the slimmer endtank profile. So I'm hoping the .5" height difference might slide behind it easier or (with the higher placement of the inlet/outlet) slide it under without having to trim.
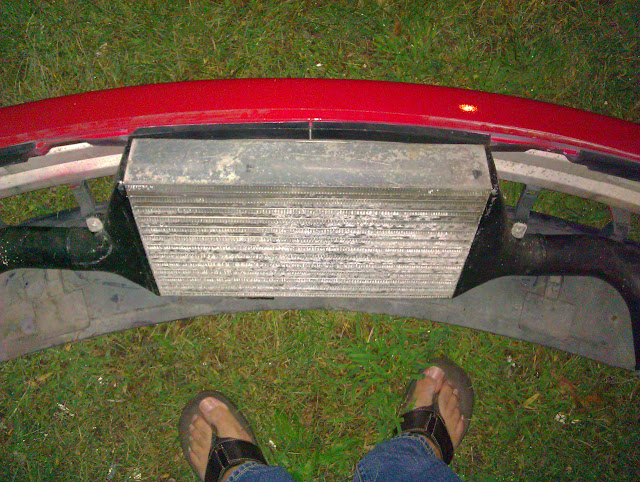
24" bottom length end tank to end tank

VS
Apikol 18"core but
~33" endtank to endtank & the install manual states the top side of the endtank is 21"
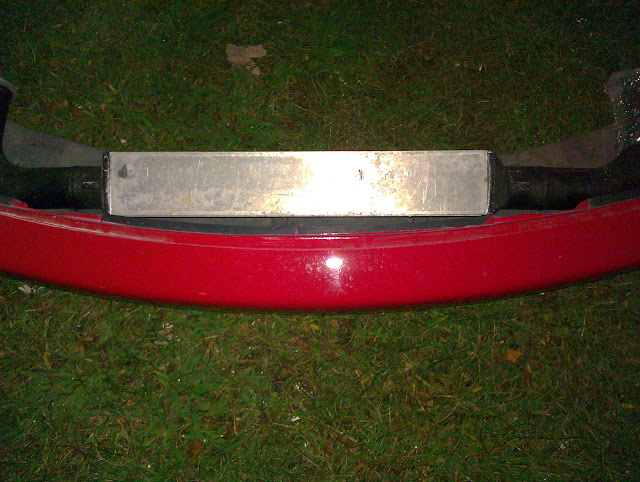
Was previously on an A4

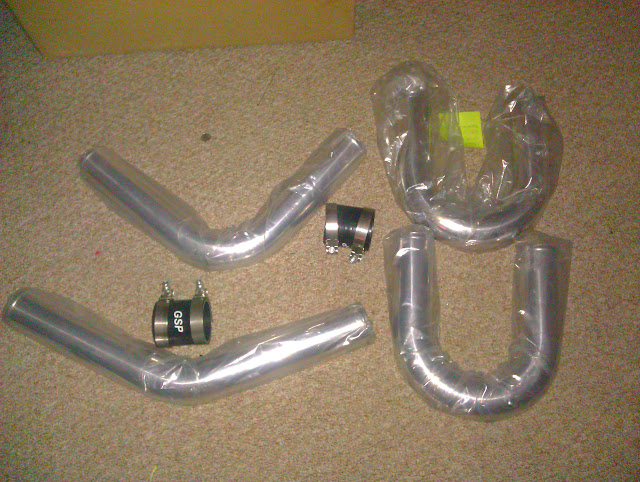
Pipes are in
So it's time to rip stuff apart...
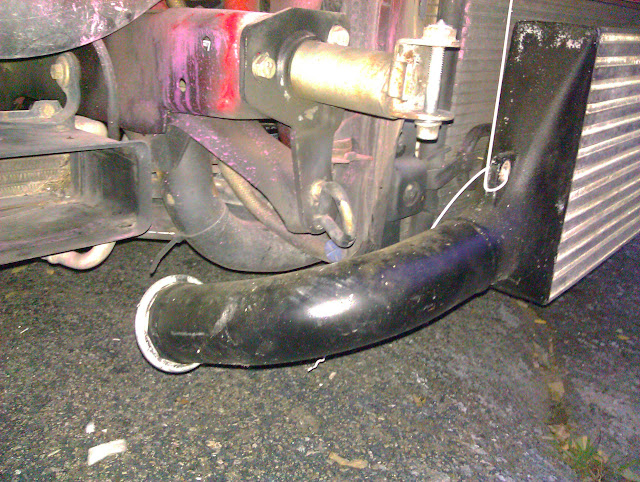
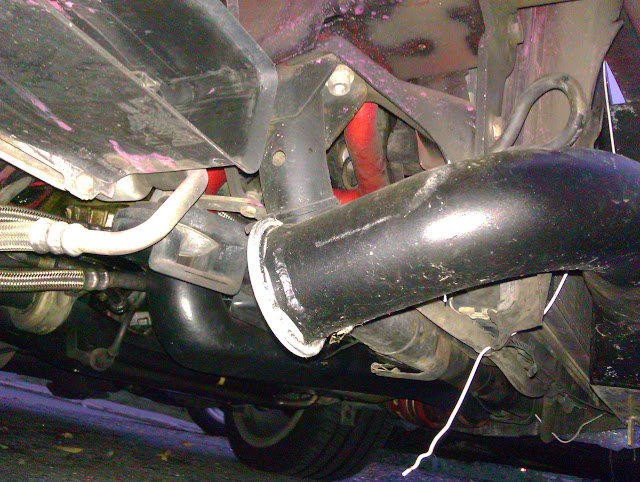
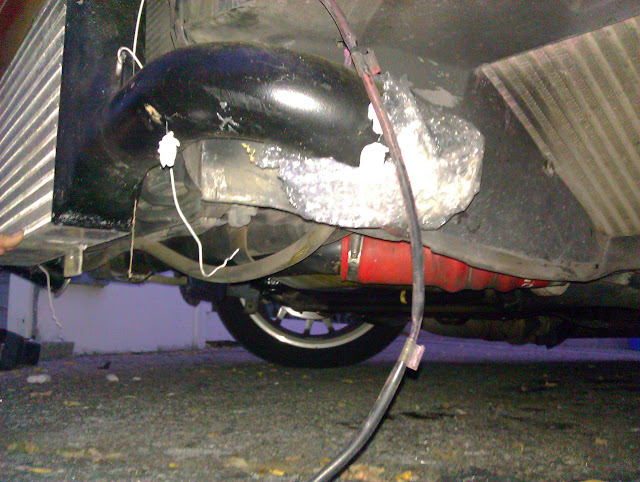
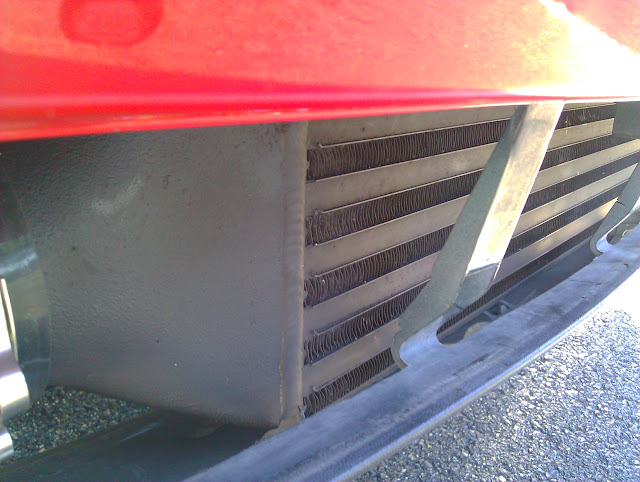
Aparently the previous owner of the bumper had an Apikol FMIC based on the existing trimming...
No Trimming!
Plenty of room!
Next time I'll use 2.25" on the outlet to intake...
but this isn't anything that a little trimming won't fix

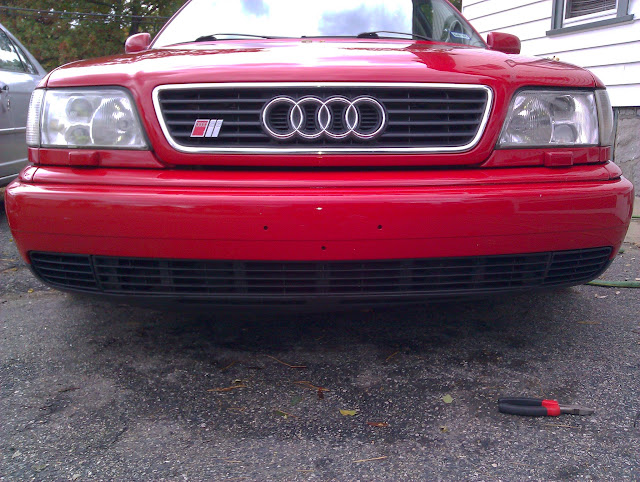
From this
to this
A little bit of this
a little bit of that
With the recent unexpected involuntary leave of absence given to me at work right before Christmas...I found myself yearning to complete my unfinished projects with whatever limited resources remain... here's an update on the Bosectomy, enjoy!
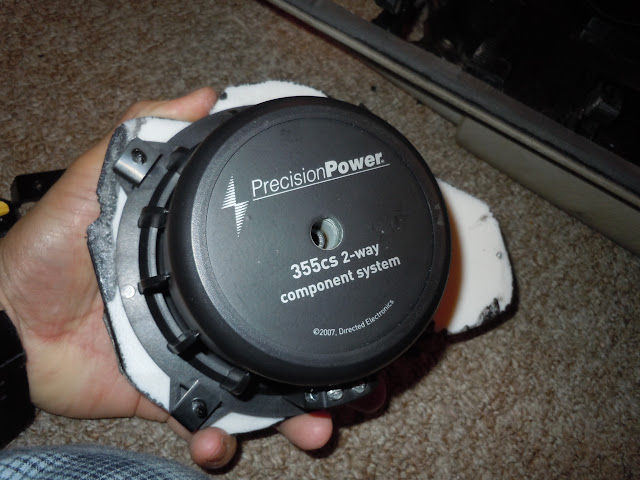
Run wires to the door Blue for Highs, Clear for Mids, twisted pair for tapping into the preamp level before the Bose amps...

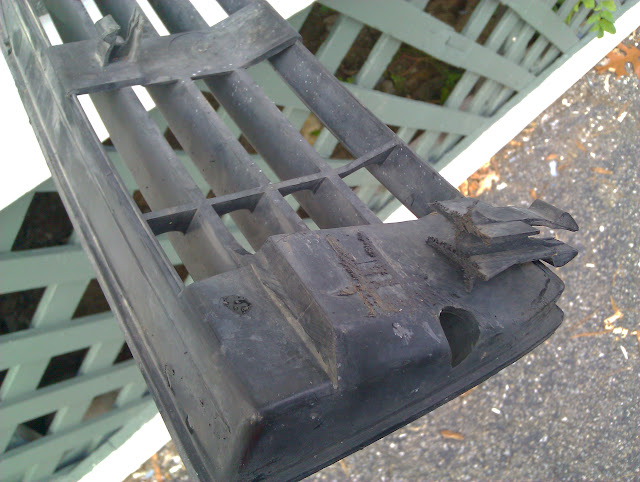
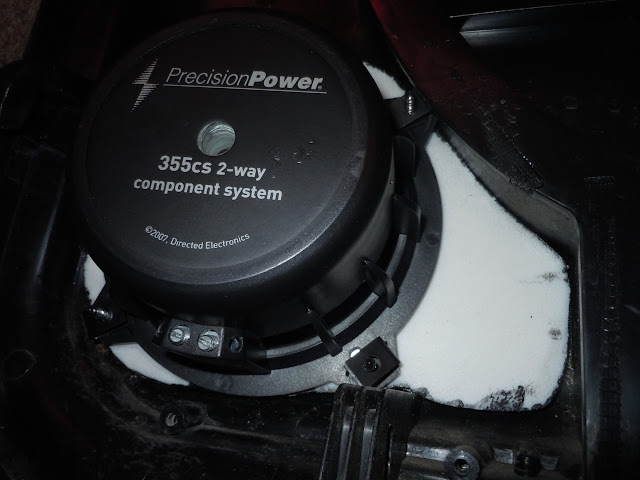
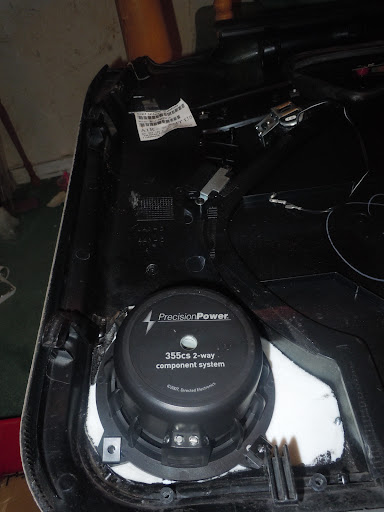
Custom mounting bafle made out of a couple kitchen cutting boards... light, sturdy, strong & weather proof...
We're not blessed with door mounts, instead the speakers mount to the panel... like so
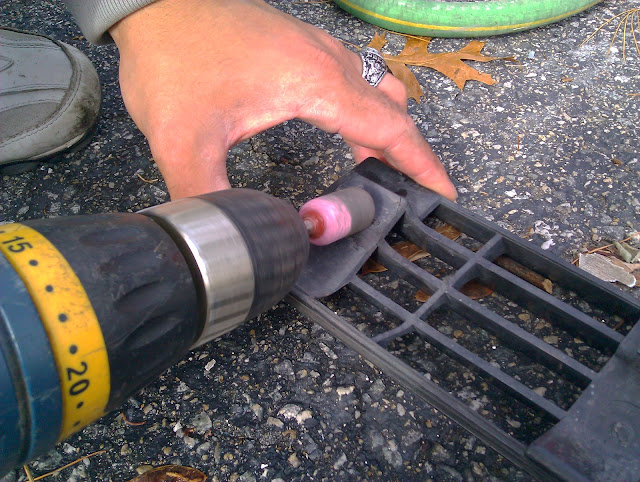
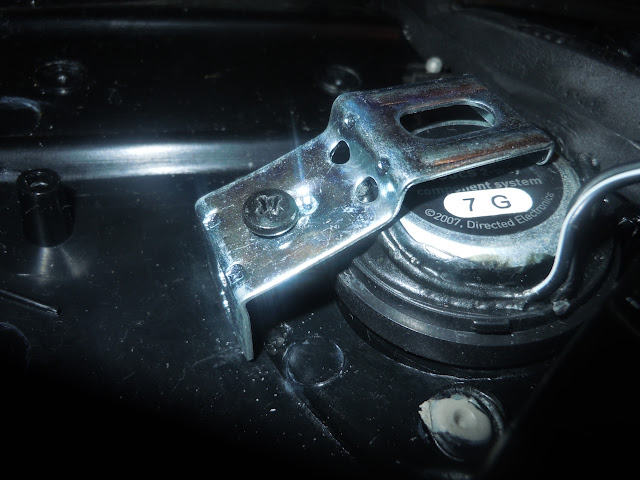
Stock tweeter mounts have to be cut open for usage as the stock system didn't use anything there
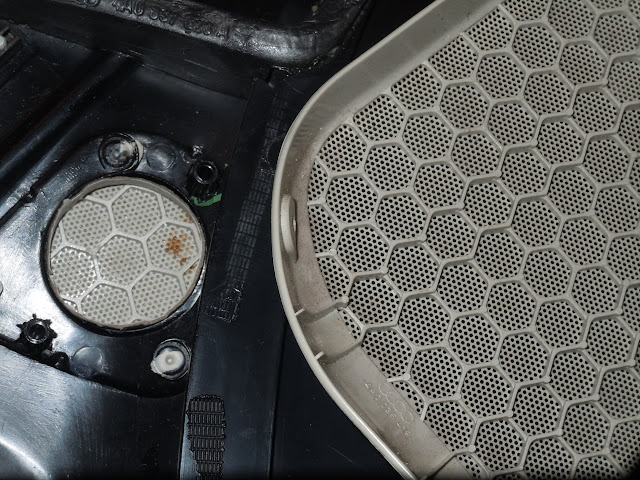
Scrape plastic epoxy off
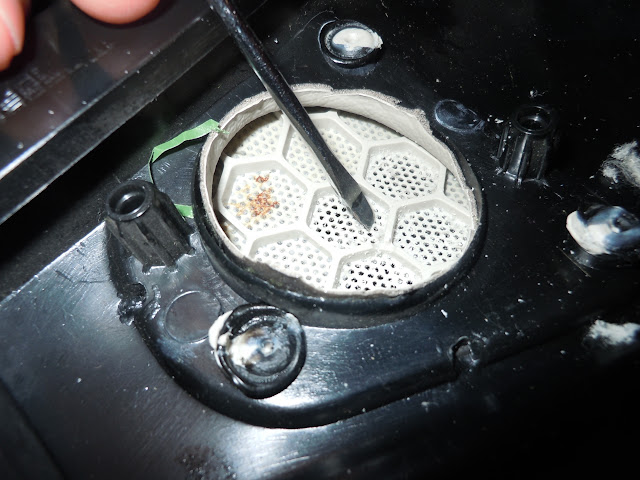
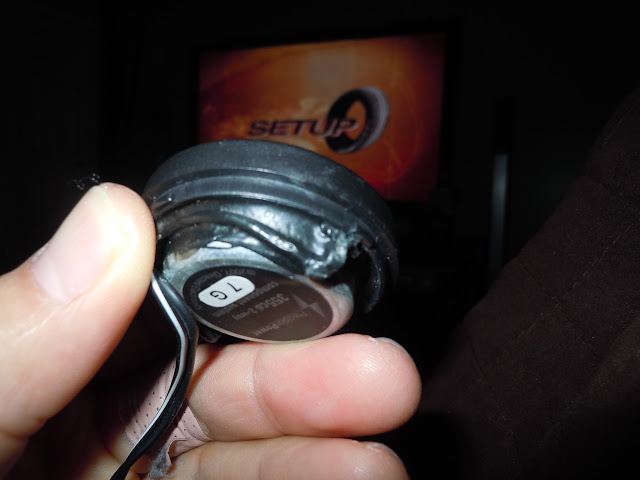
Tweeter
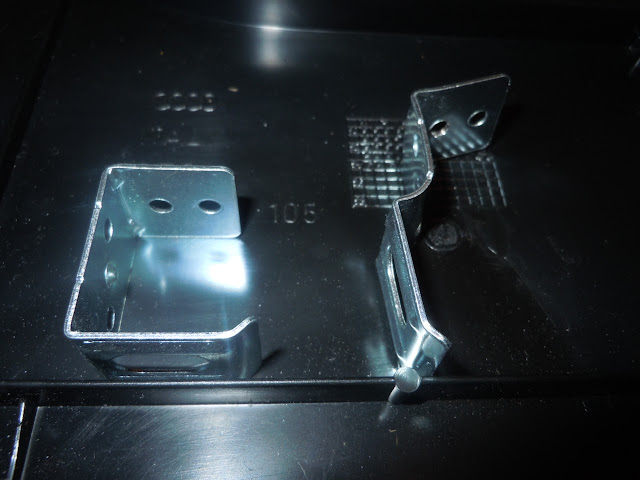
I used those brackets that come bundled with plastic mini blinds for home use... a couple bends and this is what you get
Door Complete
Plotting out a sliding amp rack
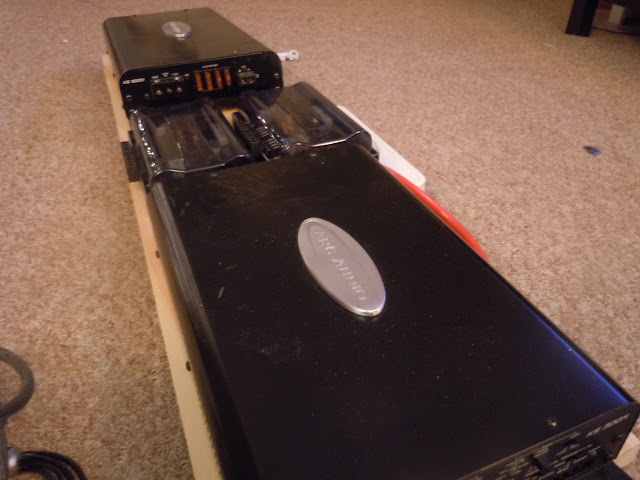
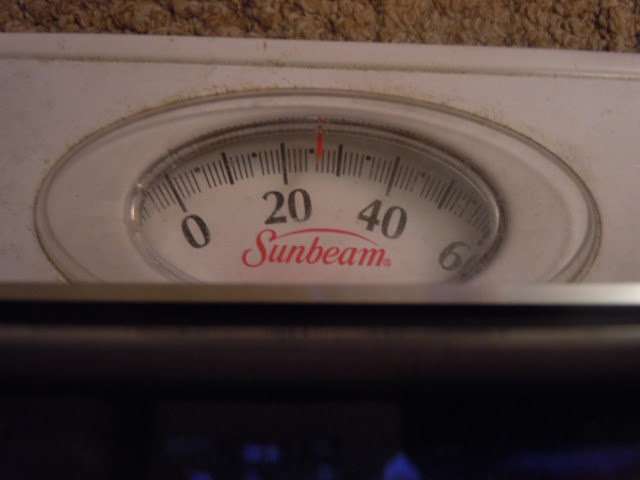
What's it weigh?
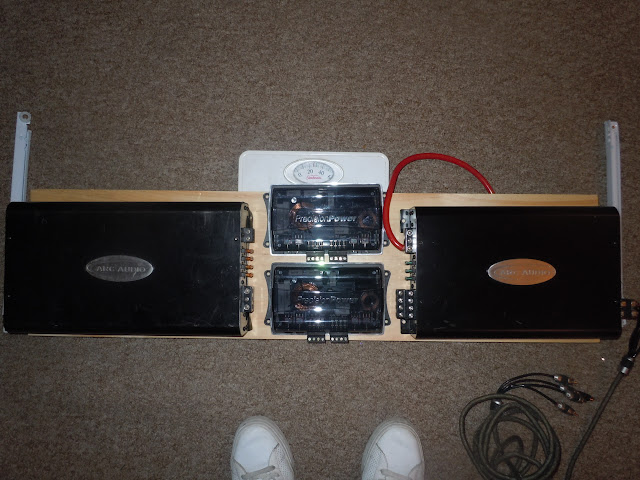
Not bad at all for over 1700 RMS watts of quality power IMO
that's it for now, guys...
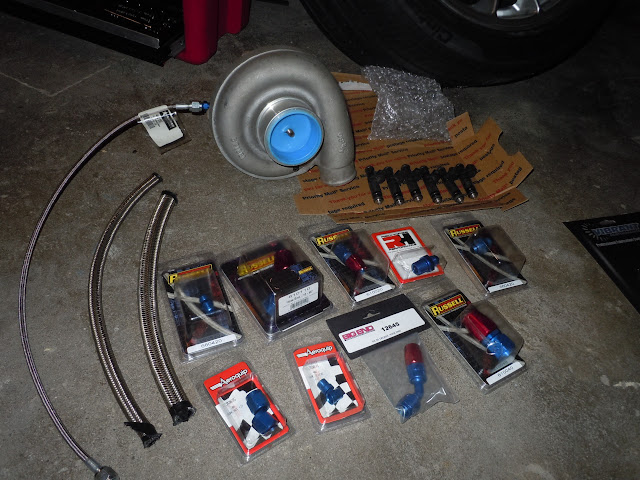
Many Thanks to Marc Swanson at EFI Express for the parts & support on many parts of my build, including these...
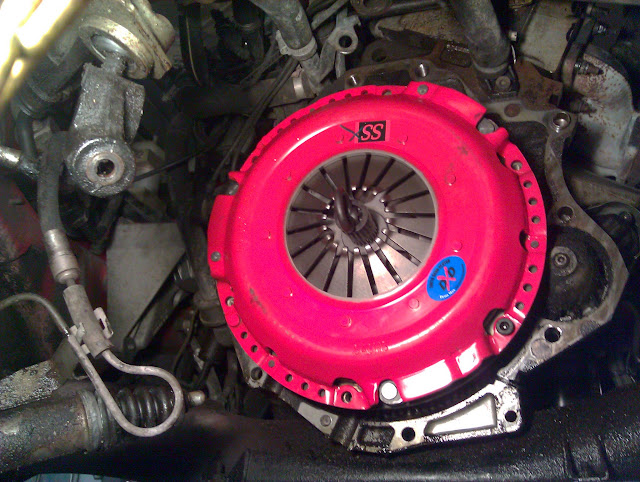
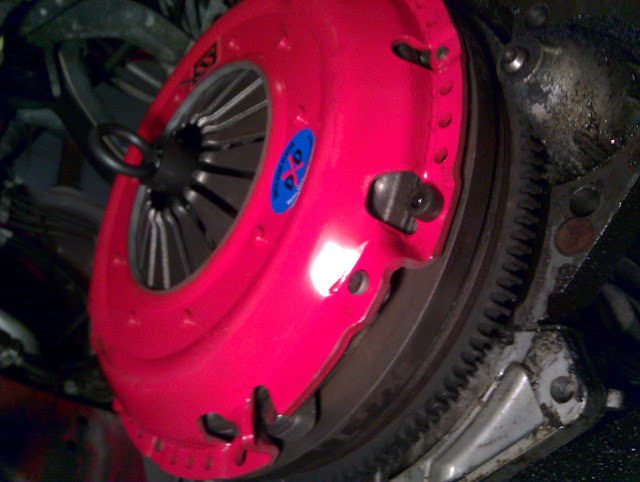
Out with the old, In with the NEW!!!...
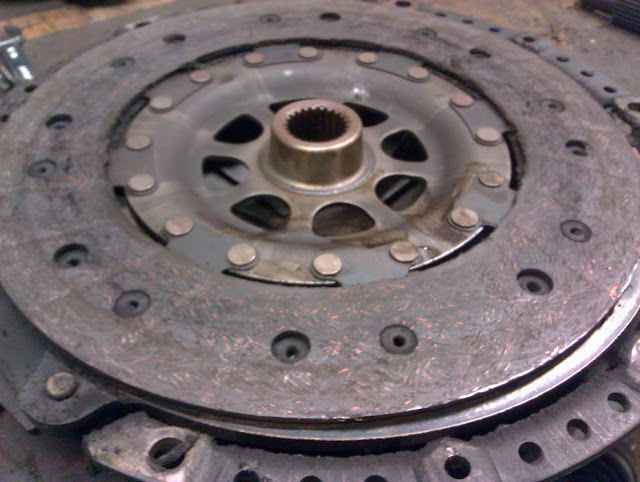
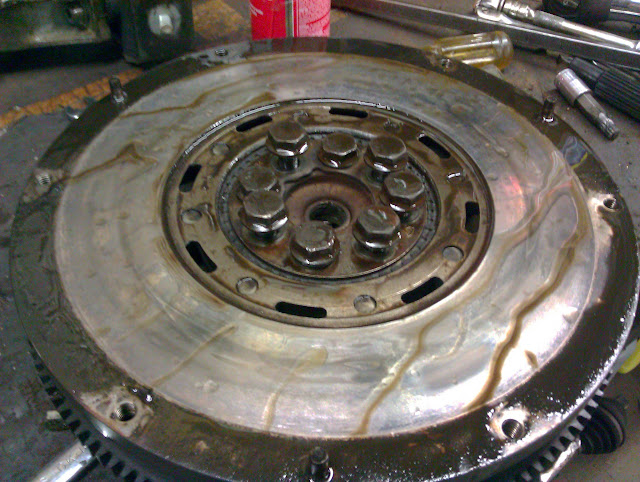
New Clutch Description:
"SS Stage 4 - (KF70074-SS-X) - Extreme: The Stage 4 SS-X Feramic kits are the ultimate when it comes to delivering maximum torque to the street and strip driven car. With feramic on both sides of the disc, the clutch delivers a more positive engagement. Because feramic clutch material dissipates heat extremely fast it will give you maximum clutch life and a consistent feel each time you shift. Torque Rating: 575 ft/lbs For even more power handling, consider swapping to a single mass flywheel setup (7a/Coupe Quattro style flywheel)."

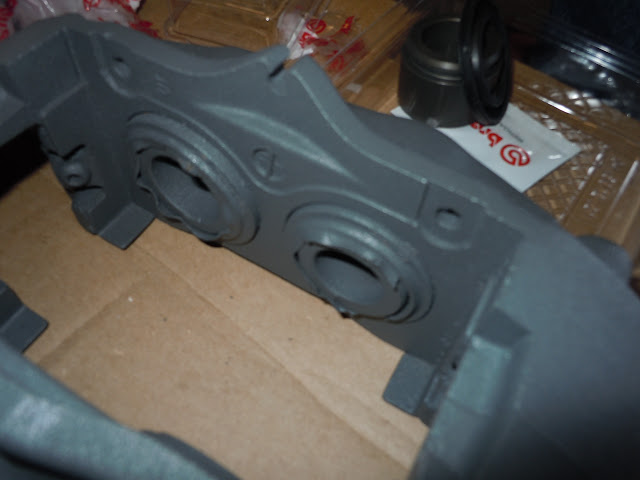
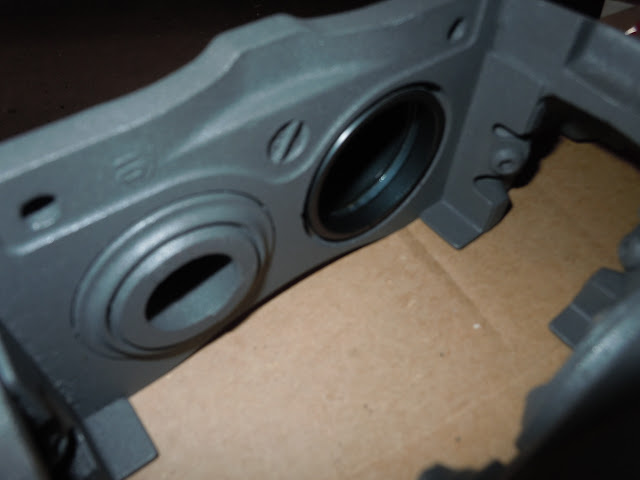
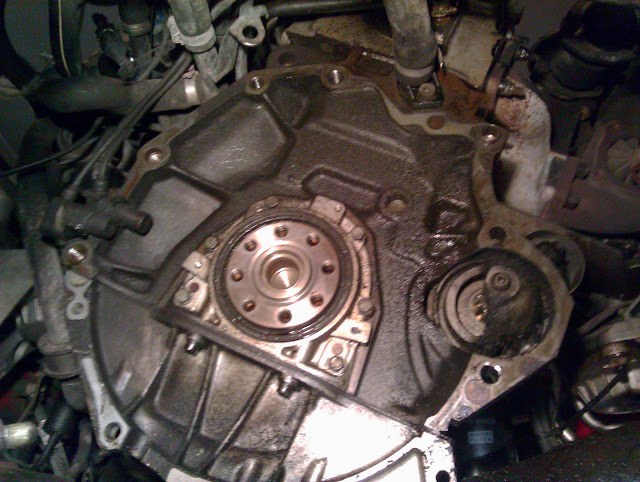
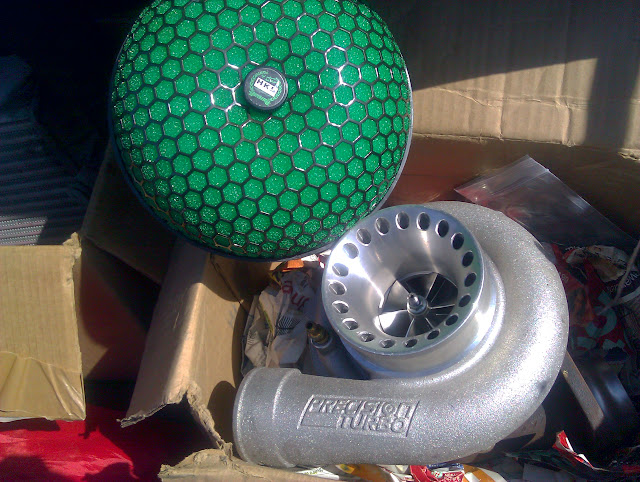
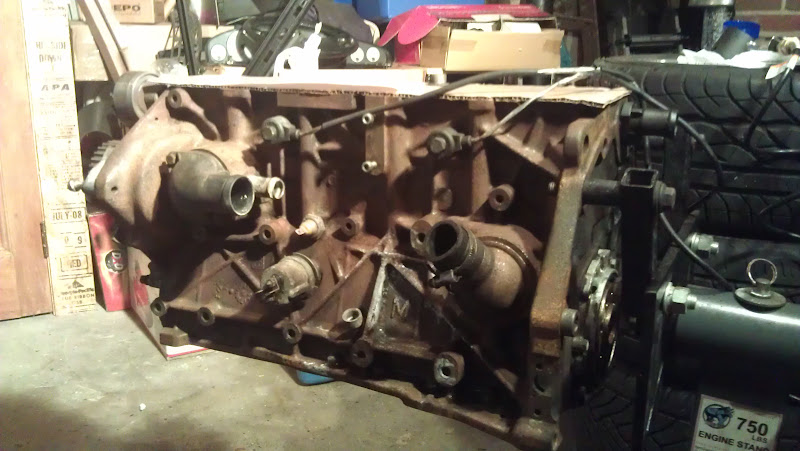
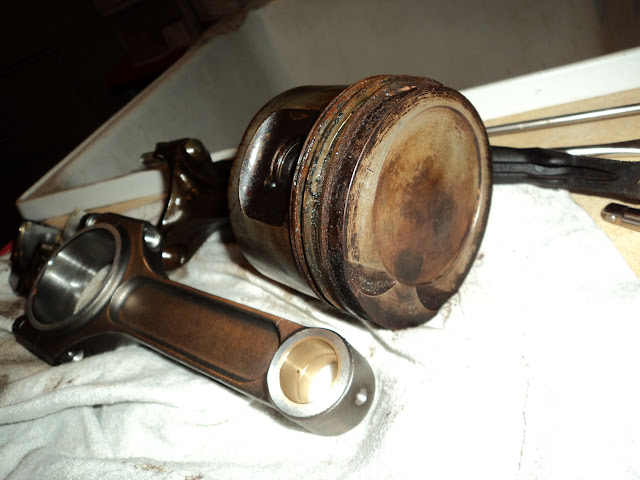
This year 2013 Spare Block Rebuild and PTE5862 Install in the Works...


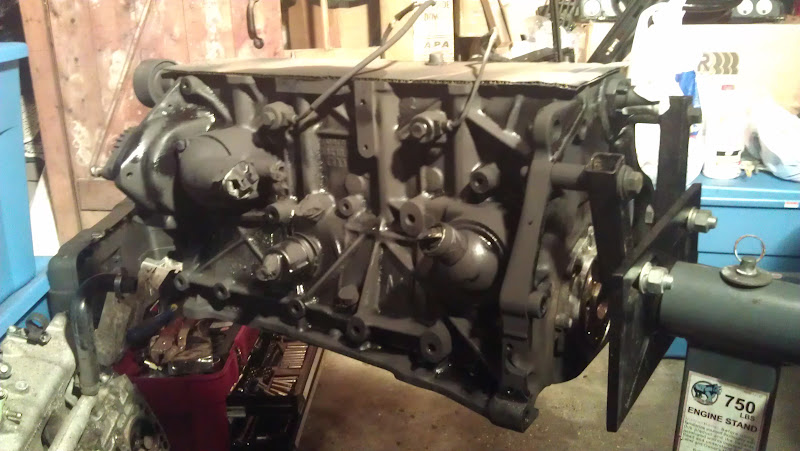
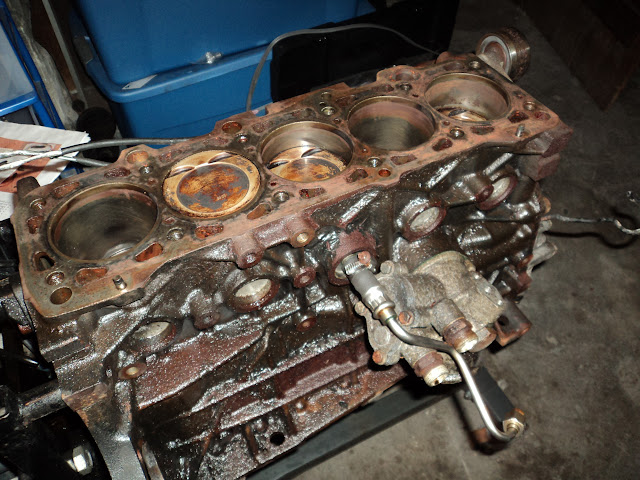
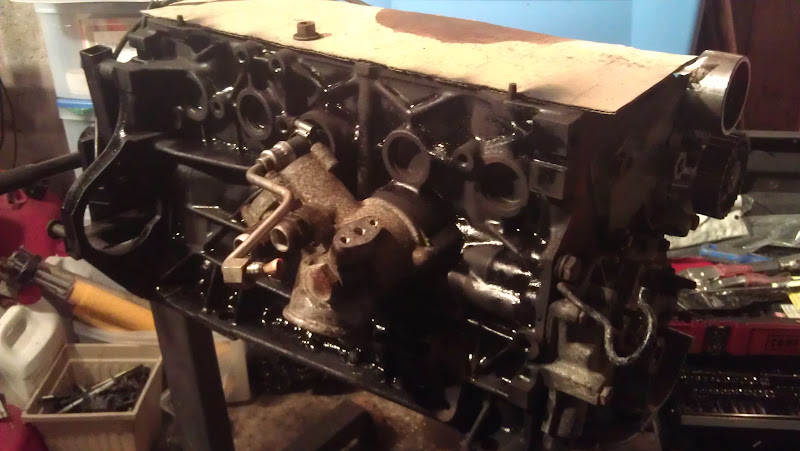
From this
to this...
Some remember me from this... the savage ex-girlfriend
or this one, the victim of shady work at a local shop
Since then I've strayed but have been lurking the forums ever since I got rid of her...
But today I stand before my fellow forum members to proudly say that I'm back... (and still a sucker for silver)
1993
180k mtm 1+,
Stromung Gen4,
Samcos,
Eibach on Bilsteins,
2bennet camber plates,
new coils,
new cps,
clutch done at 150k,
Ipod Interface,
17x8 DTM's on brand new Continental ExtremeContacts,
new blower fan last fall,
No LEAKS or Oil Burning (until now)..
I'm the 3rd Owner, clean title no accidents or signs of over spray etc... over 12k in receipts
plus a set of 16" ASA winter alloys with decent rubber...
No rips or tears on the inside other than rear headrests (split at the seams) and what appears to be the beginning of the dreaded sagging headliner... Owner deleted the CellPhone
exterior?... well it's rusty to my eyes but it was hard to find a 93 that wasn't... tell me what YOU think...
~OB~
PS... Only $1200 bucks
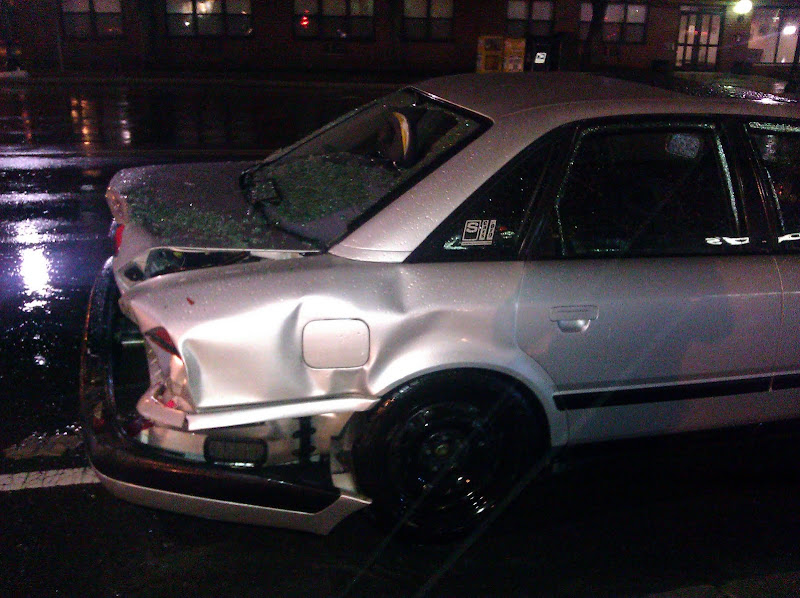
Then tragedy hit on my BDay Weekend 4/15/2011
REAR ENDED WHILE AT A RED LIGHT...
Then Comes Rubi To The Rescue 5Days Later & Rocks MyWorld
95 S6 Tornado RED / Ecru
133k
Texas Owned NO RUST
Stromung Unknown Gen Installed in 2006
OEM RS2 Maninfold
@88K Rebuilt O1E 6-Speed Conversion filled with REDLINE synthetic 75w90 fluid. All synchros and bearings were changed as well
SACHs Clutch kit euro RS2 spec(whatever that means)
BBS CH 18x8 AUDI OEM 43ET(CH021) Complete set of 5
EBC pads with cross drilled rotors
H&R Spring
Bilstien Sports
Modified Upper Slotted Spring Mounts
Samcos
K&N Filter
Unknown Stage 1 Chip
Autometer Pillar Mounted Boost Gauge
35% Tint
Euro Lenses
55w 4300k HID's
@100k T-Belt, Water Pump, camshaft seals, crankshaft seal, T-stat housing, valve cover gasket, front subframe bushings & lower control arms & tie rod ends.
Needs:
A Really good cleaning Ecru shows EVERYTHING!
245/40/18's all around
Driver Side Heater Seat Element
Early Stage of Liner Sag
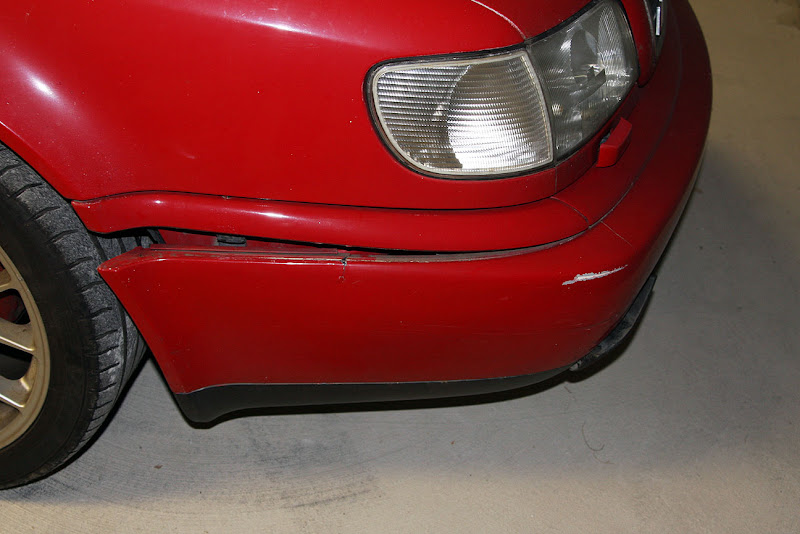
Bumper Clip
I Needed tires so I swapped out the set from Silvia's, so currently she sits like this..
Immediately took her to the Dyno 250whp/283lb ft... seems pretty healthy
In the endless pursuit of power I swapped in an RS2 Turbo, OEM RS2 Injectors, and VEMS
Enjoyed it for a week or soo
Then Came this Weekend
Hit while standing still AGAIN!
The Drunk Driver get Arrested
http://forums.quattroworld.com/s4s6/msgs/108797.phtml
P'Shop'd Rings Emblem
Some more goodies lined up...
Time to get crack'n on my BBK setup that's been collecting dust on the "bench"... Only air was used in this process for removal of pistons. Nothing else was needed to pry the dustboots off or removal of seal...
Enjoy!
Before
Pop One out using air...
Piston with old dustboot
3 pieces
to be replaced with these
Lube & replace... 1 down 7 more to go
Vise grip & Bolt
Old seals actually looked good but I replaced them anyhow
1 Done
Both done
Right before final tightening...
I'm trying to minimize hacking of the bumper so I'm think of this 3" core might help in that department along with the slimmer endtank profile. So I'm hoping the .5" height difference might slide behind it easier or (with the higher placement of the inlet/outlet) slide it under without having to trim.
24" bottom length end tank to end tank
VS
Apikol 18"core but
~33" endtank to endtank & the install manual states the top side of the endtank is 21"
Was previously on an A4
Pipes are in
So it's time to rip stuff apart...
Aparently the previous owner of the bumper had an Apikol FMIC based on the existing trimming...
No Trimming!
Plenty of room!
Next time I'll use 2.25" on the outlet to intake...
but this isn't anything that a little trimming won't fix
From this
to this
A little bit of this
a little bit of that
With the recent unexpected involuntary leave of absence given to me at work right before Christmas...I found myself yearning to complete my unfinished projects with whatever limited resources remain... here's an update on the Bosectomy, enjoy!
Run wires to the door Blue for Highs, Clear for Mids, twisted pair for tapping into the preamp level before the Bose amps...
Custom mounting bafle made out of a couple kitchen cutting boards... light, sturdy, strong & weather proof...
We're not blessed with door mounts, instead the speakers mount to the panel... like so
Stock tweeter mounts have to be cut open for usage as the stock system didn't use anything there
Scrape plastic epoxy off
Tweeter
I used those brackets that come bundled with plastic mini blinds for home use... a couple bends and this is what you get
Door Complete
Plotting out a sliding amp rack
What's it weigh?
Not bad at all for over 1700 RMS watts of quality power IMO
that's it for now, guys...
Many Thanks to Marc Swanson at EFI Express for the parts & support on many parts of my build, including these...
Out with the old, In with the NEW!!!...
New Clutch Description:
"SS Stage 4 - (KF70074-SS-X) - Extreme: The Stage 4 SS-X Feramic kits are the ultimate when it comes to delivering maximum torque to the street and strip driven car. With feramic on both sides of the disc, the clutch delivers a more positive engagement. Because feramic clutch material dissipates heat extremely fast it will give you maximum clutch life and a consistent feel each time you shift. Torque Rating: 575 ft/lbs For even more power handling, consider swapping to a single mass flywheel setup (7a/Coupe Quattro style flywheel)."
This year 2013 Spare Block Rebuild and PTE5862 Install in the Works...
From this
to this...


 later if I do rev that high later...


