I'm not sure about the compatibility here. The 3B p/s pump and system uses Pentosin but the urq/4k system uses ATF Dexron so I would suggest running the ATF. I don't have any experience of running ATF in a 3B pump, so don't know if this is possible.Afterthought wrote: -Stock and 4000Q PS rack
- 3B PS pump and hoses
1983 URQ Alpine White/Mocha 20VT / VEMS / EFR
Re: 1983 URQ: spring rates?
-
Afterthought
- Posts: 1249
- Joined: Thu Jan 16, 2014 5:43 pm
- Location: Bellingham, Wa
Re: 1983 URQ: spring rates?
Looked into it yesterday. I actually only have a stock urq pump. Not sure why I thought I had the 3B pump but I can't find it
-
Afterthought
- Posts: 1249
- Joined: Thu Jan 16, 2014 5:43 pm
- Location: Bellingham, Wa
Pat's 1983 URQ Alpine white #603 , 20V in progress
Got everything out but the steering rack.
Think I may pick up an HF soda blaster today to use for cleaning up the bay easily. Will have to put the subframe back on so I can roll the car outside but should help save time and get a better result in the engine bay.
Guess now I'm going to need ball joints, CV boots, and bushings.
Curious what is the best way to get that "knuckle" loose, just inside the car , that splined shaft that connects to the steering rack. I took the bolt out but can't get it loose . Everything else is loose on the rack.
Last edited by Afterthought on Fri Sep 22, 2017 12:08 pm, edited 1 time in total.

Re: 1983 URQ: spring rates?
The one that connects to the steering column?
I just let it soak in Kroil for a bit and used a big flat screwdriver to pry it off from inside the car.
I just let it soak in Kroil for a bit and used a big flat screwdriver to pry it off from inside the car.
Find me on Instagram @pry4sno
|| 2010 Golf Sportwagen TDI /// #farmenwagen
|| 2002 Dodge Ram 2500 24vt 4x4 #bertancummins
|| 1992 80 quattro 20v /// Eventual AAN'd Winter Sled
|| 1990 Coupe quattro /// Because Racecar
|| 2010 Golf Sportwagen TDI /// #farmenwagen
|| 2002 Dodge Ram 2500 24vt 4x4 #bertancummins
|| 1992 80 quattro 20v /// Eventual AAN'd Winter Sled
|| 1990 Coupe quattro /// Because Racecar
-
Afterthought
- Posts: 1249
- Joined: Thu Jan 16, 2014 5:43 pm
- Location: Bellingham, Wa
Pat's 1983 URQ Alpine white #603 , 20V in progress
Started working on a fix for the fenders so I can have them sprayed at the same time I do the engine bay.


So, had to sand down to bare metal then will sand and prime using a high build primer and sand again. Fixed the one ding while I was at it. I'm doing most the prep. work but It's going to be best best for me to farm this out and have the engine bay and fenders professionally sprayed.
So, had to sand down to bare metal then will sand and prime using a high build primer and sand again. Fixed the one ding while I was at it. I'm doing most the prep. work but It's going to be best best for me to farm this out and have the engine bay and fenders professionally sprayed.
Last edited by Afterthought on Fri Sep 22, 2017 12:12 pm, edited 1 time in total.
-
audifreakjim

- Posts: 2144
- Joined: Sun Mar 03, 2013 3:00 pm
Re: Pat's 1983 URQ Alpine white #603 , 20V in progress
Man, it's cleaning up well!
-
Afterthought
- Posts: 1249
- Joined: Thu Jan 16, 2014 5:43 pm
- Location: Bellingham, Wa
Re: Pat's 1983 URQ Alpine white #603 , 20V in progress
Jim it will be looking great when everything is said and done . I will have to spend a day on the body total.- few hours to remove two panels inside the car then have pointless dent removal done. There are only two door dings total. Then probably a few hours to mask and remove the overspray off all the windows, then go at it with the buffer . Going to be a huge difference. That is going to be about the last thing I will tackle . Been focused on the mechanical side of things mostly .
Re: Pat's 1983 URQ Alpine white #603 , 20V in progress
This looks great- funny that mine is #602 - alpine & was beige interior.
Re: 1983 URQ: spring rates?
Do not use wool on your windows, you're gonna scratch em. Use the blue shop towels or something similar that are "resistant" to thinner. Also get an aggressive thinner, not all are good for the job, some will do nothing and you'll rub for an hour, others you will be able to wipe that crap right off in a few seconds.Afterthought wrote: steel wool and lacquer thinner
I've had some omni base coat thinner, wouldn't do crap lol, switched to some chromabase thinner and poof overspray wiped right off the clearcoat. Also watch for your rubber seals, they'll melt if you have the good stuff.
Will you be using epoxy sealer?
Coming along nice
-
Afterthought
- Posts: 1249
- Joined: Thu Jan 16, 2014 5:43 pm
- Location: Bellingham, Wa
Re: 1983 URQ: spring rates?
Yes its possible to scratch with steel wool but depends on what you use. Something like 4/0 steel wool youd have to try pretty hard. However the thinner works better as long as I'm careful with the plastic.carl wrote:Do not use wool on your windows, you're gonna scratch em. Use the blue shop towels or something similar that are "resistant" to thinner. Also get an aggressive thinner, not all are good for the job, some will do nothing and you'll rub for an hour, others you will be able to wipe that crap right off in a few seconds.Afterthought wrote: steel wool and lacquer thinner
I've had some omni base coat thinner, wouldn't do crap lol, switched to some chromabase thinner and poof overspray wiped right off the clearcoat. Also watch for your rubber seals, they'll melt if you have the good stuff.
Will you be using epoxy sealer?
Coming along nice
Ive never heard anything good about the Omni products either.
-
Afterthought
- Posts: 1249
- Joined: Thu Jan 16, 2014 5:43 pm
- Location: Bellingham, Wa
Pat's 1983 URQ Alpine white #603 , 20V in progress
Still taking stuff apart, Cant wait to be putting together again.
Took everything down to the subframe and sandblasted that. Will get it coated today so it has a week minimum to "cure".
Can't decide if I'm going to just to black paint on the whole subframe or black paint on the top half then "undercoating" on the underside.

Took everything down to the subframe and sandblasted that. Will get it coated today so it has a week minimum to "cure".
Can't decide if I'm going to just to black paint on the whole subframe or black paint on the top half then "undercoating" on the underside.
Last edited by Afterthought on Fri Sep 22, 2017 12:13 pm, edited 1 time in total.
-
Afterthought
- Posts: 1249
- Joined: Thu Jan 16, 2014 5:43 pm
- Location: Bellingham, Wa
Pat's 1983 URQ Alpine white #603 , 20V in progress
Took a break from paint bullshit to finally start at least putting something together. Started on the block.
The block has been jet tanked, resurfaced, cylinders honed. And a fresh coat of silver paint.
Starting point:


Calico Coated main bearings from Marc


The block has been jet tanked, resurfaced, cylinders honed. And a fresh coat of silver paint.
Starting point:
Calico Coated main bearings from Marc
Last edited by Afterthought on Fri Sep 22, 2017 12:21 pm, edited 1 time in total.
Re: Pat's 1983 URQ Alpine white #603 , 20V in progress
Moving along nicely!
Any plans to seam weld the subframes?
Any plans to seam weld the subframes?
Find me on Instagram @pry4sno
|| 2010 Golf Sportwagen TDI /// #farmenwagen
|| 2002 Dodge Ram 2500 24vt 4x4 #bertancummins
|| 1992 80 quattro 20v /// Eventual AAN'd Winter Sled
|| 1990 Coupe quattro /// Because Racecar
|| 2010 Golf Sportwagen TDI /// #farmenwagen
|| 2002 Dodge Ram 2500 24vt 4x4 #bertancummins
|| 1992 80 quattro 20v /// Eventual AAN'd Winter Sled
|| 1990 Coupe quattro /// Because Racecar
-
Afterthought
- Posts: 1249
- Joined: Thu Jan 16, 2014 5:43 pm
- Location: Bellingham, Wa
Re: Pat's 1983 URQ Alpine white #603 , 20V in progress
Just to keep the rust out? Or does it serve another purpose? Hadn't planned on it. The subframe is in really good shape no real corrosion .PRY4SNO wrote:Moving along nicely!
Any plans to seam weld the subframes?
Re: Pat's 1983 URQ Alpine white #603 , 20V in progress
As I recall (read about it on a thread on MG years back), it helps for rigidity over certain power levels.
Find me on Instagram @pry4sno
|| 2010 Golf Sportwagen TDI /// #farmenwagen
|| 2002 Dodge Ram 2500 24vt 4x4 #bertancummins
|| 1992 80 quattro 20v /// Eventual AAN'd Winter Sled
|| 1990 Coupe quattro /// Because Racecar
|| 2010 Golf Sportwagen TDI /// #farmenwagen
|| 2002 Dodge Ram 2500 24vt 4x4 #bertancummins
|| 1992 80 quattro 20v /// Eventual AAN'd Winter Sled
|| 1990 Coupe quattro /// Because Racecar
-
Afterthought
- Posts: 1249
- Joined: Thu Jan 16, 2014 5:43 pm
- Location: Bellingham, Wa
Pat's 1983 URQ Alpine white #603 , 20V in progress
Can't have enough project cars. My newest project car showed up today.
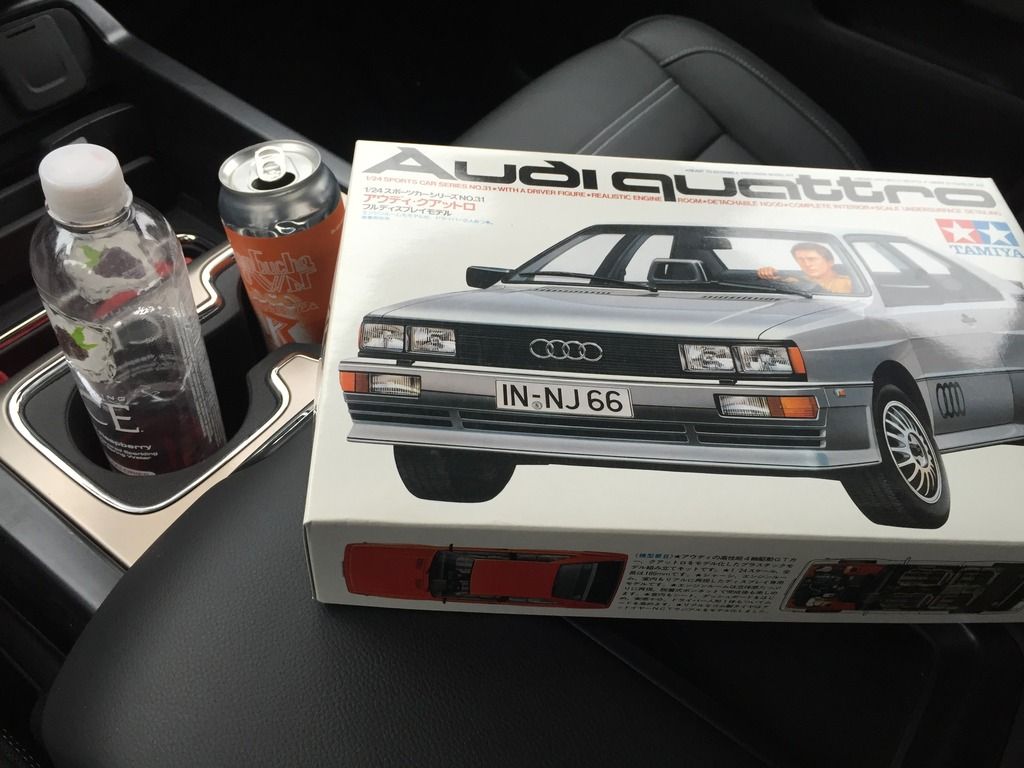
...In the mail.
Well spent another 5 hours on paint prep. I'd rather kill myself than paint cars for a living.
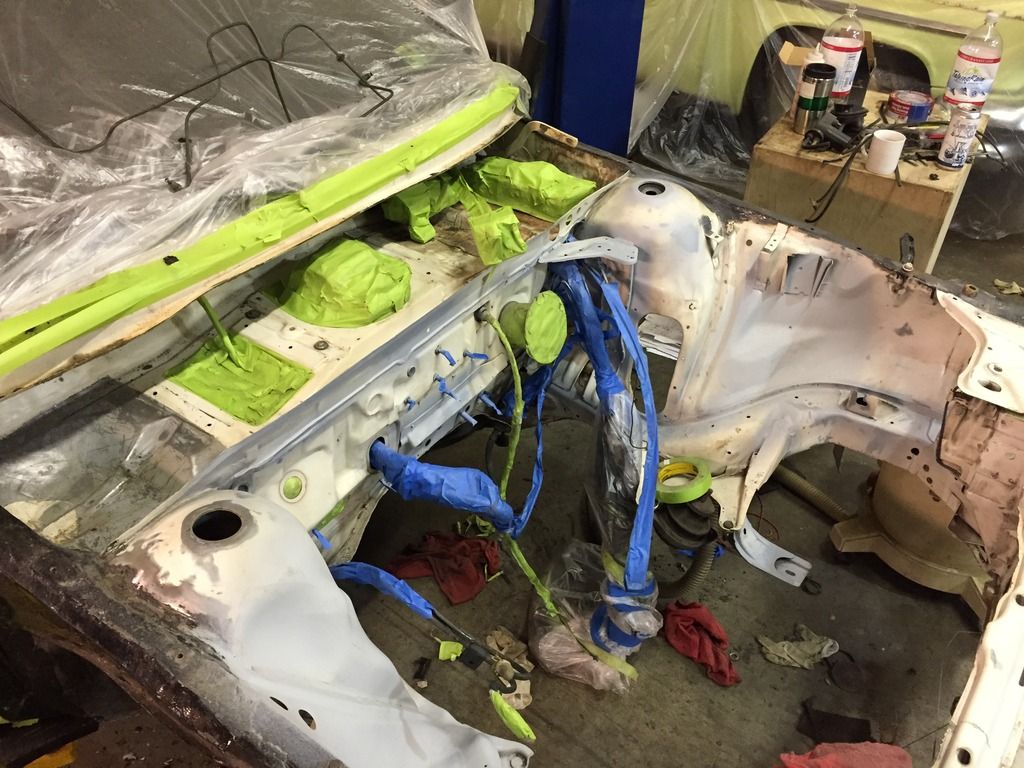
I kind of screwed myself, I was poking around in the "drip tray?" area between the windshield and engine compartment and noticing all of the cracks in the protective rubber/plastic junk audi puts on there from the factory and accidentally cracked a piece of it off.It's bare factory body underneath, So I ended up having to chip the whole thing out and then sand that area too. That sucked, but it will look better in the end.


Got some primer sprayed in the areas in the engine bay that were sanded to bare metal.
Anything that has been sanded down to metal gets "acid etching" primer first, then sprayed in high build primer so it can be sanded smooth. Then will get painted in factory L90E alpine white.

My goal is to hopefully be done with all the prep and sanding tomorrow. Then I can paint and never look back. Will start assembling the engine as much as I can, finish the subframe, and start going back together ASAP. Still have lots of work to do but the project keeps expanding.
...In the mail.
Well spent another 5 hours on paint prep. I'd rather kill myself than paint cars for a living.
I kind of screwed myself, I was poking around in the "drip tray?" area between the windshield and engine compartment and noticing all of the cracks in the protective rubber/plastic junk audi puts on there from the factory and accidentally cracked a piece of it off.It's bare factory body underneath, So I ended up having to chip the whole thing out and then sand that area too. That sucked, but it will look better in the end.
Got some primer sprayed in the areas in the engine bay that were sanded to bare metal.
Anything that has been sanded down to metal gets "acid etching" primer first, then sprayed in high build primer so it can be sanded smooth. Then will get painted in factory L90E alpine white.
My goal is to hopefully be done with all the prep and sanding tomorrow. Then I can paint and never look back. Will start assembling the engine as much as I can, finish the subframe, and start going back together ASAP. Still have lots of work to do but the project keeps expanding.
Last edited by Afterthought on Fri Sep 22, 2017 12:28 pm, edited 1 time in total.
-
Afterthought
- Posts: 1249
- Joined: Thu Jan 16, 2014 5:43 pm
- Location: Bellingham, Wa
Re: Pat's 1983 URQ Alpine white #603 , 20V in progress
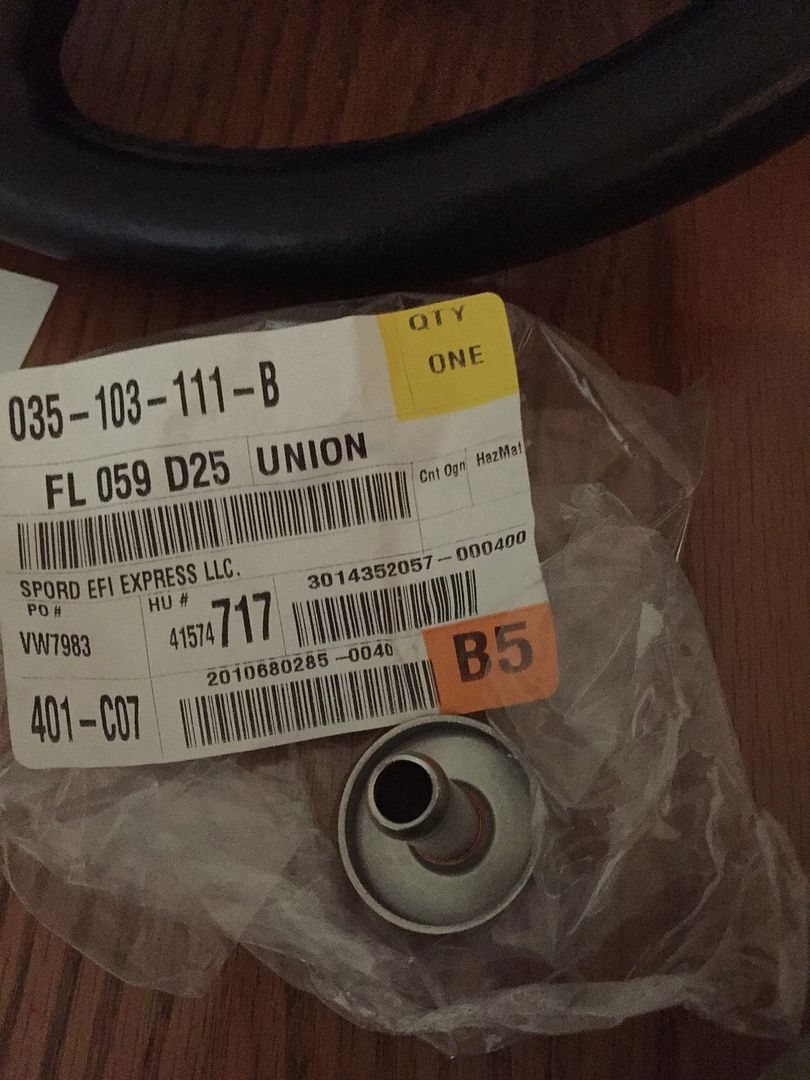
Some cool extra stuff I found some where.
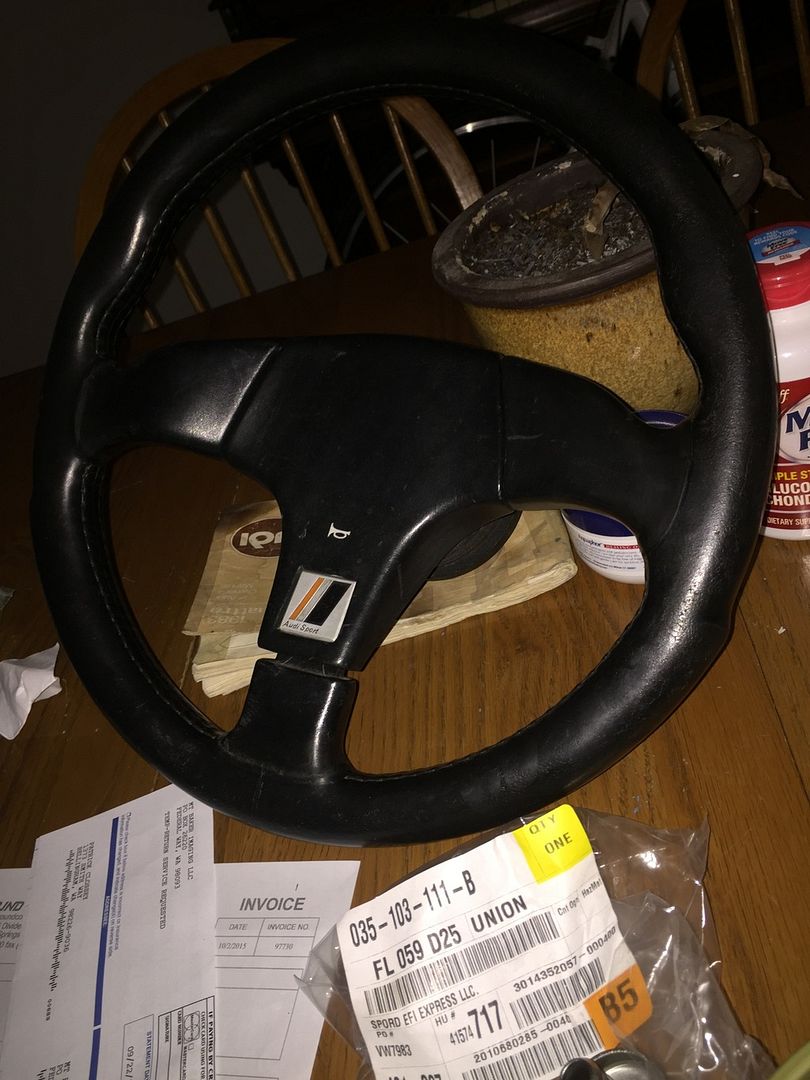
Piece I needed. Thank Marc!
Almost done with this mind numbing task of paint prep. Very close to being able to spray the bay.
Piece I needed. Thank Marc!
Almost done with this mind numbing task of paint prep. Very close to being able to spray the bay.
Re: Pat's 1983 URQ Alpine white #603 , 20V in progress
Lots of respect for the quick pace of this project!! YOu'll be enjoying it in no time!
-
Afterthought
- Posts: 1249
- Joined: Thu Jan 16, 2014 5:43 pm
- Location: Bellingham, Wa
Pat's 1983 URQ Alpine white #603 , 20V in progress
It would be going faster if I didn't a couple of other projects taking up my time! But this one is my top priority.Dave wrote:Lots of respect for the quick pace of this project!! YOu'll be enjoying it in no time!
Paint is next, maybe will be done by the end of this week if can spray the engine bay if everything goes well.
Also need the euro bumpers to be cleaned up and to spray the fenders

If I end up Waiting on paint to dry, I only have a couple parts I need then I'm ready to build up the engine assuming I don't have anything else pop up to order.
Last edited by Afterthought on Fri Sep 22, 2017 12:30 pm, edited 1 time in total.
-
Afterthought
- Posts: 1249
- Joined: Thu Jan 16, 2014 5:43 pm
- Location: Bellingham, Wa
Re: Pat's 1983 URQ Alpine white #603 , 20V in progress
Starting to put together the engine. Looking for torque values... Was planning on just using the s2.co.uk workshop manual. I think the AAN and 3B (and 7A) are the same for all the torque values?
Actually the gasket set I have is for an AAN too hopefully I can get by with this.
For the Arp head studs I'm going to do, 55 lb ft (3 stages 25, 40 then 55) then re-torque after a few heat cycles.
Actually the gasket set I have is for an AAN too
For the Arp head studs I'm going to do, 55 lb ft (3 stages 25, 40 then 55) then re-torque after a few heat cycles.
-
Afterthought
- Posts: 1249
- Joined: Thu Jan 16, 2014 5:43 pm
- Location: Bellingham, Wa
Re: Pat's 1983 URQ Alpine white #603 , 20V in progress
Question for those of you who are engine builders... Have you seen a wrist pin be a little bit tight or sticky? Installing the new DM Forged rods I got onto the pistons and noticed one doesn't want to rotate well. They are all tight but this one is tight enough it makes the engine very difficult to rotate by hand.
Again its new DM forged rods, stock pistons that have been cleaned. Everything was oiled lightly and used engine assembly lubricant when putting anything together. Wondering if this is an issue or not being that it is at 50 F and has never been run, may be something that needs to "run-in"
Again its new DM forged rods, stock pistons that have been cleaned. Everything was oiled lightly and used engine assembly lubricant when putting anything together. Wondering if this is an issue or not being that it is at 50 F and has never been run, may be something that needs to "run-in"
-
audifreakjim
- Posts: 2144
- Joined: Sun Mar 03, 2013 3:00 pm
Pat's 1983 URQ Alpine white #603 , 20V in progress
They should not bind at all. I have always had the machine shop hone the rods to match the wrist pins. They should be a little tight out of the box to make this possible.
-
Afterthought
- Posts: 1249
- Joined: Thu Jan 16, 2014 5:43 pm
- Location: Bellingham, Wa
Re: Pat's 1983 URQ Alpine white #603 , 20V in progress
Dang, looking into this then. Haven't sealed anything up yet.audifreakjim wrote:They should not bind at all. I have always had the machine shop hone the rods to match the wrist pins. They should be a little tight out of the box to make this possible.
-
Afterthought
- Posts: 1249
- Joined: Thu Jan 16, 2014 5:43 pm
- Location: Bellingham, Wa
Re: Pat's 1983 URQ Alpine white #603 , 20V in progress
was able to call in a favor from one of the machine shop guys at work. Got all my parts that were sandblasted run through a super heavy duty parts washer . So this takes care of any concerns I had about media .
-
Afterthought
- Posts: 1249
- Joined: Thu Jan 16, 2014 5:43 pm
- Location: Bellingham, Wa
Pat's 1983 URQ Alpine white #603 , 20V in progress
Arp studs ready to go... Internet says 55 lb ft. ArP paperwork with the studs says 80lb ft
Which one did you guys go

Which one did you guys go
Last edited by Afterthought on Fri Sep 22, 2017 12:30 pm, edited 1 time in total.