Page 8 of 8
Re: My audi CQ 3B S2 build
Posted: Thu Feb 27, 2014 7:54 pm
by araipilot
audifreakjim wrote:I want to lick that engine bay. Where did you get the carbon fiber style silicone couplers?
Sorry I can't remember where I got that carbon fiber coupler, I have been at this project for so long I loose track of some things.
Re: My audi CQ 3B S2 build
Posted: Thu Feb 27, 2014 7:56 pm
by araipilot
Dave wrote:You deserve to be enjoying this car after all the hard work, Hope you get there soon!
Thanks Dave, sorry for the short messages today but was dealing with my little boy
Re: My audi CQ 3B S2 build
Posted: Thu Feb 27, 2014 8:38 pm
by Mcstiff
araipilot wrote:audifreakjim wrote:I want to lick that engine bay. Where did you get the carbon fiber style silicone couplers?
Sorry I can't remember where I got that carbon fiber coupler, I have been at this project for so long I loose track of some things.
Jimmy LMGTFY
http://www.mandrelbendingsolutions.com/ ... Categories
Re: My audi CQ 3B S2 build
Posted: Thu Feb 27, 2014 9:26 pm
by araipilot
Mcstiff wrote:araipilot wrote:audifreakjim wrote:I want to lick that engine bay. Where did you get the carbon fiber style silicone couplers?
Sorry I can't remember where I got that carbon fiber coupler, I have been at this project for so long I loose track of some things.
Jimmy LMGTFY
http://www.mandrelbendingsolutions.com/ ... Categories
cheers on that link, helps me remember

Re: My audi CQ 3B S2 build
Posted: Fri May 02, 2014 11:40 am
by araipilot
Ok it has been too long since my last post. Long story short I got sand in my intake manifold from sand blasting which got into my ring landings and seized my rings to the pistons. I did a full rebuild with new je pistons and stronger wrist pins. I didn't have the energy to build and post but now that it's done I decided to update my post.
I updated the Pcv system also by welding a -10 AN fitting to the valve cover then welded another -10AN bung to the bottom of the catch can and routed that line back into the oil pan.
Lastly I directed some attention to the interior. Got my Recaro seats upholstered and sliding rails welded up, while I was in there I decided to address the door cards and used the extra material from the seats to redo the door cards.
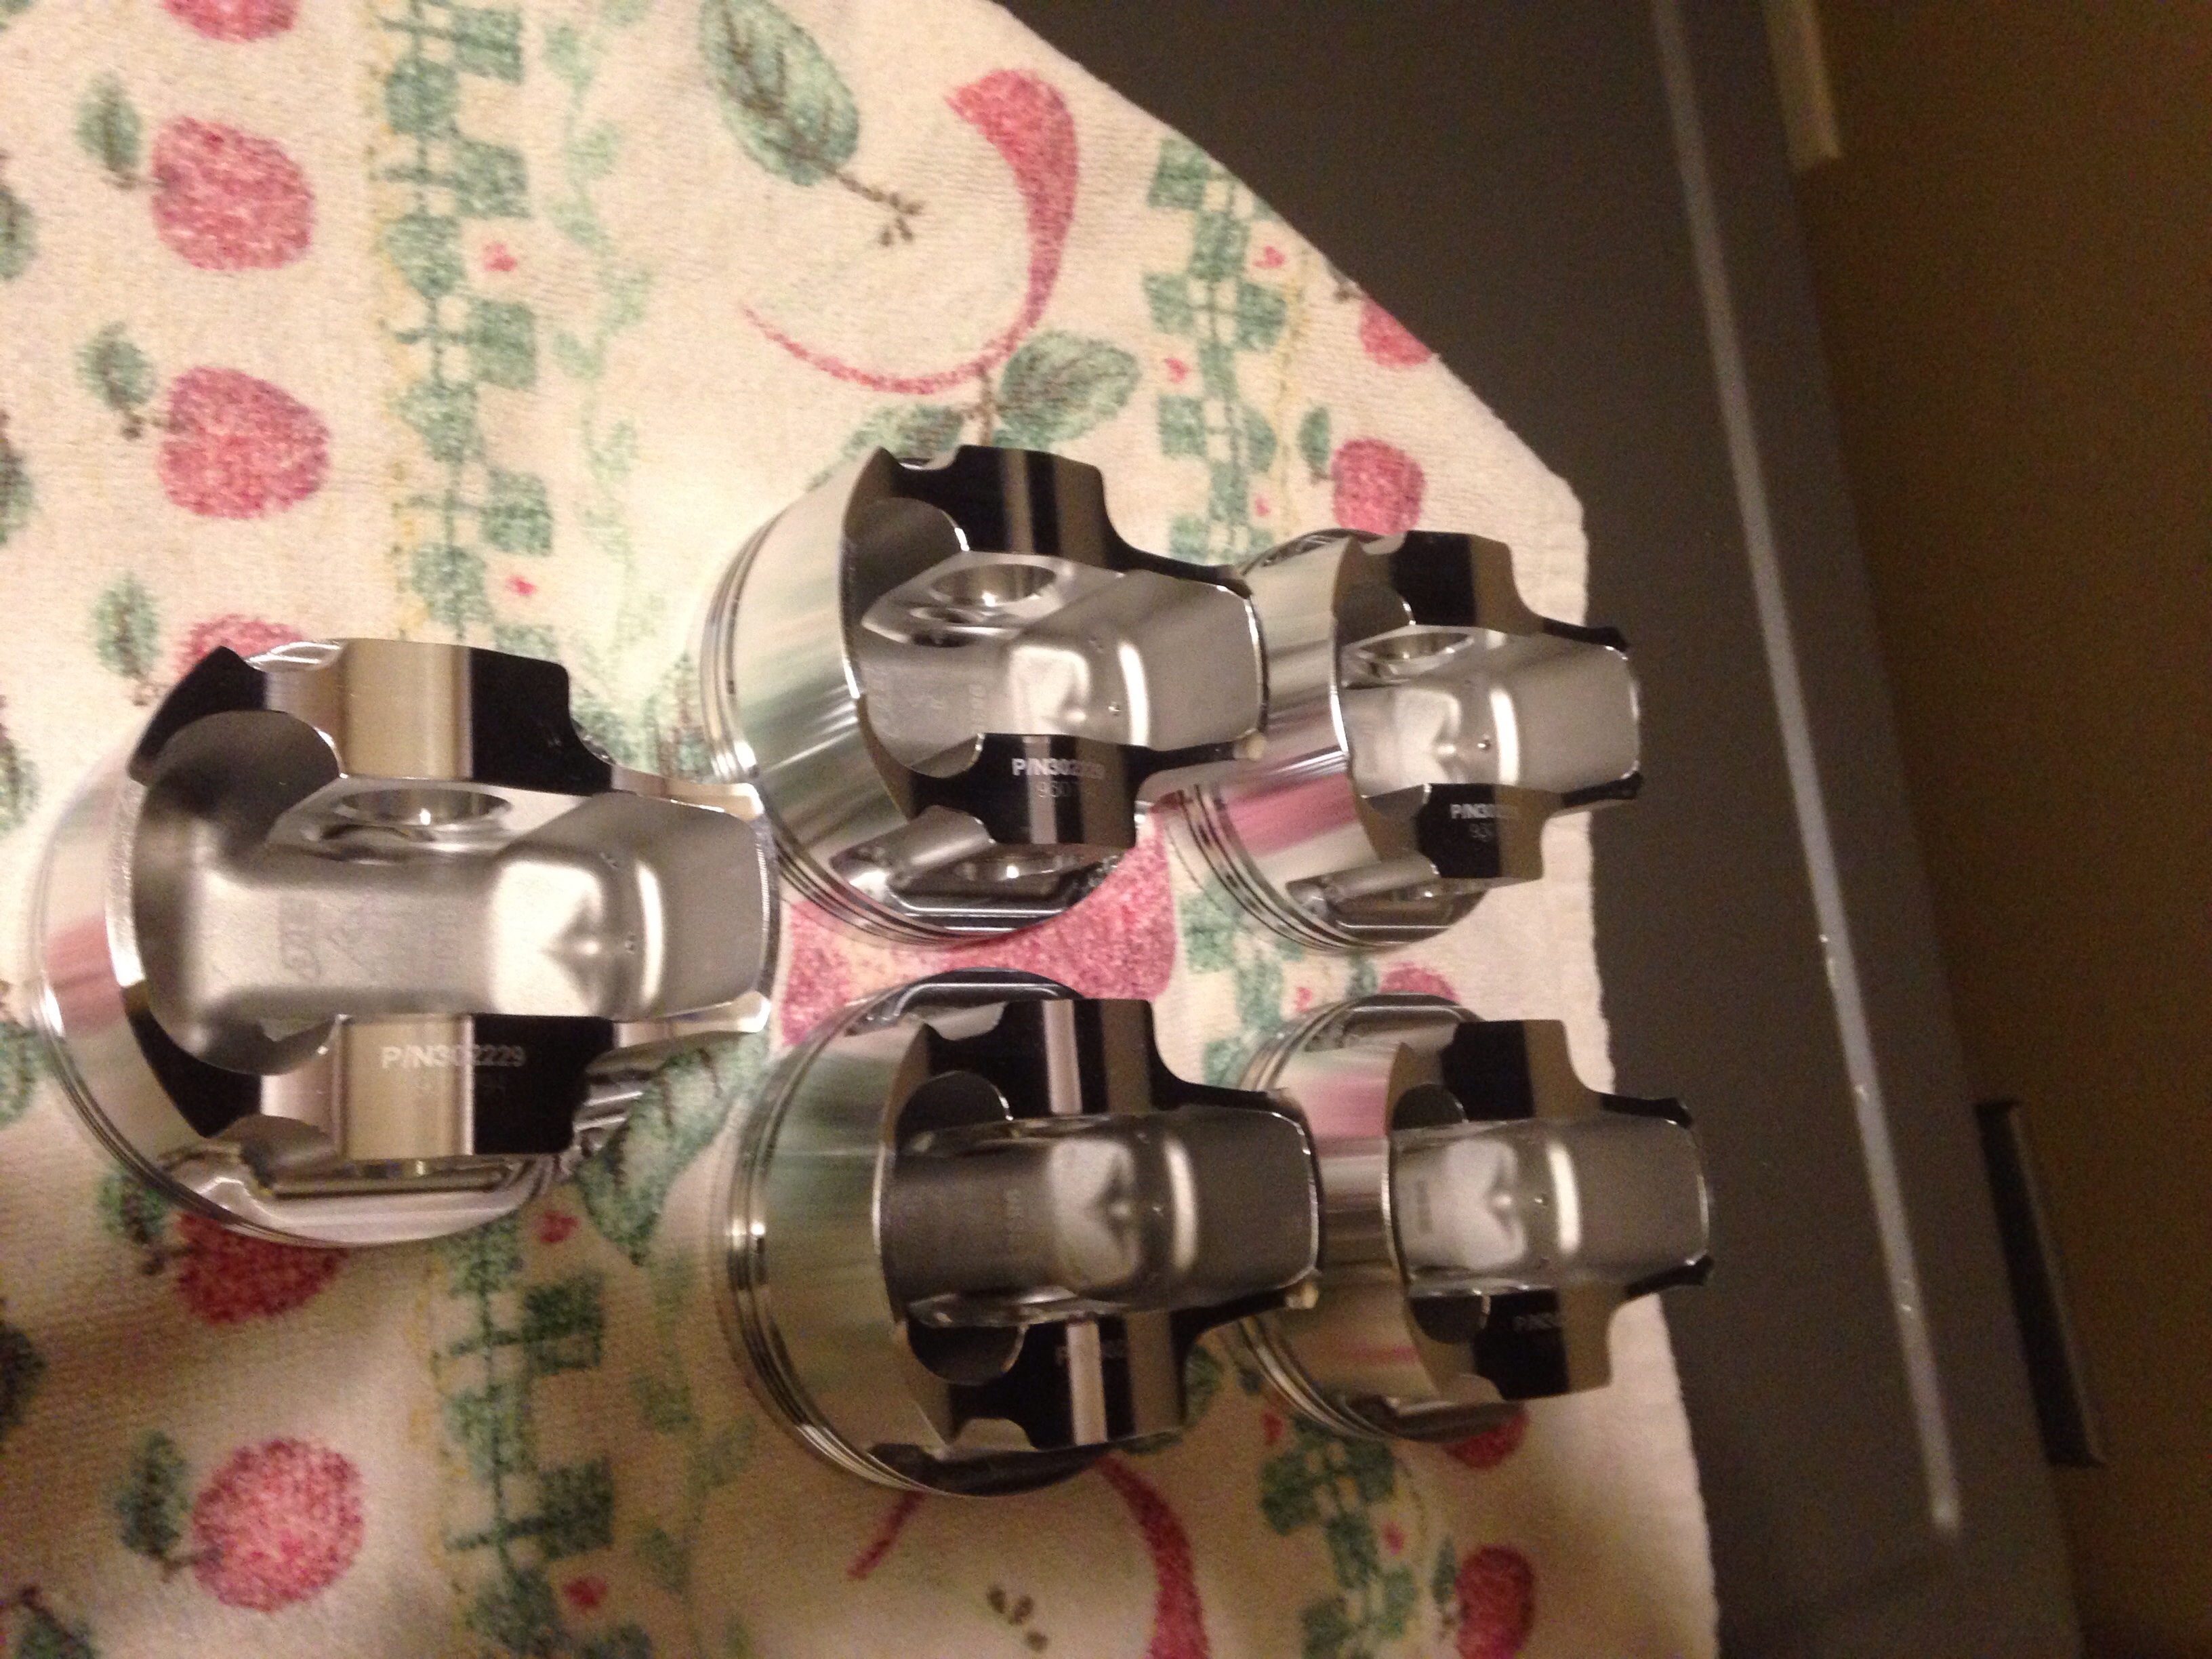
- New JE pistons again
- image.jpg (2.05 MiB) Viewed 32902 times
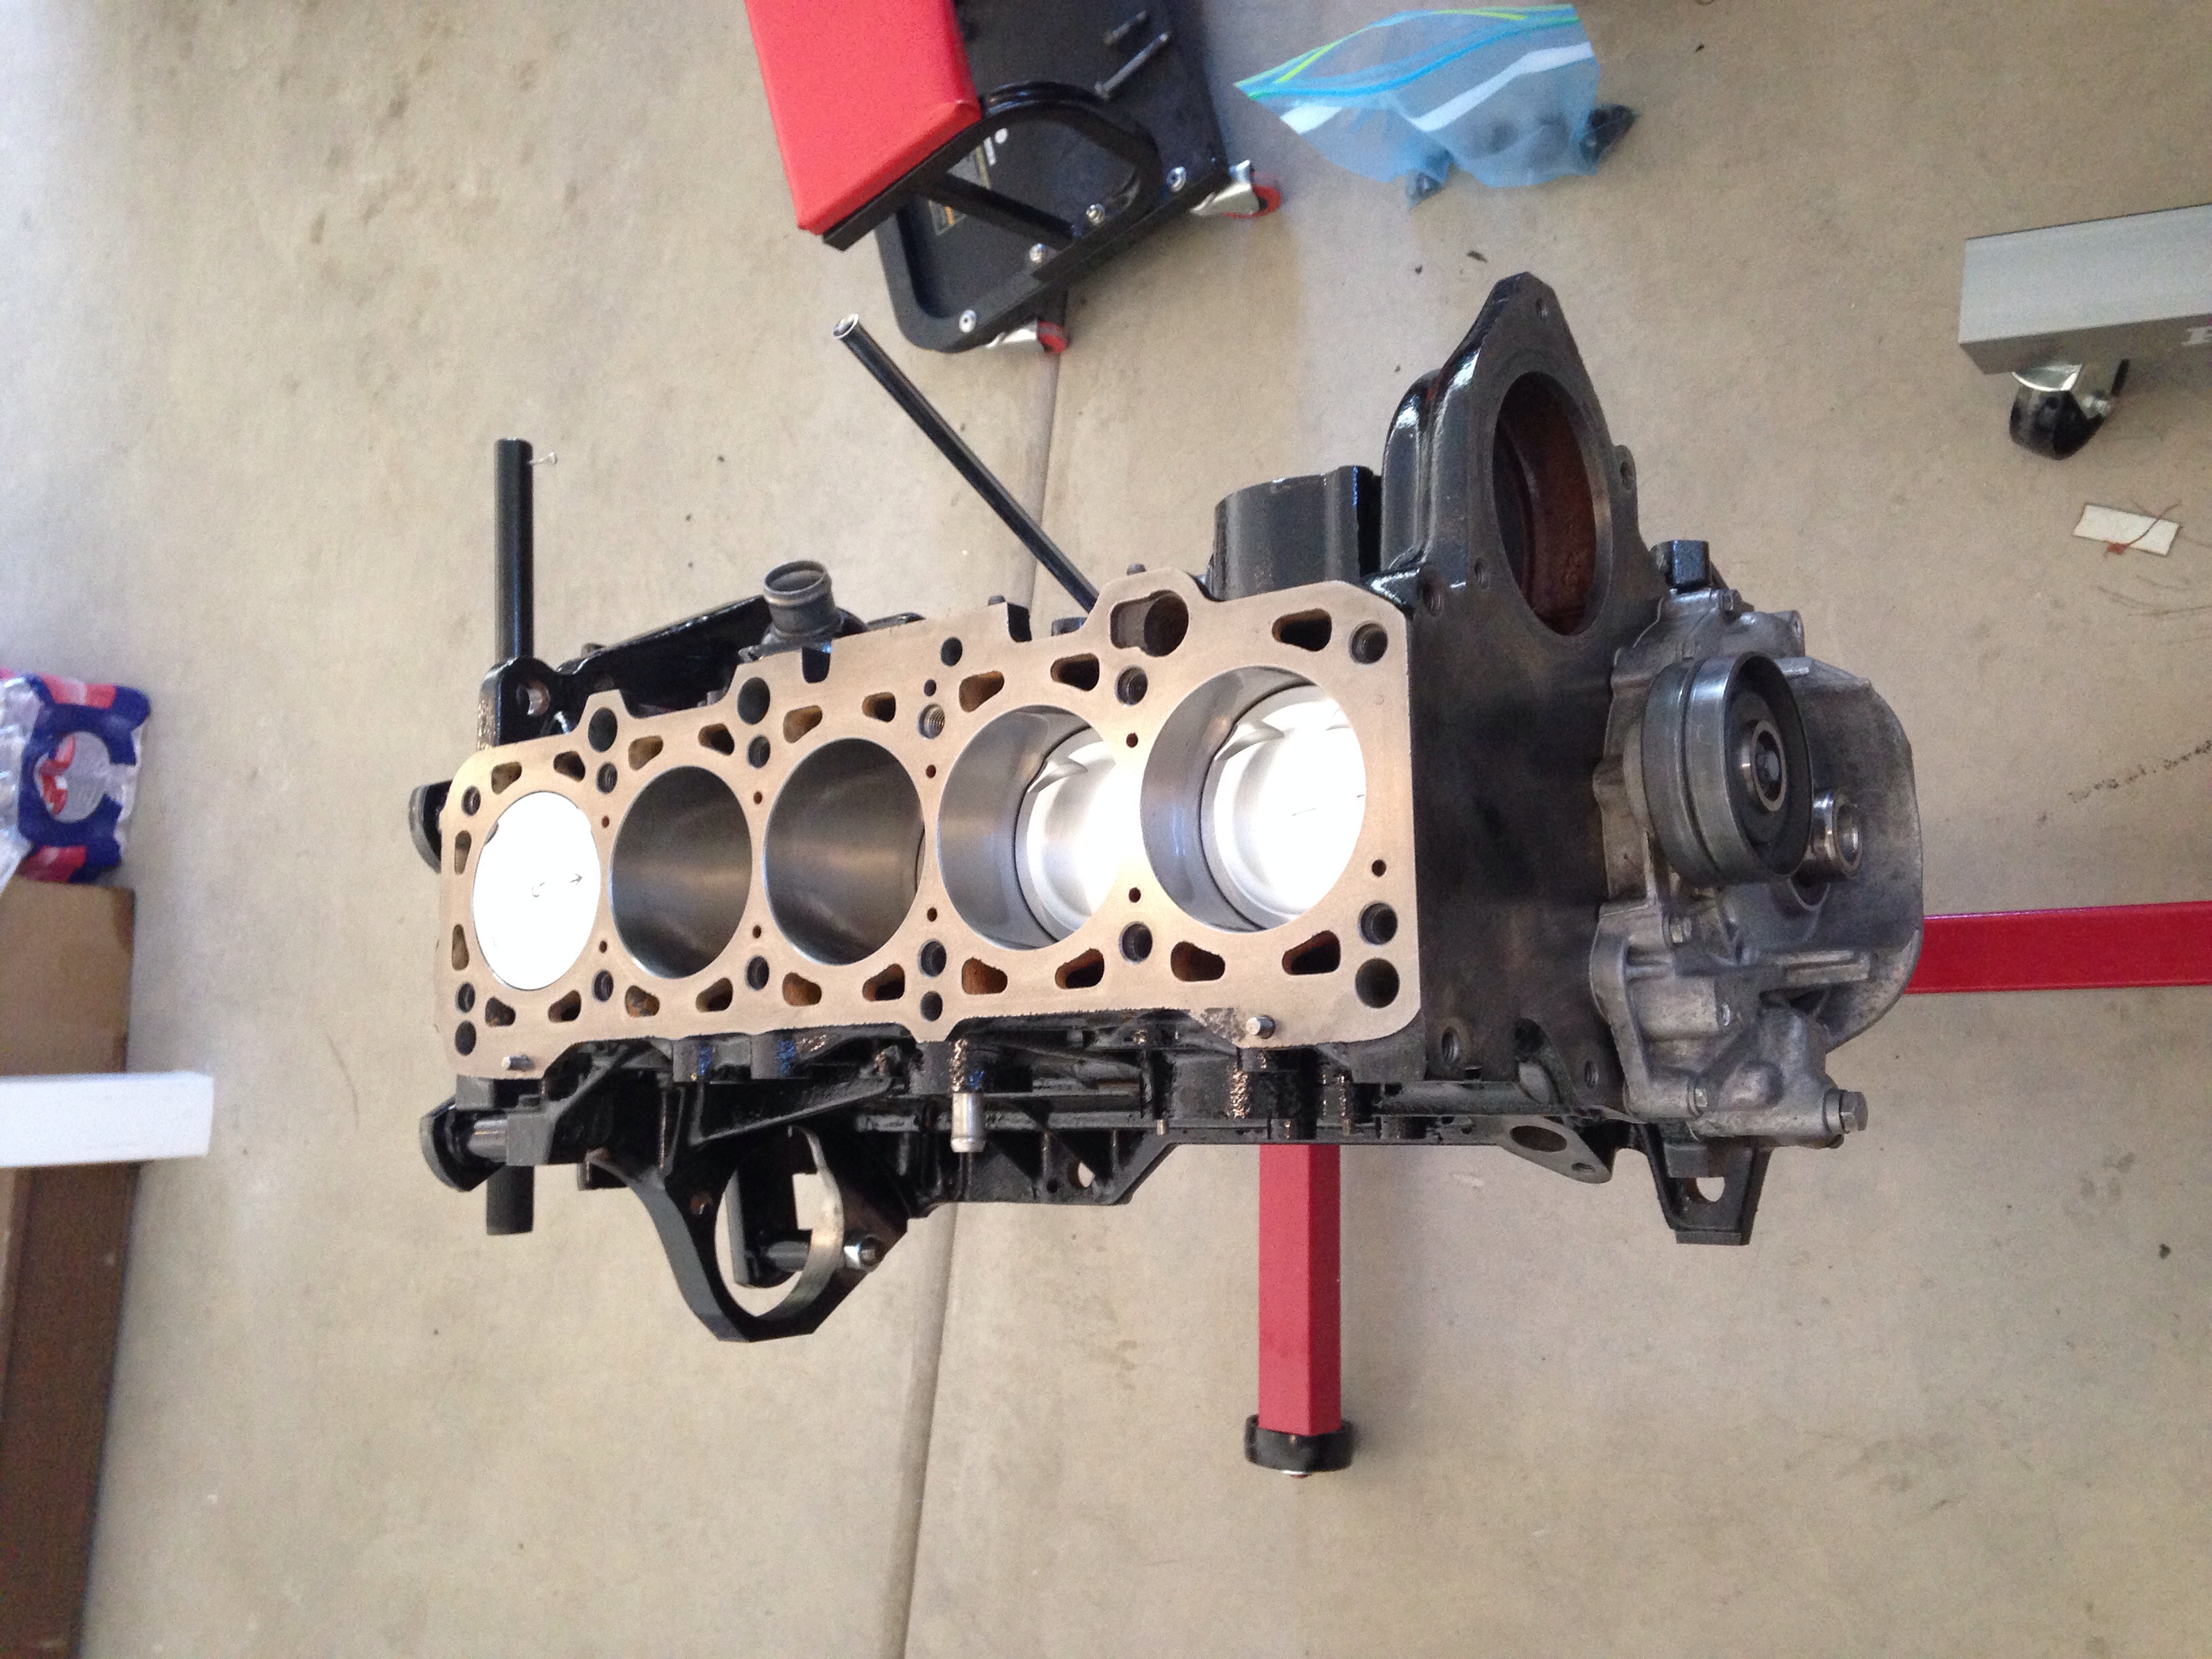
- Rehoned and tanked block with new JE pistons
- image.jpg (2.07 MiB) Viewed 32902 times
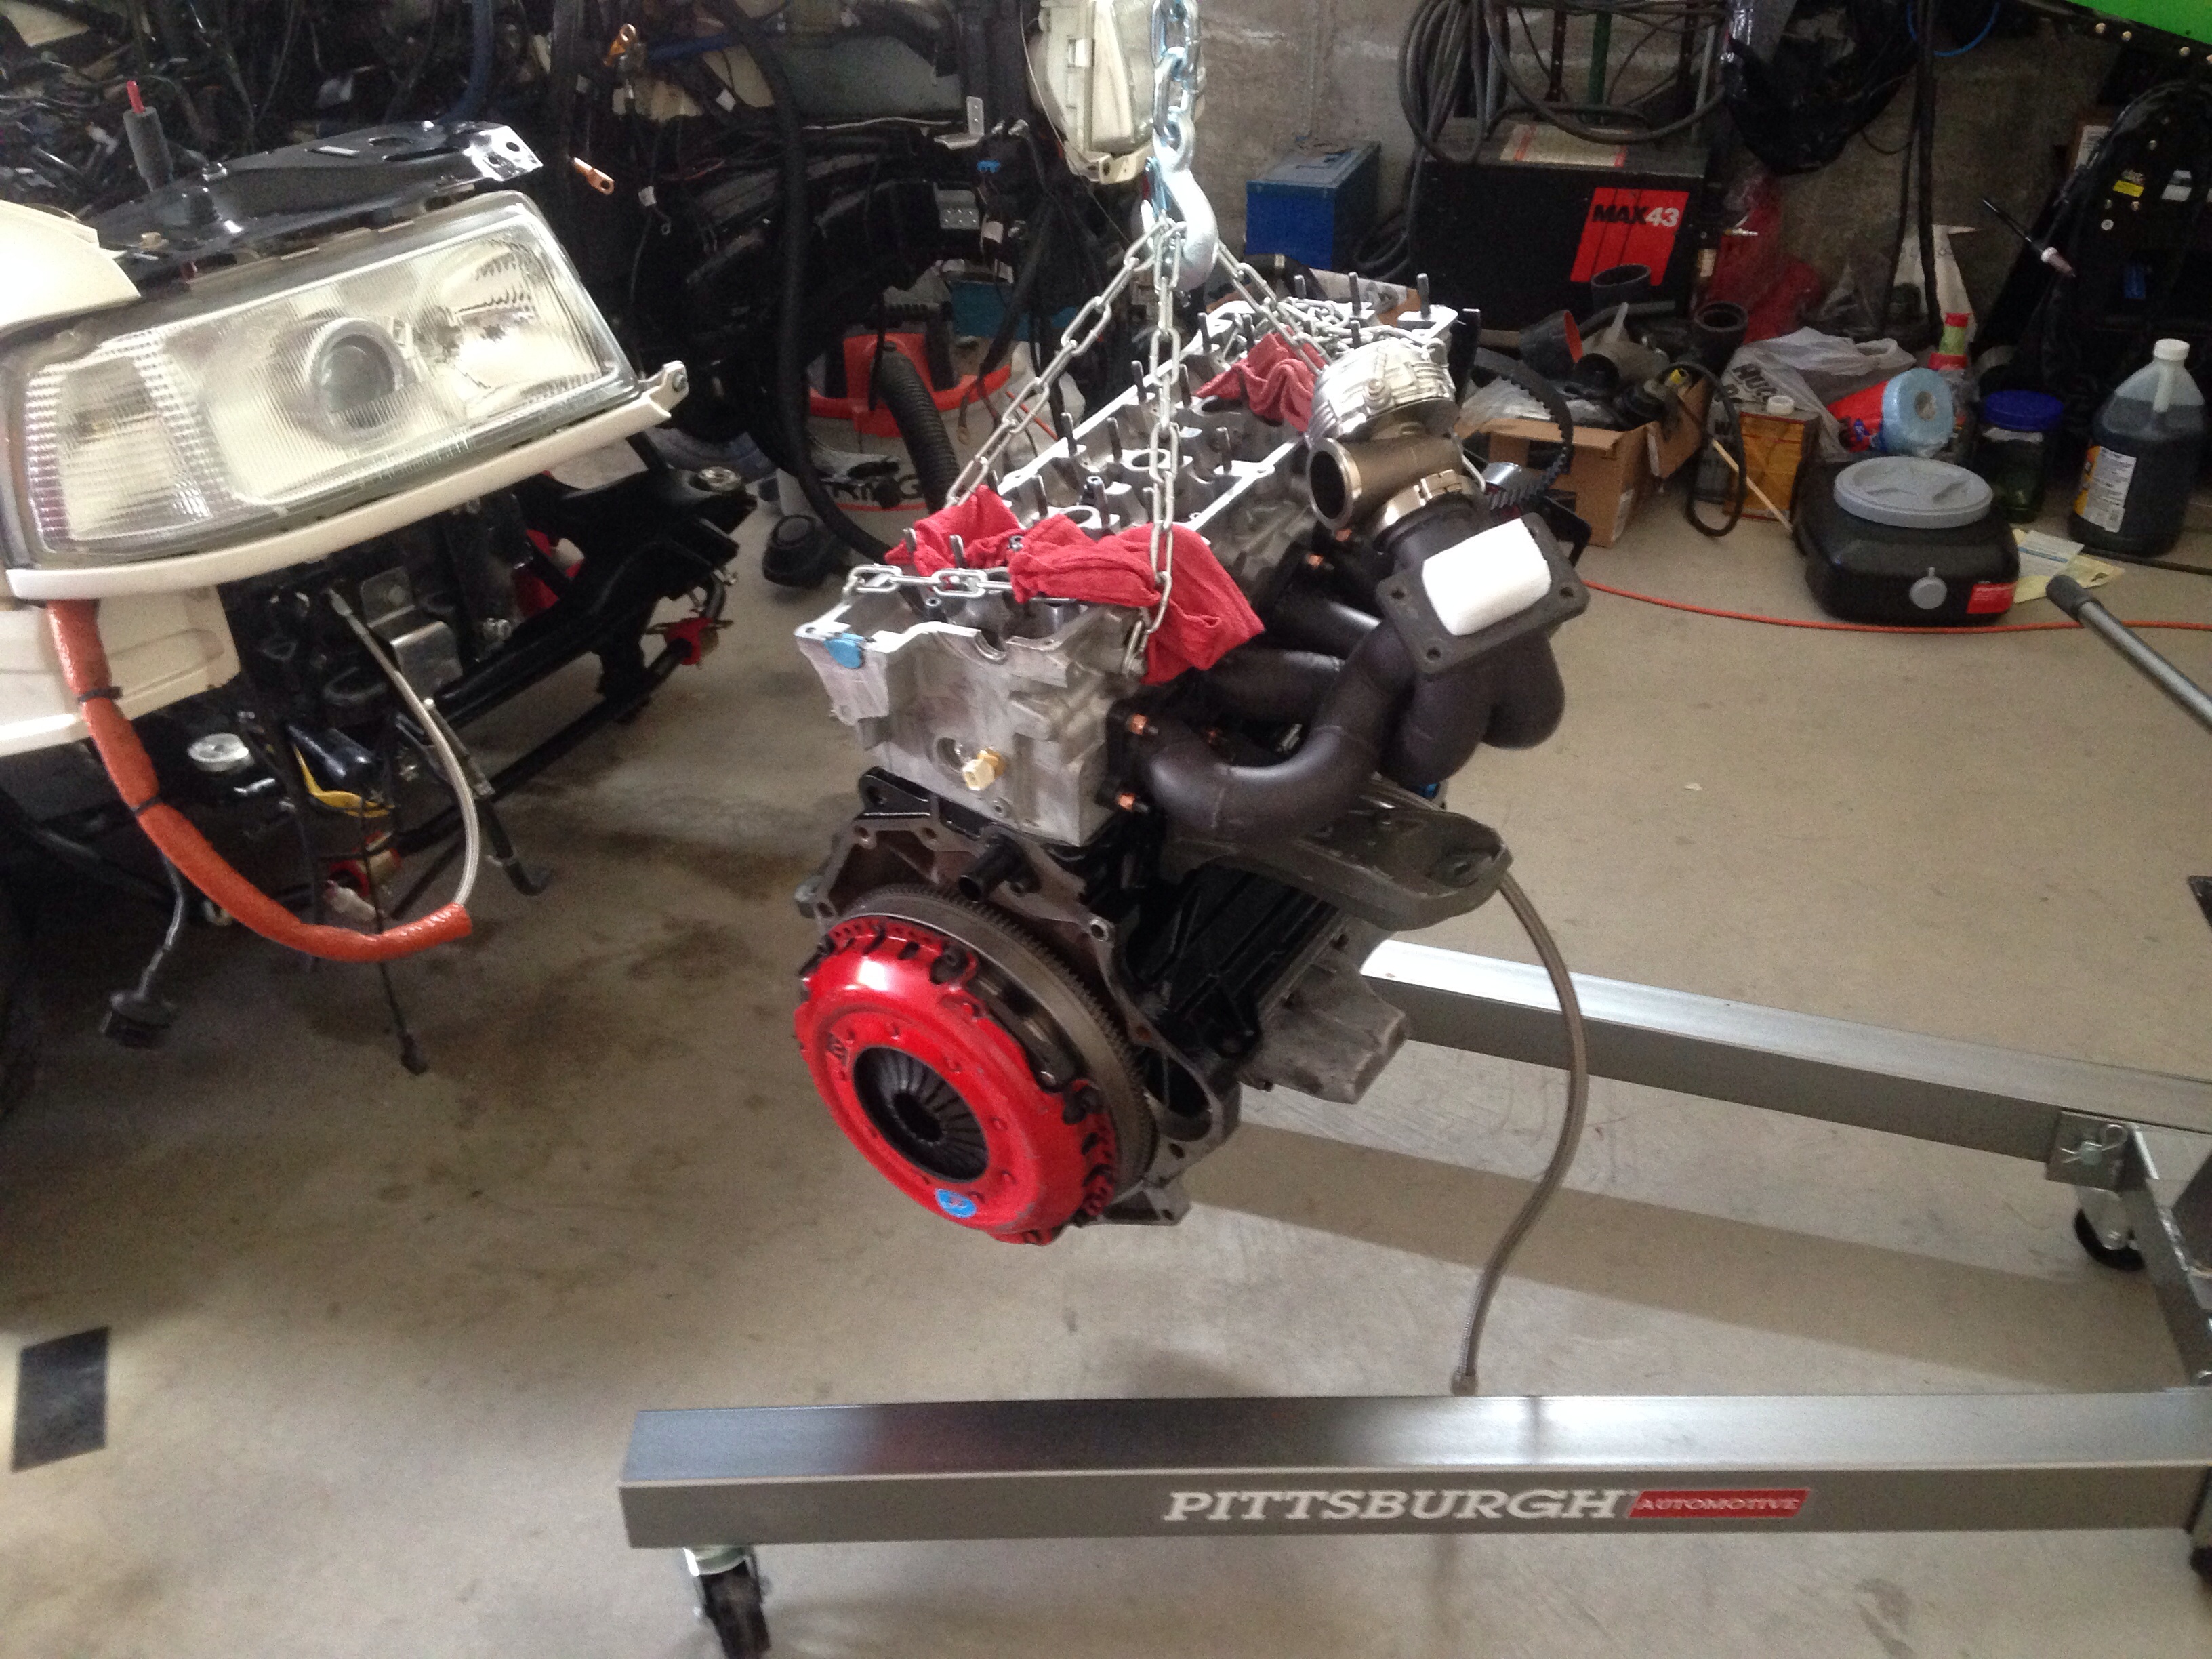
- Engine completely reassembled and ready to go back in
- image.jpg (2.06 MiB) Viewed 32902 times
Re: My audi CQ 3B S2 build
Posted: Fri May 02, 2014 11:55 am
by araipilot
Re: My audi CQ 3B S2 build
Posted: Fri May 02, 2014 12:05 pm
by araipilot
Here are the seats and the VEMS
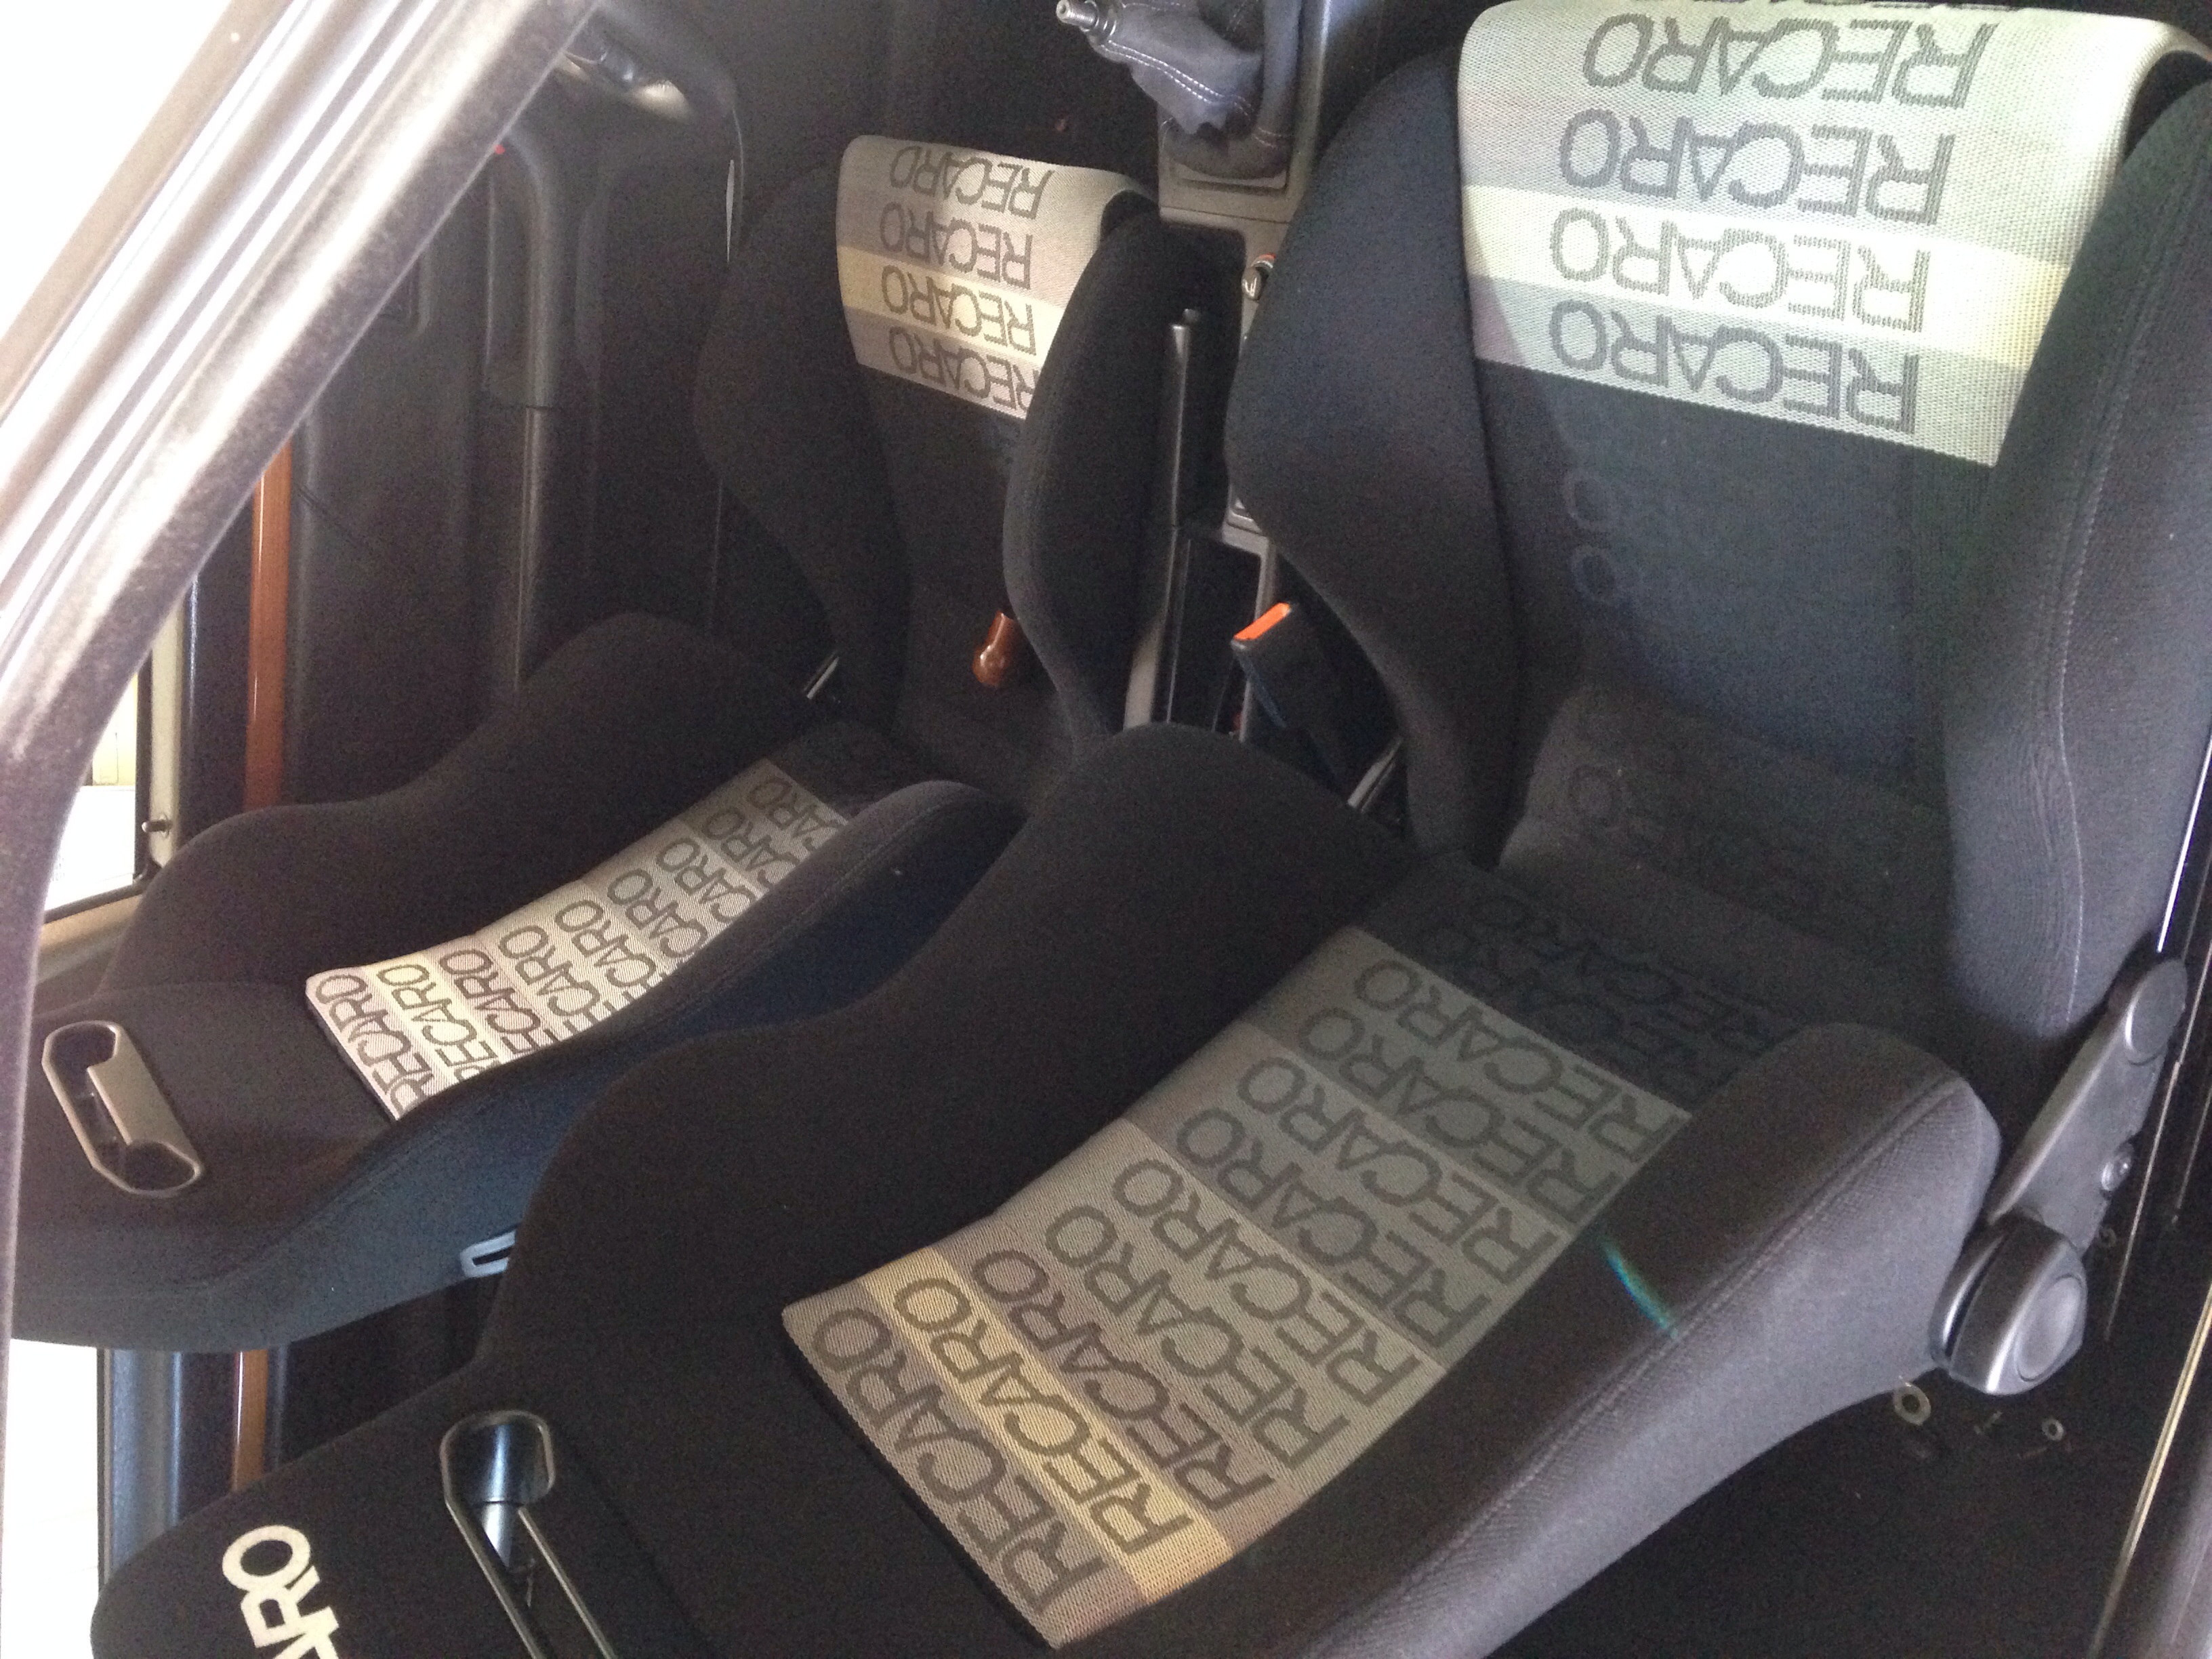
- Seats
- image.jpg (2.15 MiB) Viewed 32903 times
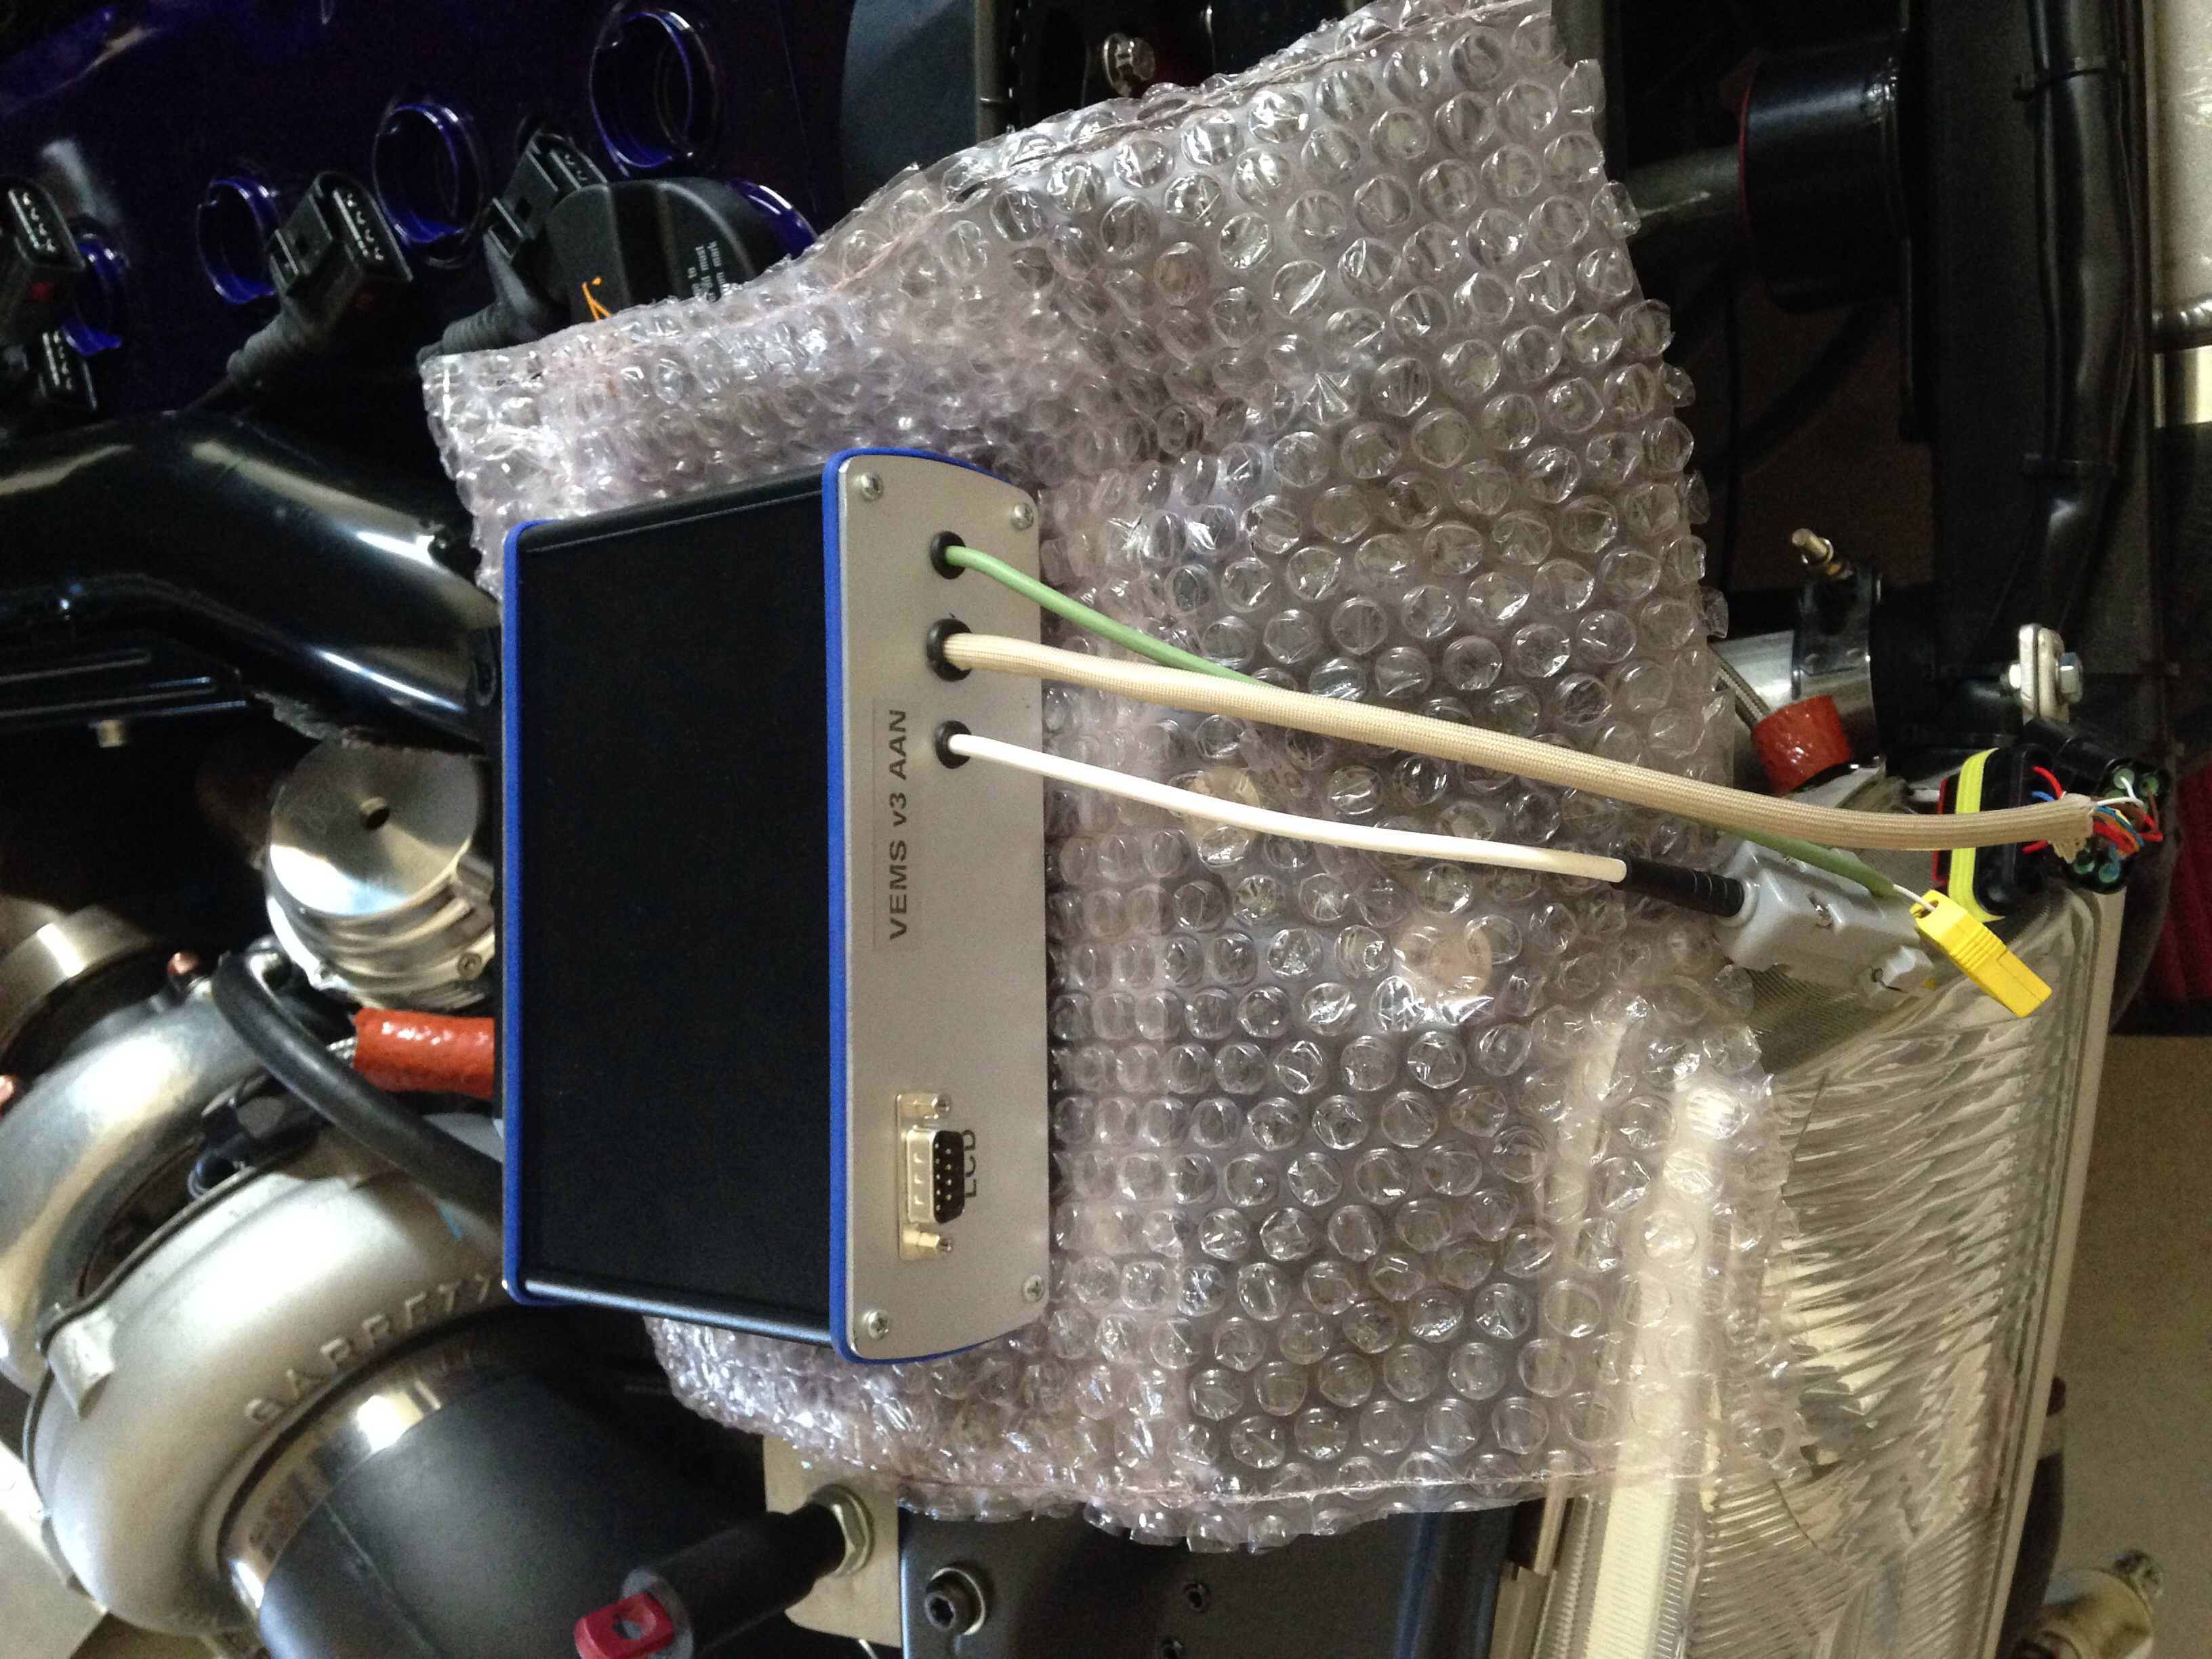
- Vems
- image.jpg (2.12 MiB) Viewed 32903 times
Re: My audi CQ 3B S2 build
Posted: Fri May 02, 2014 12:25 pm
by araipilot
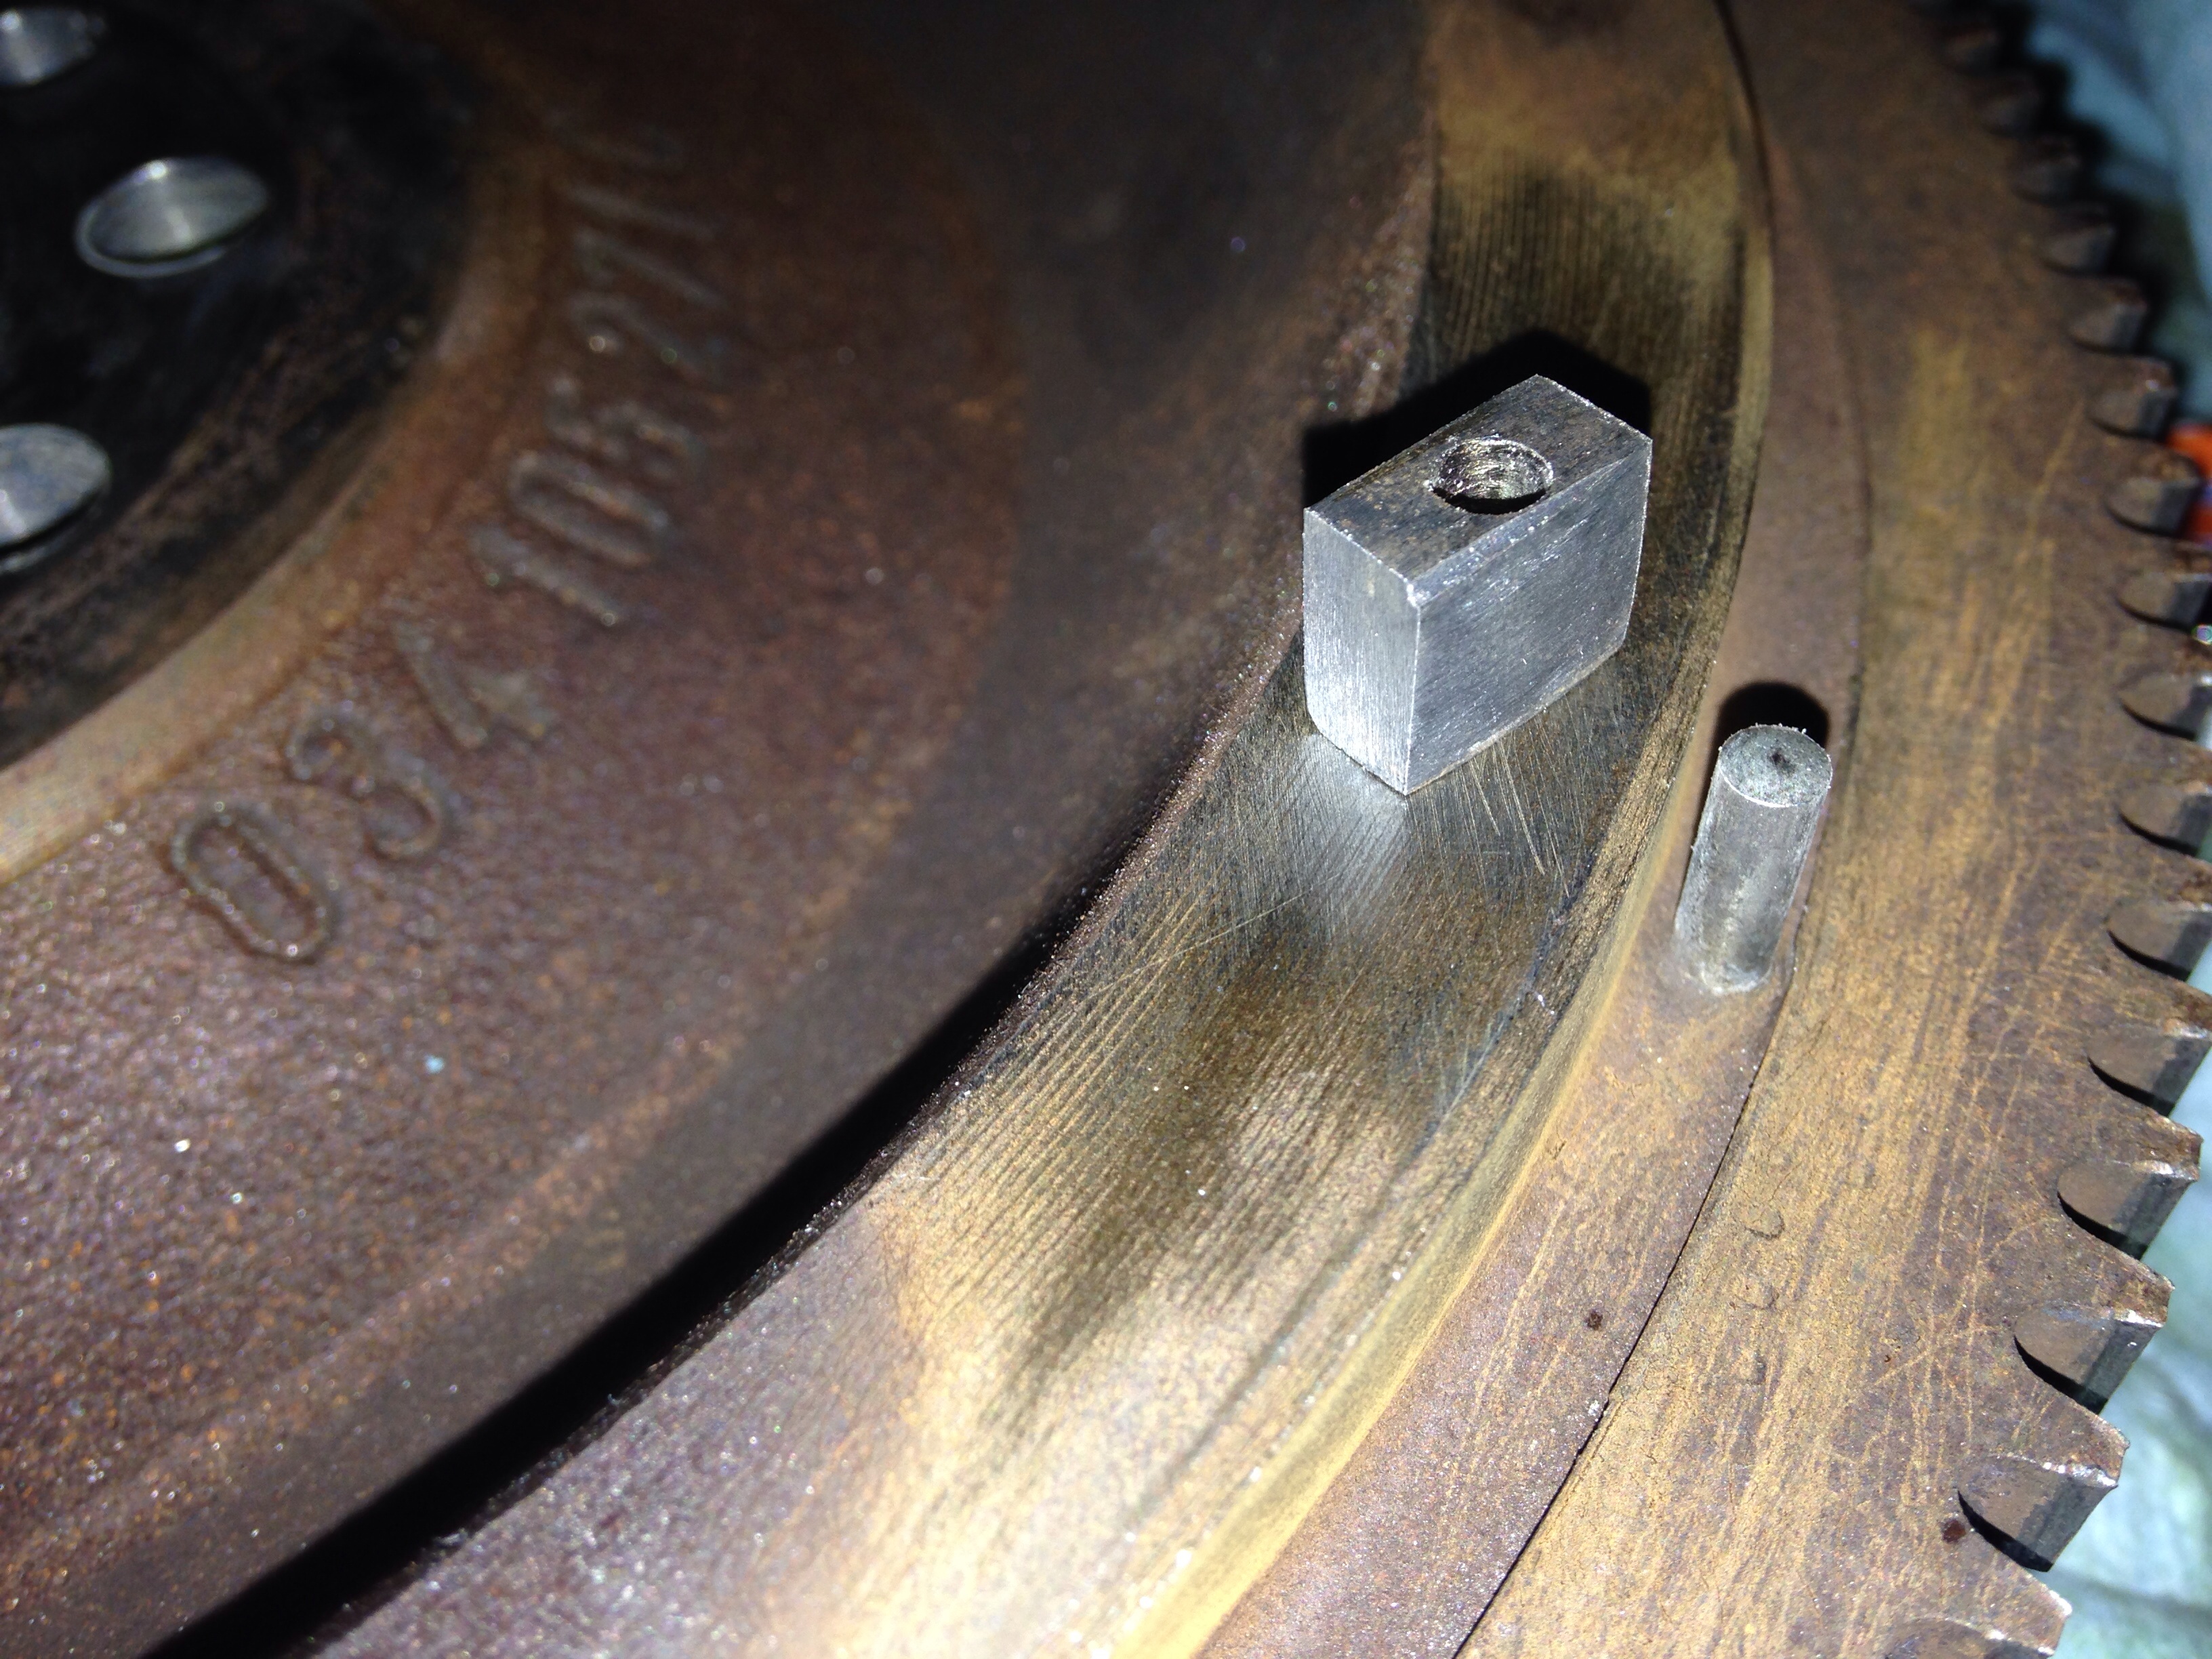
Pickup for the VEMS
- image.jpg (2.12 MiB) Viewed 32902 times
Re: My audi CQ 3B S2 build
Posted: Fri May 02, 2014 12:28 pm
by Mcstiff
Nice seats!
Re: My audi CQ 3B S2 build
Posted: Fri May 02, 2014 12:37 pm
by araipilot
Thank you
Re: My audi CQ 3B S2 build
Posted: Fri May 02, 2014 12:42 pm
by araipilot
Like I said its been a while so I keep remembering things that I have done. I was about to put on a new timing belt after the rebuild and noticed a crack in the super torque cog from 034. Less than 1500 miles on this part I used the correct tool for removal and installation and I torqued it to correct specifications but it still cracked.
I don't know if its visible but you can see a crack around the key. I since updated this with a machined piece from EFI express for peace of mind. You have to pay close attention when you build a motor to find little things like this that could possibly result in a full rebuild. BTDT don't want to go down that yellow brick road again!
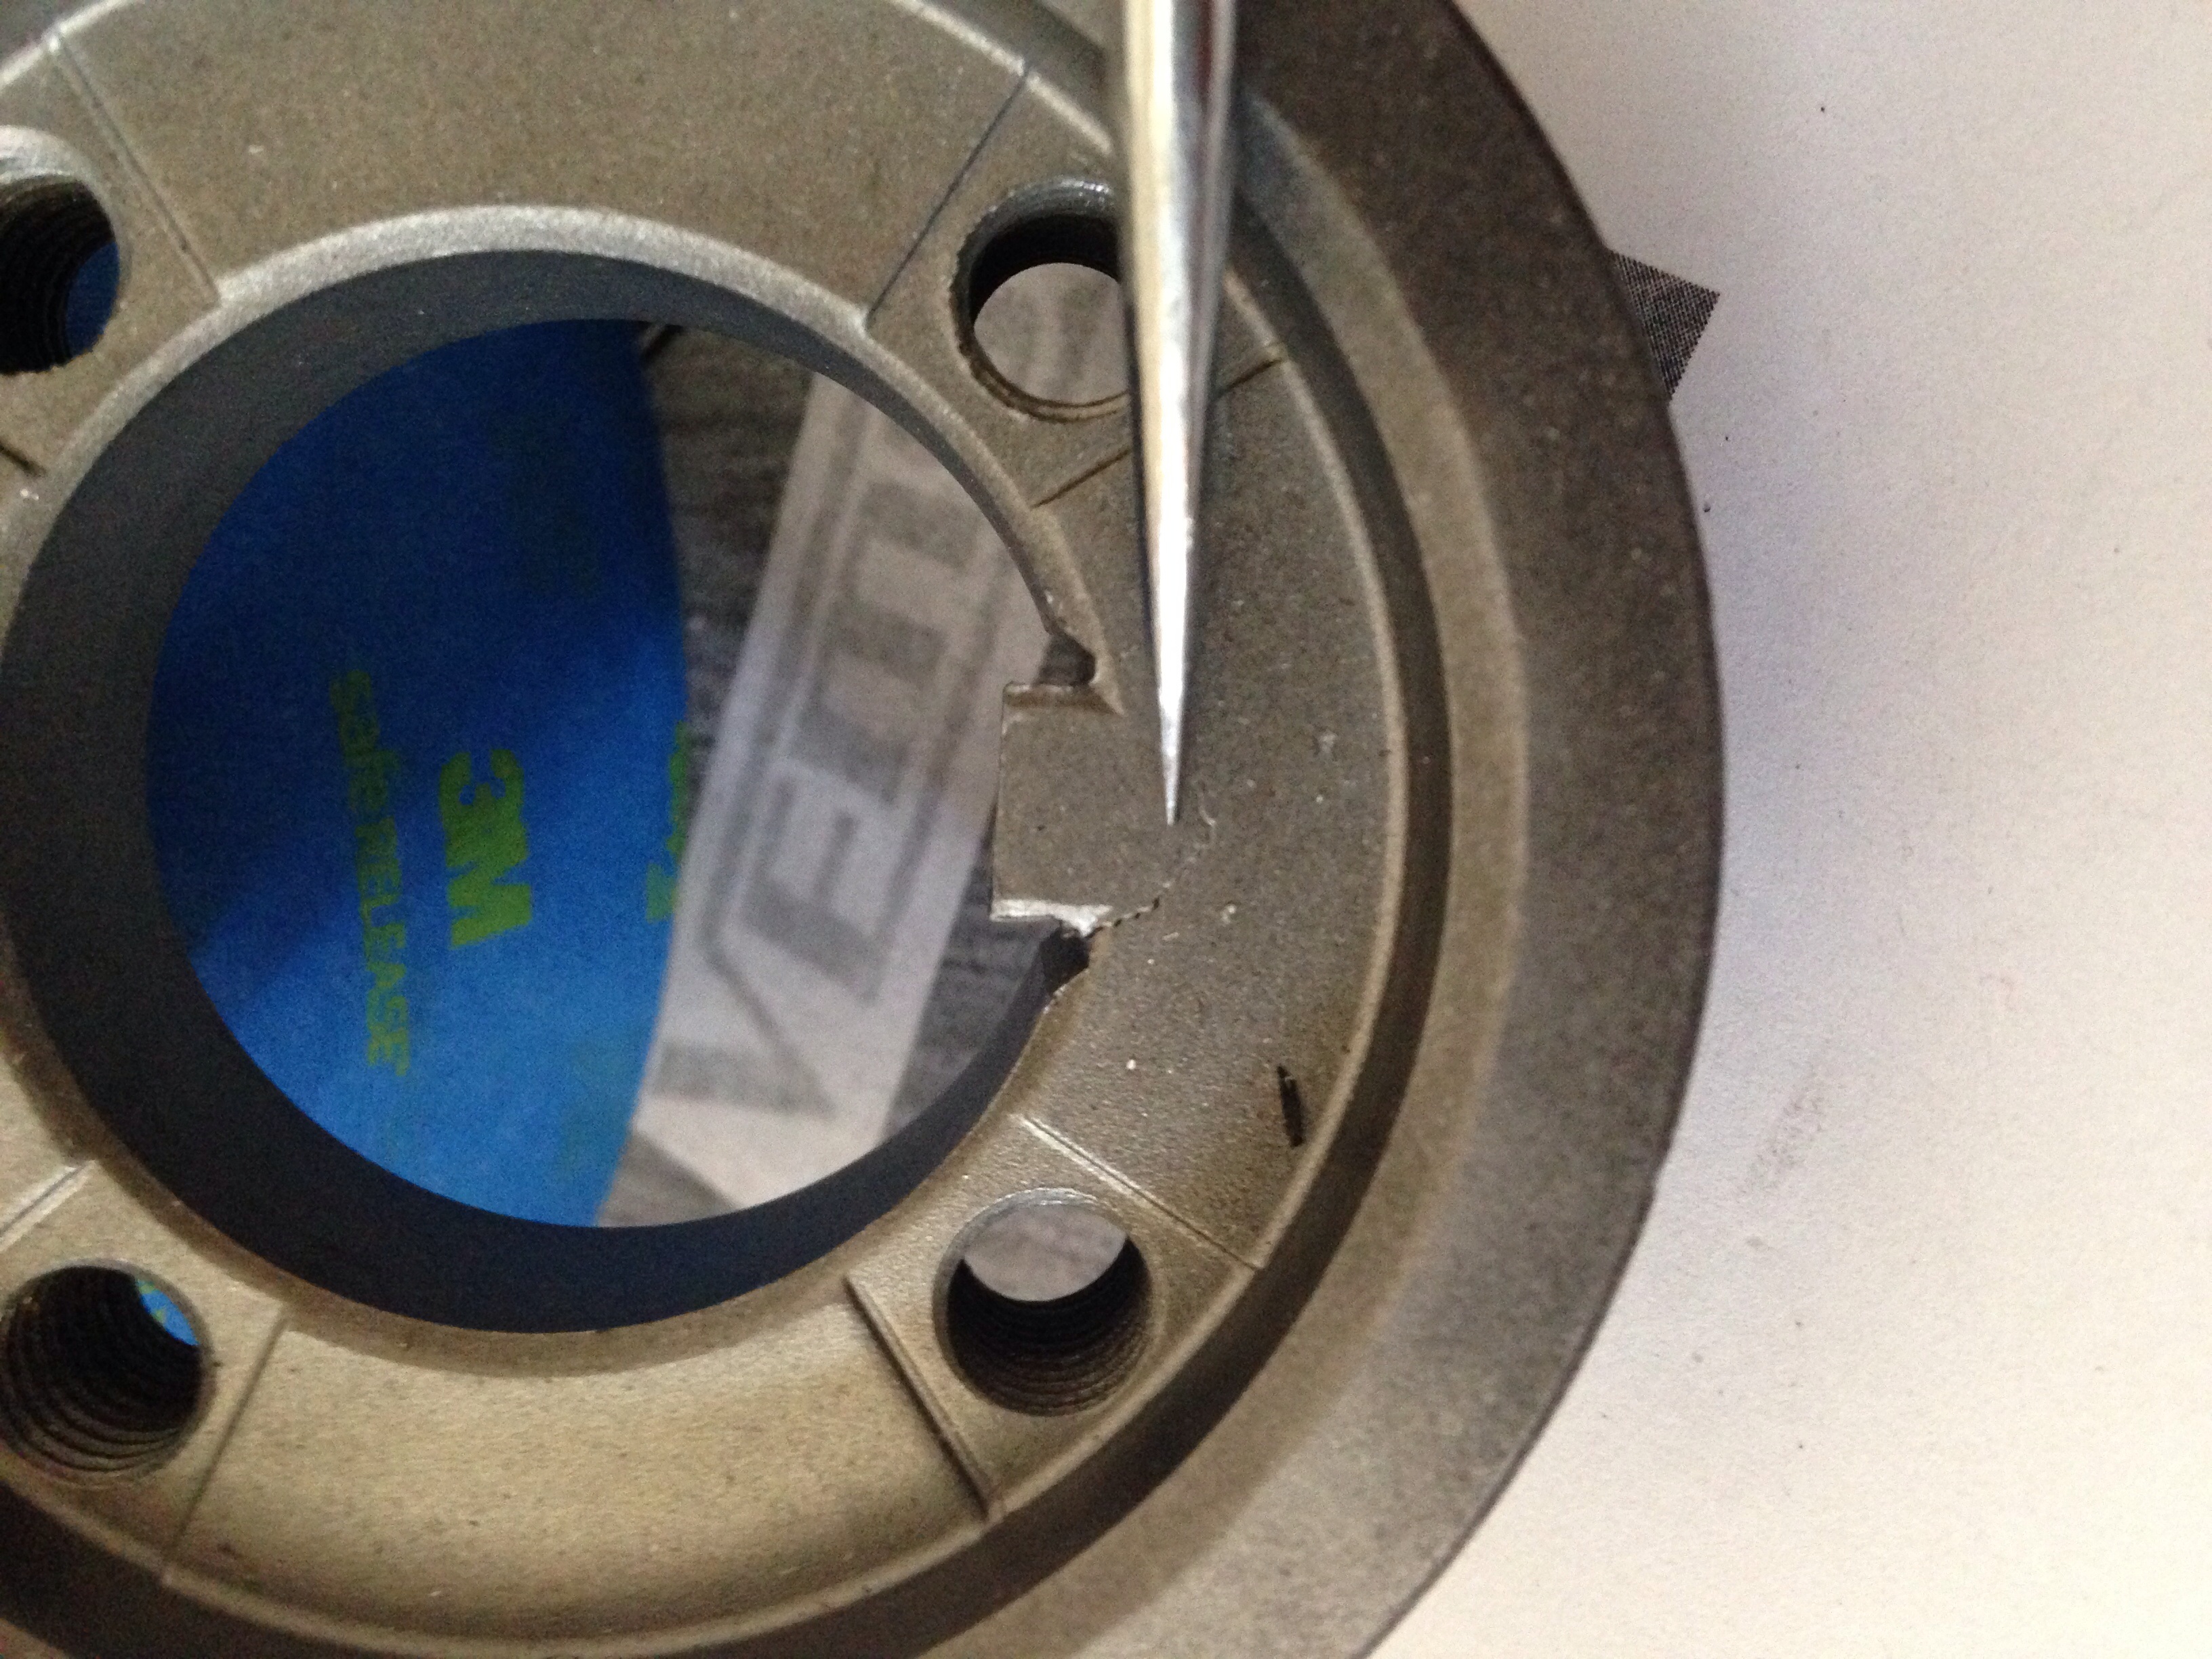
- Hair line crack
- image.jpg (2.05 MiB) Viewed 32895 times
Re: My audi CQ 3B S2 build
Posted: Fri May 02, 2014 12:49 pm
by Dave
I didn't notice the door cards when i came over, very nice touch!
Re: My audi CQ 3B S2 build
Posted: Fri May 02, 2014 12:52 pm
by araipilot
Dave wrote:I didn't notice the door cards when i came over, very nice touch!
I just got them done over the past two days so I hadn't even started on them when you stopped by.
Re: My audi CQ 3B S2 build
Posted: Fri May 02, 2014 7:55 pm
by chaloux
Omg those seats.
Crazy about the rebuild! Sucks, but you did it right. Fwiw I had my whole engine hot tanked and then I cleaned it afterwards and still a small piece of steel or aluminum got into my turbo and killed the bearings. I haven't yet, buy I SHOULD be running a little filter on the oil inlet. I think forced performance has and sells one and Hank recommended it.
What are those seats worth?
Re: My audi CQ 3B S2 build
Posted: Sat May 03, 2014 1:25 am
by araipilot
chaloux wrote:Omg those seats.
Crazy about the rebuild! Sucks, but you did it right. Fwiw I had my whole engine hot tanked and then I cleaned it afterwards and still a small piece of steel or aluminum got into my turbo and killed the bearings. I haven't yet, buy I SHOULD be running a little filter on the oil inlet. I think forced performance has and sells one and Hank recommended it.
What are those seats worth?
Ok good to know about the oil filter I will definitely be getting one of those. I don't want anything else to keep this motor from running. The seats were a little over 2k when all was said and done
Re: My audi CQ 3B S2 build
Posted: Sun May 04, 2014 8:04 pm
by PRY4SNO
Sigh. Hate to see knock in an engine, especially School of Hard Knocks. Hope you graduated...
At any rate, things are looking up and the project is moving along nicely.
Re: My audi CQ 3B S2 build
Posted: Sun May 04, 2014 8:28 pm
by araipilot
PRY4SNO wrote:Sigh. Hate to see knock in an engine, especially School of Hard Knocks. Hope you graduated...
At any rate, things are looking up and the project is moving along nicely.
I agree, I spent even more time rebuilding the engine this time than last. I knew my way around much more so I could pay attention to smaller details this time which, in theory, should prove to be a much better build. I am very confident that this time it will be just a matter of playing with the VEMS to get it dialed in.
Cheers
